Adobe Photoshop Lightroom CC User Manual
Page 41
36
Workflows
Last updated 4/20/2015
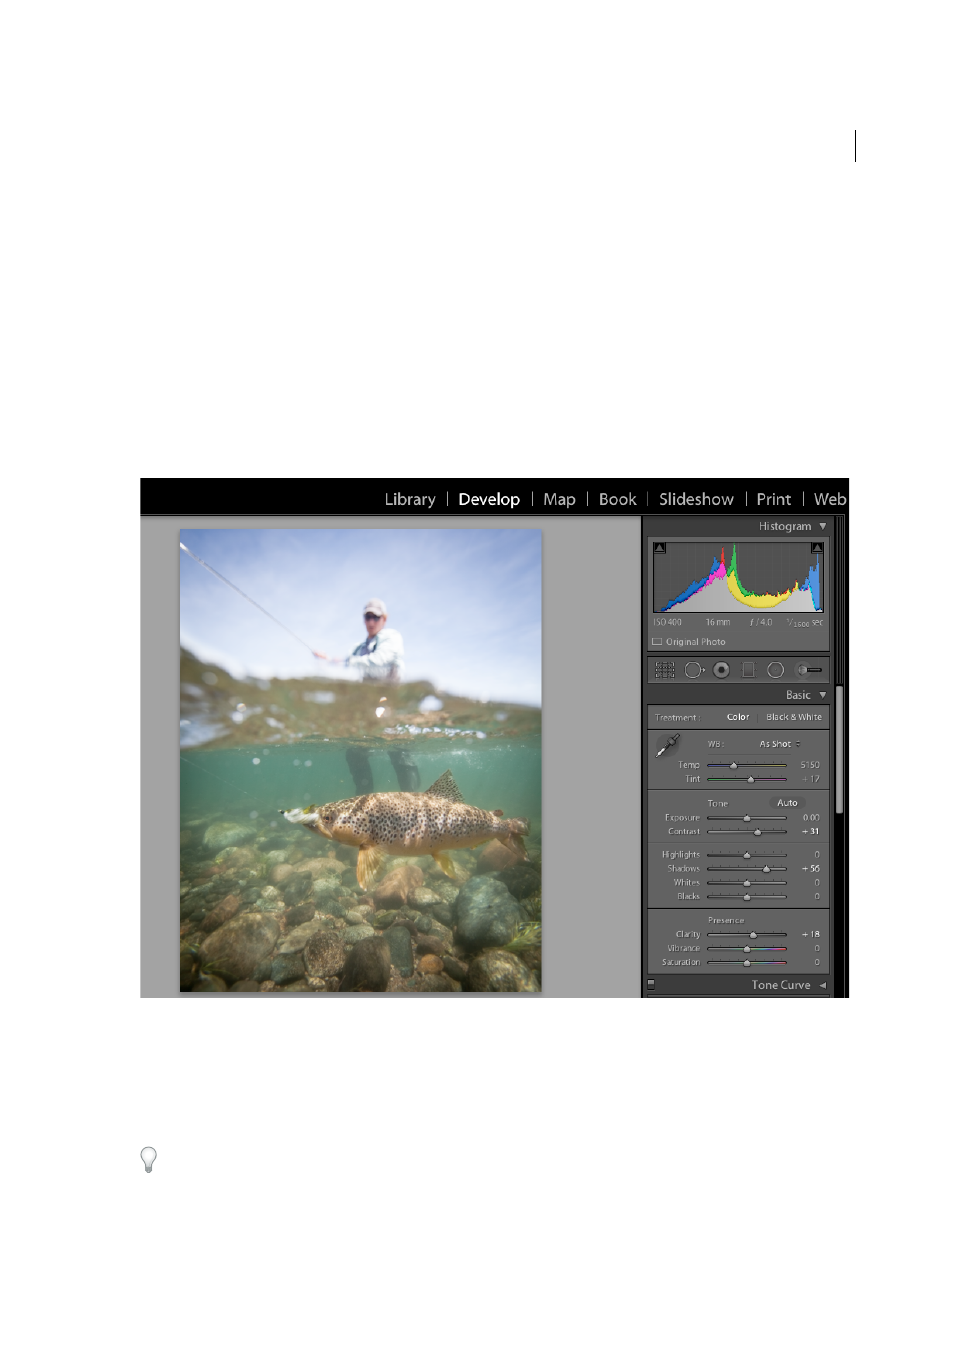
Use the zoom controls in the Navigator panel to inspect your photo and the Hand tool to reposition the photo in the
viewing area. When you move the pointer over the photo in the viewing area, notice that the RGB values appear under
the Histogram. Use the Histogram panel as a visual guide for measuring color tones, as well as to preview shadow and
highlight clipping. You can even drag in the histogram interface to make tonal adjustments to the photo. See
.
3. Make global color adjustments.
The Develop module displays panels for making global adjustments to photos on the right side of the window. You can
make Develop module adjustments in any order, but a common approach to using these panels is to start at the top and
work down. Starting with the Basic panel, for example, you can adjust the white balance, tonal scale, and color
saturation of a photo, including Clarity and Vibrance. If desired, you can refine global color and tonal adjustments in
the Tone Curve and HSL/Color/B&W panels. You create special effects or colorize monochrome photos using the Split
Toning panel. See
Working with image tone and color
4. Reduce noise and apply sharpening.
Use the Detail panel to reduce noise and adjust the sharpness in a photo. Use the Lens Corrections panel to correct
perspective distortions caused by the camera lens. See
Sharpening and noise reduction
Use the Before/After button in the toolbar to see the results of your edits, or simply press \ to cycle between before and
after views. Use the History panel to return to any previous edit. Click the plus sign (+) in the Snapshots panel to capture
any editing state that you can return to at a later time.