Create virtual copies – Adobe Photoshop Lightroom CC User Manual
Page 110
105
Managing catalogs and files
Last updated 4/20/2015
Embed Fast Load Data
Allows images to load faster in the Develop module but increases file size slightly.
Use Lossy Compression
Significantly reduces file size but may cause a decrease in image quality.
Embed Original Raw File
Stores all of the original camera raw data in the DNG file.
For more on DNG, see
.
Create virtual copies
You can have multiple versions of photos by applying different adjustment settings to virtual copies of the original
(master) photos. Virtual copies don’t exist as actual photos or duplicates of photos. Virtual copies are metadata in the
catalog that stores the different sets of adjustments.
You create a virtual copy of a photo and then apply adjustment settings to it. If you want another version of the master
photo, you create another virtual copy and apply the new settings to it. You can create as many virtual copies of a master
photo as you wish. You can even make one of the virtual copies a master, making the previous master a virtual copy.
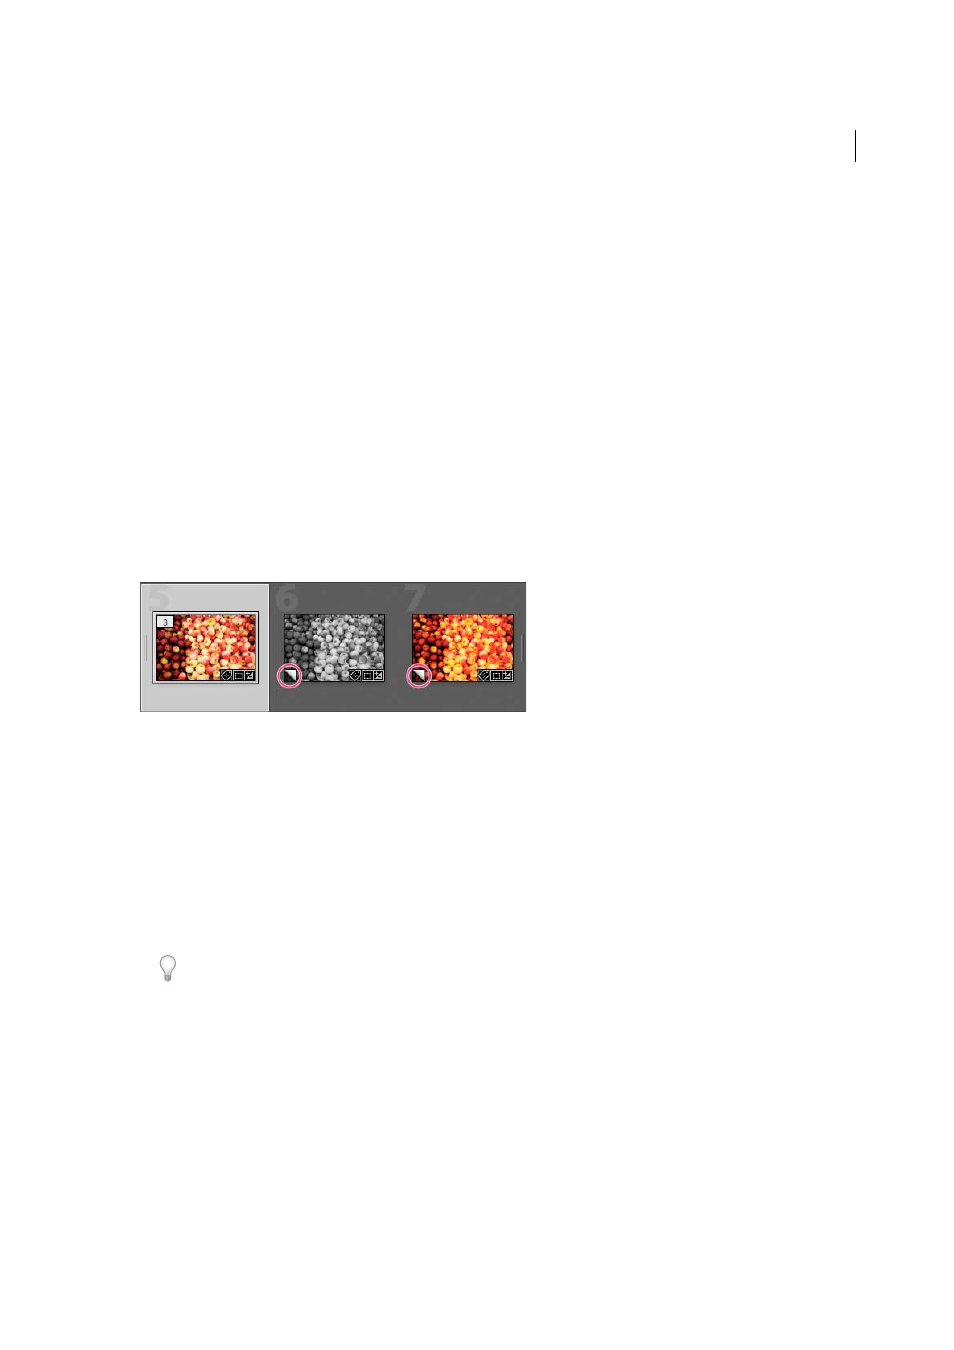
Once created, virtual copies are automatically stacked with the master photo. In the Grid view or the Filmstrip, the
master photo displays the number of images in the upper-left corner of the thumbnail. The virtual copies display page-
turn icons on the left side of their thumbnails.
A Original (master) photo B Virtual copies indicated by page-turn icon
Virtual copies become actual photos when they are exported as a copy of the master photo or edited as a copy in an
external editor.
When you create a virtual copy of a photo, “Copy 1” (or “Copy 2,” “Copy 3,” and so on) is added automatically to the
Copy Name field in the Metadata panel.
• In the Grid view in the Library or in the Filmstrip in any module, right-click (Windows) or Control-click (Mac OS)
a photo and choose Create Virtual Copy from the context menu.
• In the Grid view in the Library or in the Filmstrip in any module, right-click (Windows) or Control-click (Mac OS)
to select multiple photos and choose Create Virtual Copies from the context menu.
Tip: If the copy does not appear in the Grid view, the photos may be part of a collapsed stack. Try choosing Photo >
Stacking > Expand All Stacks. If that doesn’t work, the photos may be filtered. Try using a different display method,
such as choosing All Photographs in the Catalog panel.
• In the Library module, select a virtual copy of a photo in the Grid view or the Filmstrip and choose Photo > Set Copy
As Master.
• To delete or remove a virtual copy, expand the virtual copy stack in its folder in the Library module (press S). Then
right-click (Windows) or Control-click (Mac OS) the virtual copy in the Grid view or the Filmstrip and choose
Delete Photo.
note: You cannot edit stacks when working with collections. You must view stacks in their folders to expand, collapse,
and manage them.