Adobe Photoshop Lightroom CC User Manual
Page 32
27
Workflows
Last updated 4/20/2015
Check All
and Uncheck All Select and deselect, respectively, all photos in the preview area.
Sort
Lets you sort the previews by capture time, selected state, filename, or type of media (photos and videos).
You can also use standard key commands to select multiple photos in the Grid view: Shift-click to select contiguous
photos or Ctrl-click (Windows) or Command-click (Mac OS) to select discrete photos. After photos are selected, as
indicated by the light gray border, click a check box in any selected photo border to check them all. Lightroom imports
photos that are checked.
Note: Lightroom supports photos up to 65,000 pixels long or wide, up to 512 megapixels. For a complete list of supported
file formats, see
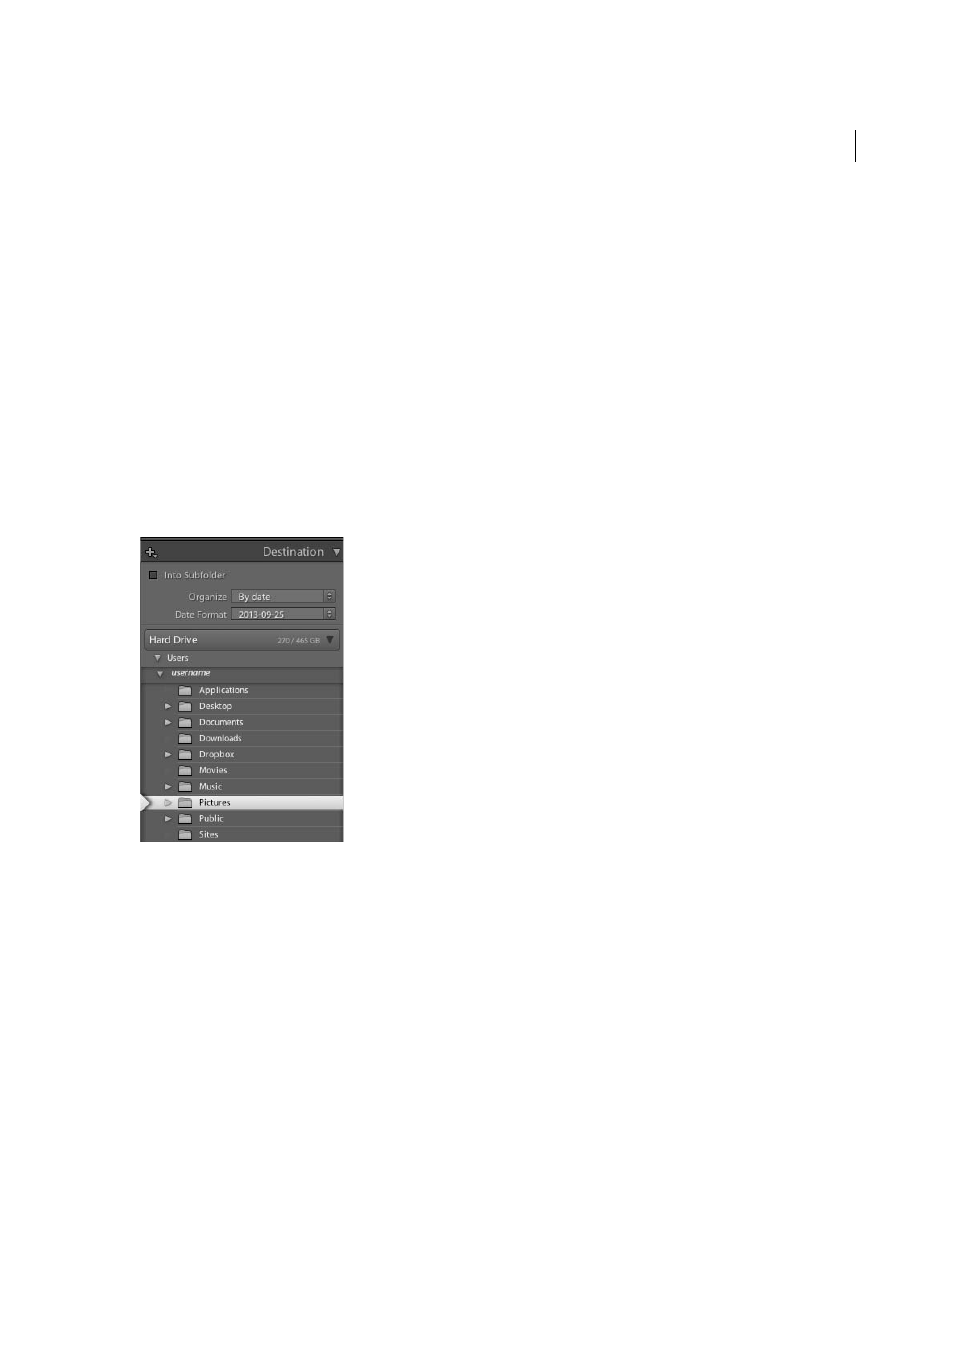
5. Tell Lightroom where to put your photos.
On the right side of the import window, click To and specify where you want to save your copied photos. You can select
a location on your hard drive, on an attached external drive, or on a networked drive.
You can also open the Destination panel on the right side of the import window to create a subfolder in your chosen
location.
In Grid view, the Destination Folders option above the preview area shows the path to the folder or folders you've
selected to save the photos.
6. Specify file-handling and other import options.
Use the File Handling, File Renaming, and Apply During Import panels on the right side of the import window to
customize how your photos are imported. For explanations of all of the import options in these panels, see
.
7. Click Import.
Lightroom displays a progress bar in the upper-left corner of the window as it imports the photos. Then it shows you
the thumbnails in the Library module.
More Help topics