Adobe Photoshop Lightroom CC User Manual
Page 48
43
Workflows
Last updated 4/20/2015
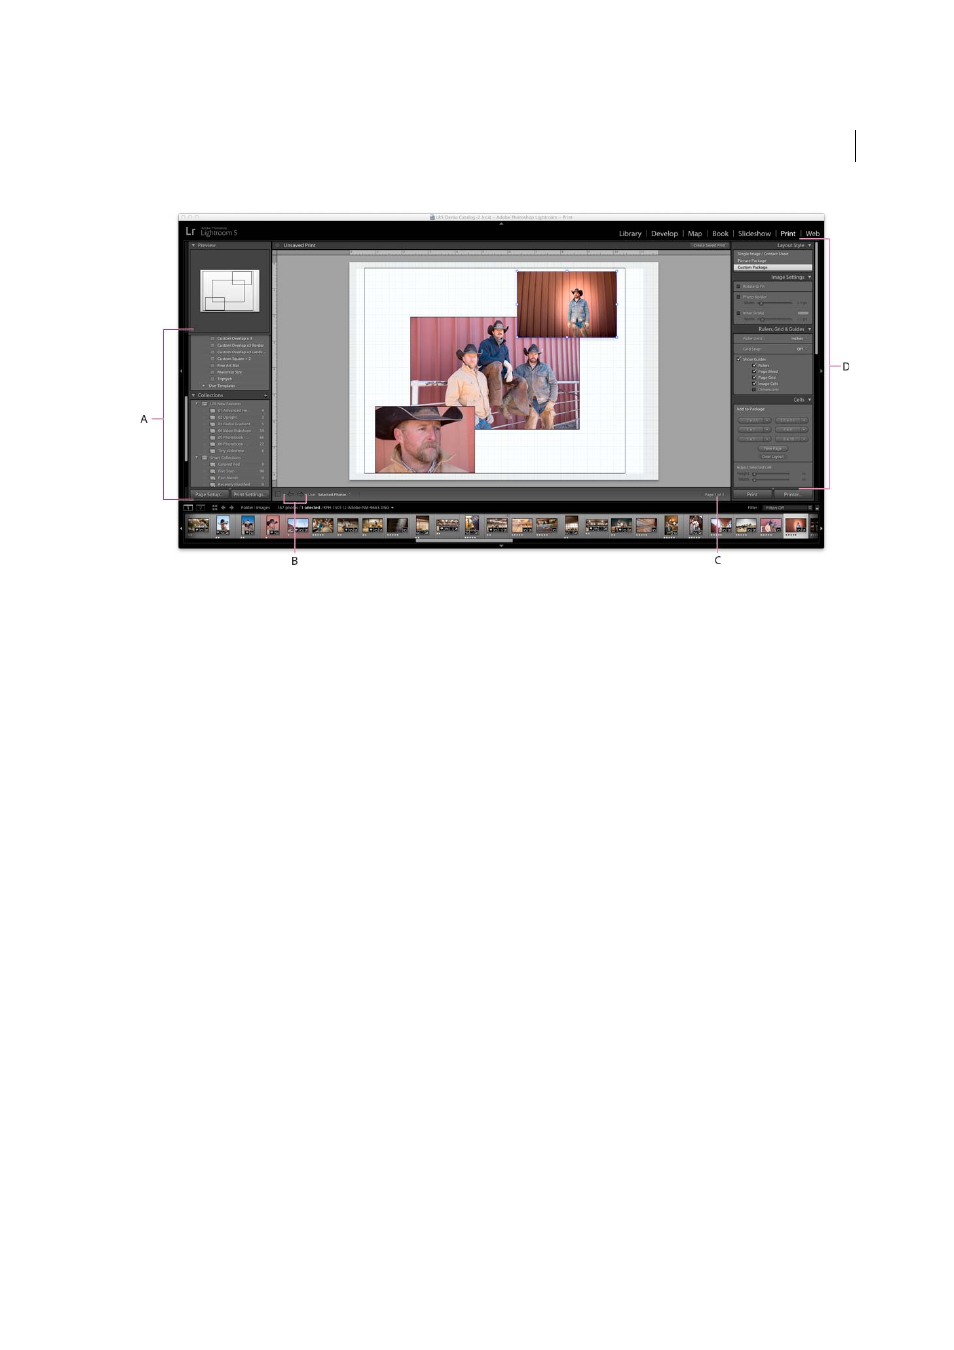
A Template Browser and Collections panels B Show Previous Page and Show Next Page buttons C Page number D Panels for specifying layout
and output options
To print photos from Lightroom, follow these basic steps:
1. Select the photos you want to print.
In the Library module, use the Grid view or the Filmstrip to select the photos you want to print. See
in the Grid view and the Filmstrip
.
You can also select a folder or a collection of photos using the Folders or Collections panel.
2. Choose the page size.
Switch to the Print module and click the Page Setup button in the lower-left corner of the module. Choose a page size
by doing one of the following:
• (Windows) In the Paper area of the Printing Preferences or Print Setup dialog box, choose a page size from the Size
menu. Then, click OK.
• (Mac OS) In the Page Setup dialog box, choose a printer from the Format For menu and choose a page size from the
Paper Size menu. Then, click OK.
Important:
Leave the Scale set to 100% and make size adjustments in Lightroom.
3. Choose a template.
A template provides a basic layout for your photo prints. Lightroom includes three types of print templates:
1
Single Image/Contact Sheet templates
let you print one or more photos, all at the same size, on a page.
2
Picture Package templates
let you print one photo in multiple sizes on a page.
3
Custom Package templates
let you print multiple photos at various sizes on one or more pages.
Lightroom print templates scale the photos to accommodate the paper size you choose.
On the left side of the Print module, move the pointer over a name in the Template Browser; a preview of the template
appears in the Preview panel above the Template Browser. Click a template name to select it for the photo or photos you
want to print. See
and
.