Configuring the network settings – Comtrol Hub DeviceMaster User Manual
Page 40
40 - Initial Configuration
DeviceMaster Installation and Configuration Guide: 2000594 Rev. A
Configuring the Network Settings
Configuring the Network Settings
Use the following procedure to change the default network settings on the
DeviceMaster for your network.
Note: Technical Support advises configuring one new DeviceMaster at a time to
avoid device driver configuration problems. If you want to configure
multiple DeviceMasters using the Assign IP to Multiple Devices option, see
Configuring Multiple DeviceMasters Network Addresses
The following procedure shows how to configure a single DeviceMaster connected
to the same network segment as the Windows system. If the DeviceMaster is not
on the same physical segment, you can add it manually using
1.
If you have not done so, install PortVision DX (
Page 37).
2.
Start PortVision DX using the PortVision DX desktop shortcut or from the Start
button, click All Programs > Comtrol > PortVision DX > PortVision DX.
3.
Depending on your operating system, you may need to click Yes to the Do you
want to allow the following program to make changes to this computer? query.
4.
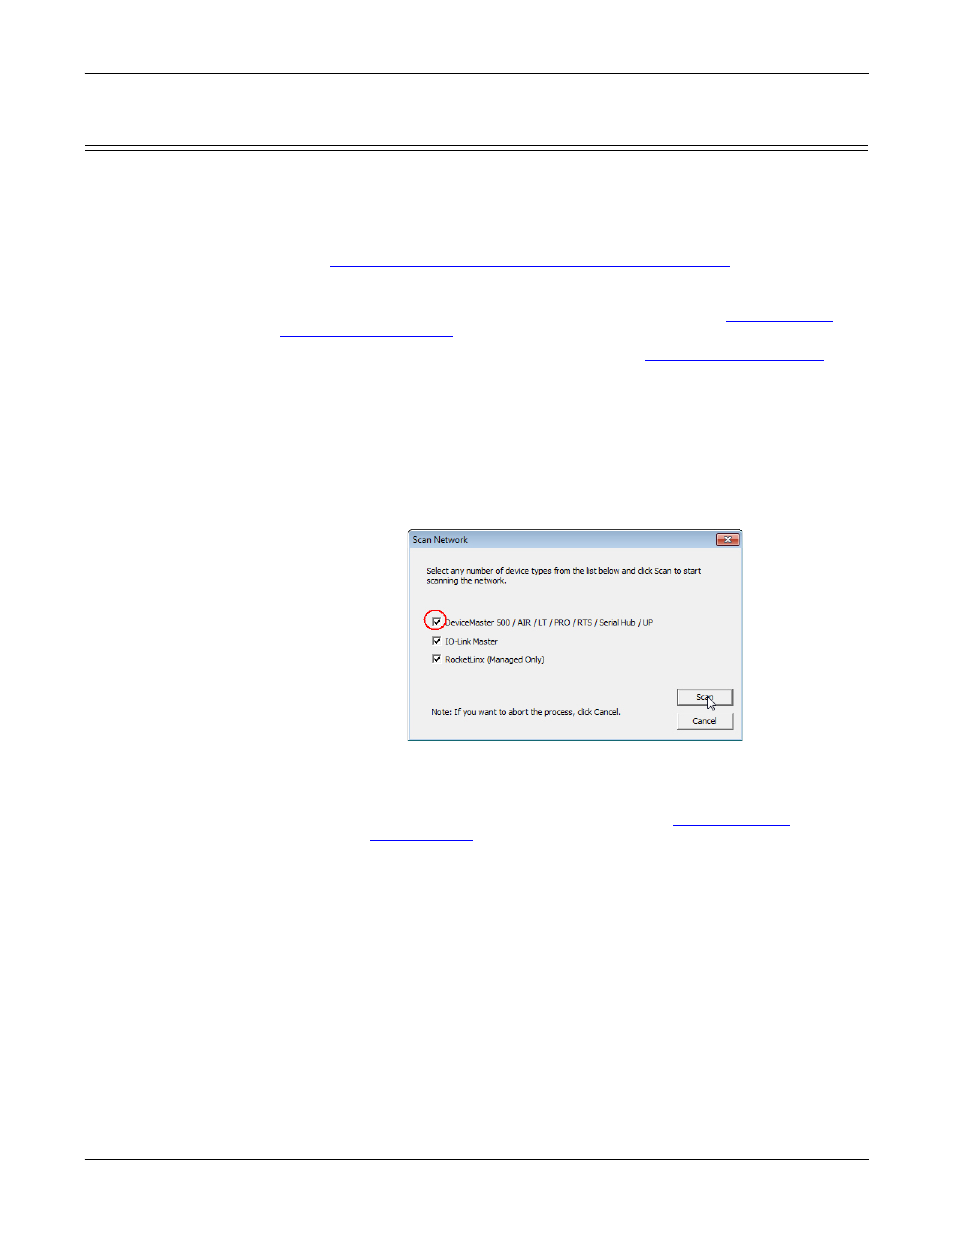
Click the Scan button in the Toolbar.
5.
Click Scan to locate the Comtrol Ethernet attached products including the
DeviceMaster on the network.
Default Network Settings
IP address:
192.168.250.250
Subnet mask:
255.255.0.0
Gateway address:
192.168.250.1
Note: If you do not have any RocketLinx managed switches or IO-Link
Masters, it saves scanning time if you do not scan for them.
If PortVision DX does not locate your DeviceMaster on the
network, make sure that you are using the
latest version of
PortVision DX
.