A focus cutter camera, B set cutting tip height – Bio-Rad EXQuest Spot Cutter User Manual
Page 268
Basic Excision Tool
8-3
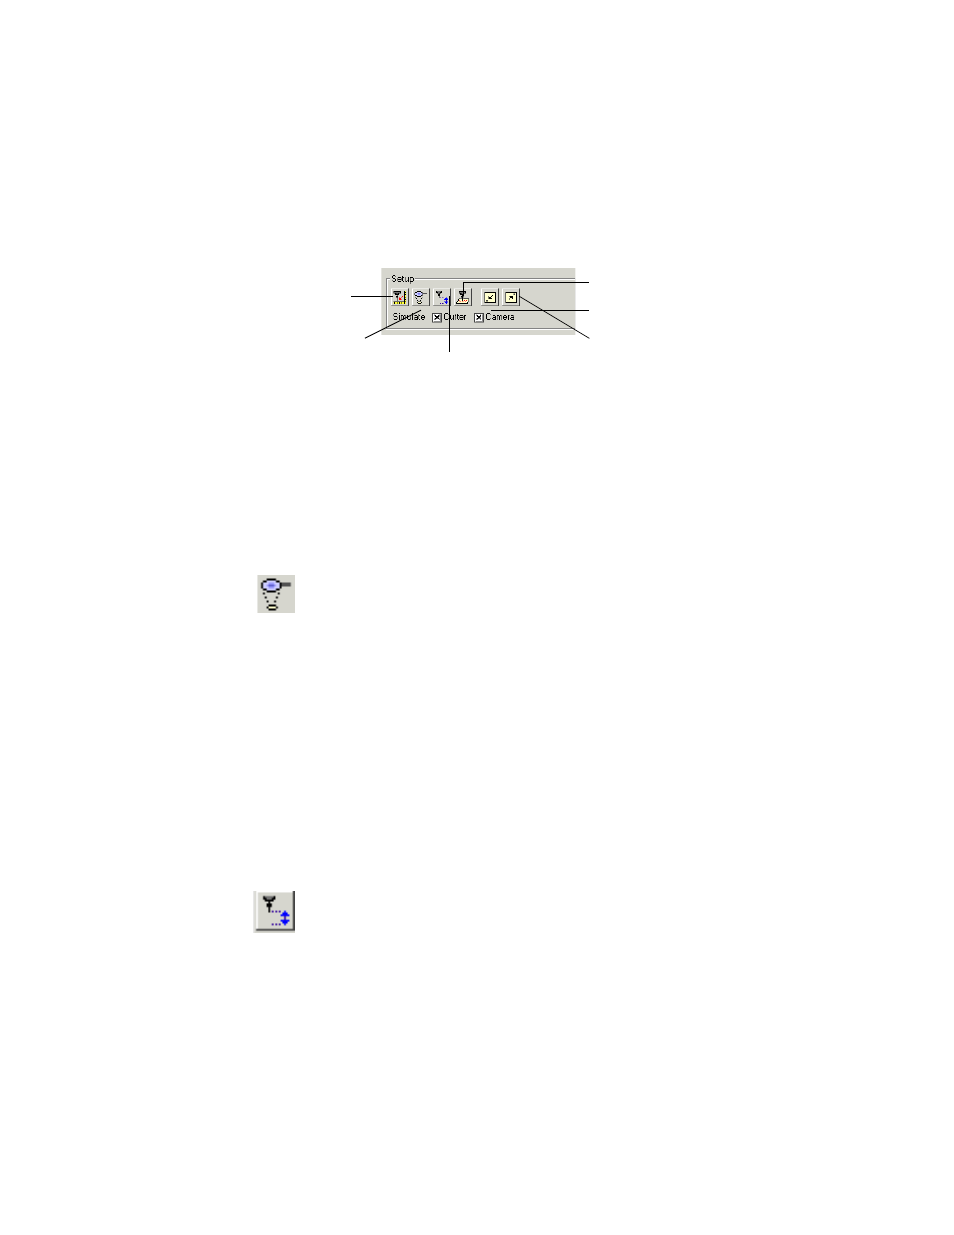
Fig. 8-2. Spot cutter setup
8.1.a
Focus Cutter Camera
Note:
If you are using a lens filter, make sure that it is installed before focusing. If you
add or remove the lens filter after focusing, you will need to refocus.
The Focus Cutter Camera dialog box controls the camera exposure setting. Focusing
and aligning the camera are described in the Proteome Works Spot Cutter hardware
manual.
Click the Focus Cutter Camera button to open the dialog. The platform light
on the spot cutter will turn on and the camera will focus on a small region at
the center of the gel or membrane and begin taking continuous exposures.
The exposures will appear in the Focus window at the rate of about 2 per second.
At the top of the dialog, click Auto-Expose to reset the exposure time of the camera.
The Time field shows the time of each exposure in milliseconds. The Ceiling field
shows the highest pixel value in the focused region. The Levels field shows the levels
of gray scale in the image. All of these settings are automatically determined by the
software, based on the position and aperture of the camera lens.
Manually adjust the camera lens and position as described in the hardware manual to
optimize the image. When you are satisfied with the image and the levels of gray
scale, click Stop to close the Focus dialog.
8.1.b
Set Cutting Tip Height
Click the Set Cutting Tip Height button to adjust the distance the cutting tip
drops down to cut a spot. The adjustment dialog box will open, and the
cutting tip will move to the center of the gel.
Spot cutter setting
Focus cutter camera
Set cutting tip height
Calibrate cutter
Move head to lower left
Move head to upper right