Start date – Lincoln Electric IM8000 CHECKPOINT User Manual
Page 50
Chapter 4. Managing CheckPoint™
Shift Schedules
4.10
CheckPoint™ User Manual
IM8000
Field
Description
User Time and
Company Time
Set the start and end time of the shift in the User Time fields. Click the clock
icon (
) to display a pop-up time selector. You can also simply type the time.
The User Time fields are set to your time zone (i.e., the user currently viewing
the screen). CheckPoint™ automatically converts the time to the time zone of
the Company Site you are currently managing and displays it in the Company
Time fields.
For example, Mark at Worldwide Industrial is in California. His time zone is
Pacific (GMT -8:00). He has several Company Sites he monitors using
CheckPoint™. Ohio (GMT -5:00) is one of them. He wants to add a Shift to this
Company Site for 6:00 AM to 2:00 PM (Ohio time). In the User Time fields, he
clicks the clock icon ( ) next to From and selects 3:00 AM from the menu.
Then he clicks the clock icon ( ) next to the To field and selects 11:00 AM
from the menu. CheckPoint™ automatically displays 6:00 AM to 2:00 PM next
to Company Time.
Events occurring
during this shift
should be assigned
to the next
production day
If the midnight threshold of the Company Time occurs between the time
entered in the From field and the time in the To field, CheckPoint™ displays a
checkbox so you can verify the production day for the data collected during this
shift. See page 4.8 for more details on Next Production Day.
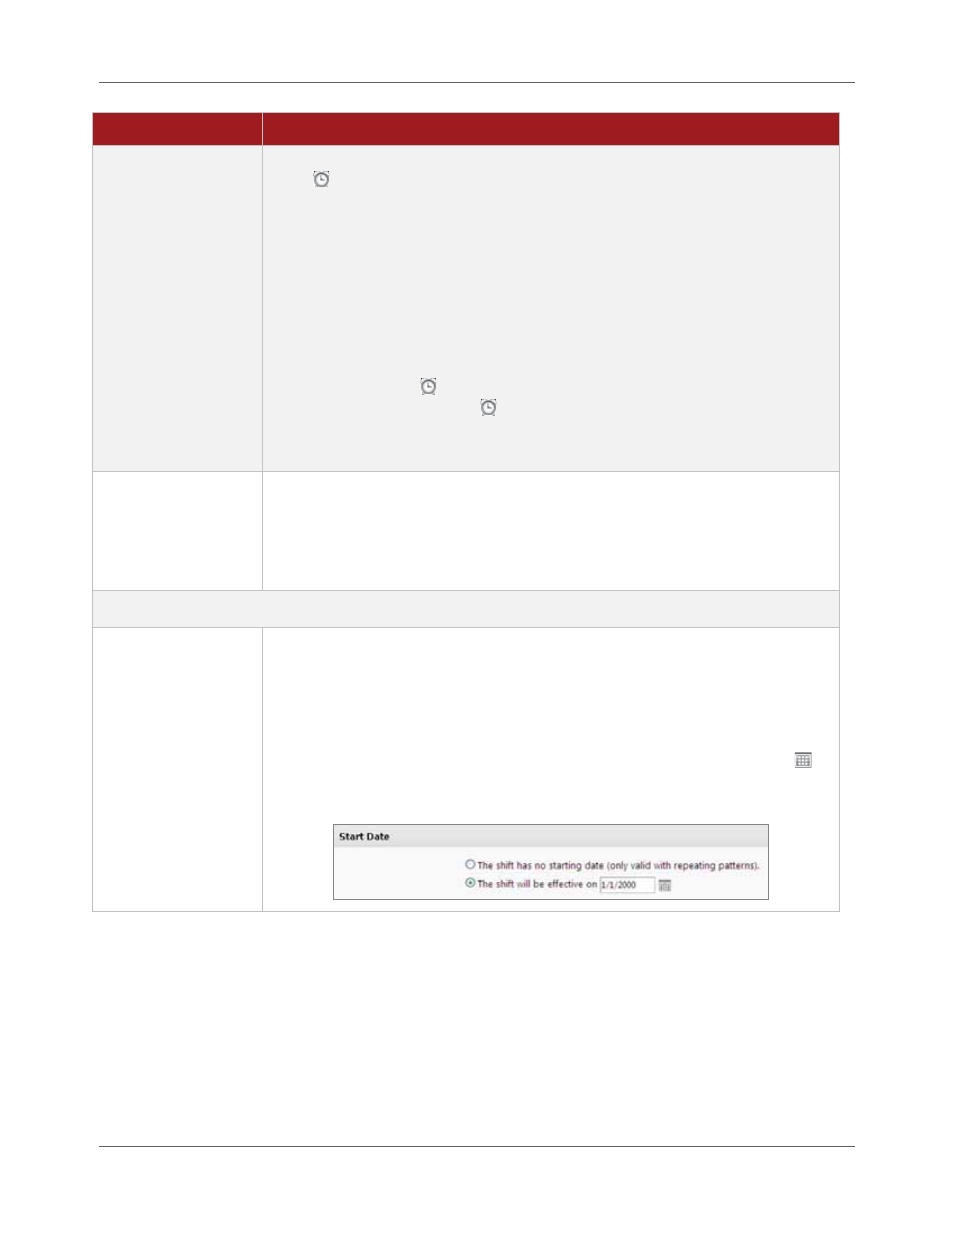
Start Date
Start Date
The Start Date section allows you to set the date the shift becomes effective.
There are two options:
The No Starting Date option uses the date January 1, 2000, as the
base day.
The Effective Date option allows the user to select a day the shift
begins. You can type the date manually or click the calendar icon (
)
for an interactive calendar. This is useful when you need to create
complex schedules where shifts begin on a specific day of the week.