Yokogawa DAQWORX User Manual
Page 105
5-22
IM WX13-01E
6.
Select the channels to be searched.
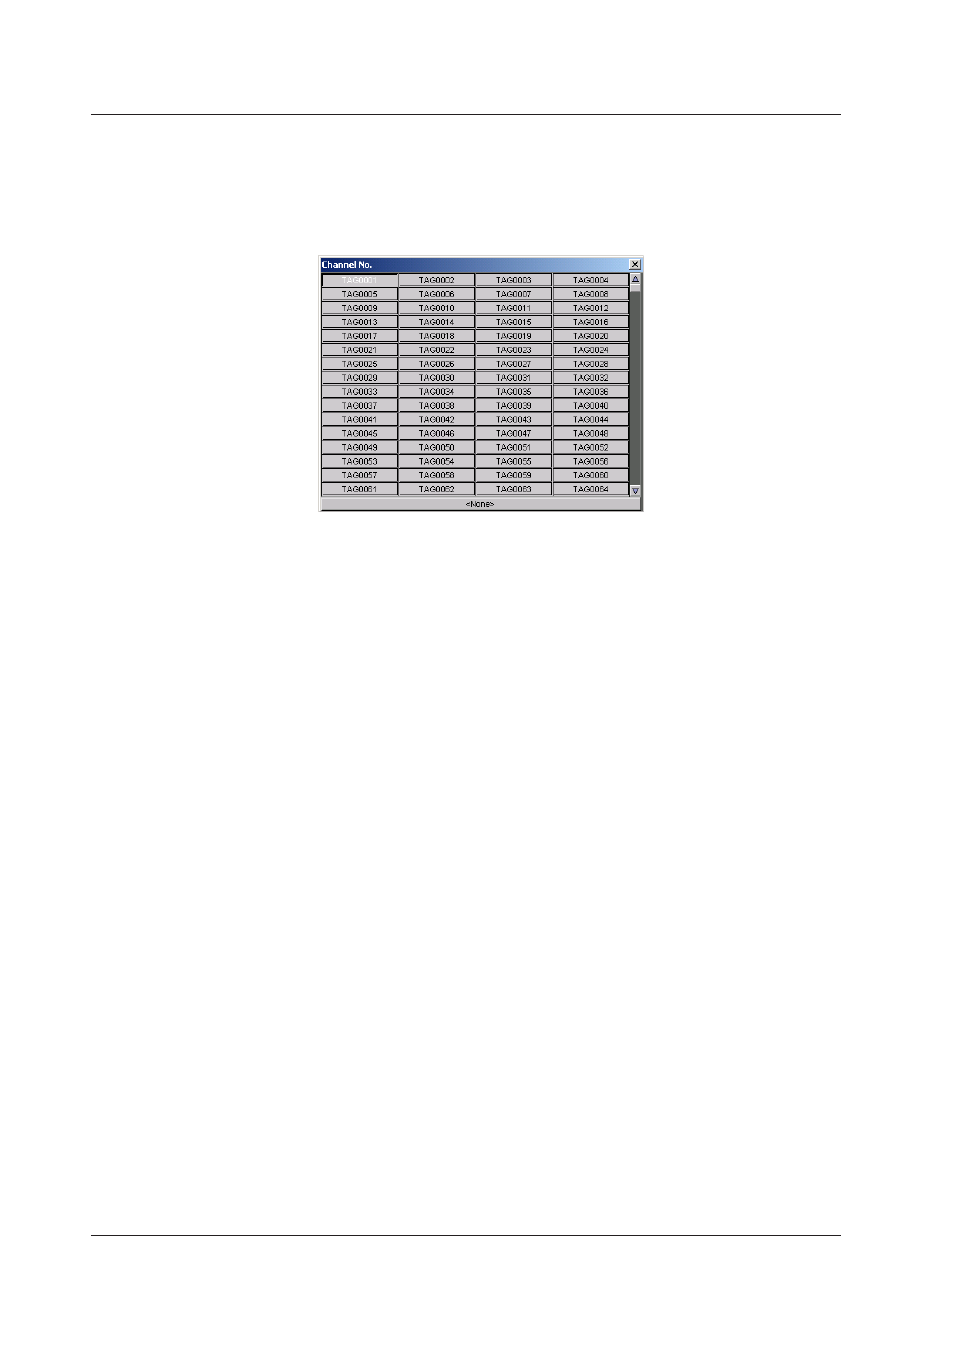
Click the channel selection button. The Tag Number dialog box displays the
channels that are contained in the group. Click a channel. Click ALL to select all
the channels in the group to be searched.
The selected channels are displayed on the channel selection button.
7.
Click the list box and select the type of data to be searched.
LACK: Search for data dropouts.
+OVER: Search for data that is over the upper limit of the measurement range.
–OVER: Search for data that is below the lower limit of the measurement range.
OFF: Search for OFF data.*
* OFF data refers to data that indicates the condition in which the communication to the
recorder is disconnected and in which the data logging software cannot scan and record
the data from the recorder.
When Searching for Marks
5.
Select the groups to be searched.
The operating procedure is the same as that in “When Searching Special Data.”
6.
Enter a search string.
AddTrigger searches for marks containing the specified string in their names. The
search is not case-sensitive. If you enter only an asterisk, AddTrigger searches for
all marks.
When Searching Alarms
5.
Select the groups to be searched.
The operating procedure is the same as that in “When Searching for Special
Data.”
6.
Select the channels to be searched.
The operating procedure is the same as that in “When Searching for Special
Data.”
7.
Select the alarm type.
Click the list box and select the alarm type.
Alarm All: Search for all alarms.
Alarm 1, Alarm 2, Alarm 3, or Alarm 4: Search for the specified Alarm No.
(alarm level).
8.
Set the alarm condition to be searched.
Click the list box and select the alarm status.
Changed:Data position where the alarm changed from ON to OFF or OFF to ON.
Start:
Data position where the alarm ON status started.
End:
Data position where the alarm ON status ended (data position
immediately before the alarm turned OFF).
5.6 Searching for Measured Data, Alarms, and Marks