Using side-chain, Moving plug-ins, Moving a plug-in – Native Instruments MASCHINE+ Standalone Production and Performance Instrument User Manual
Page 88
5.
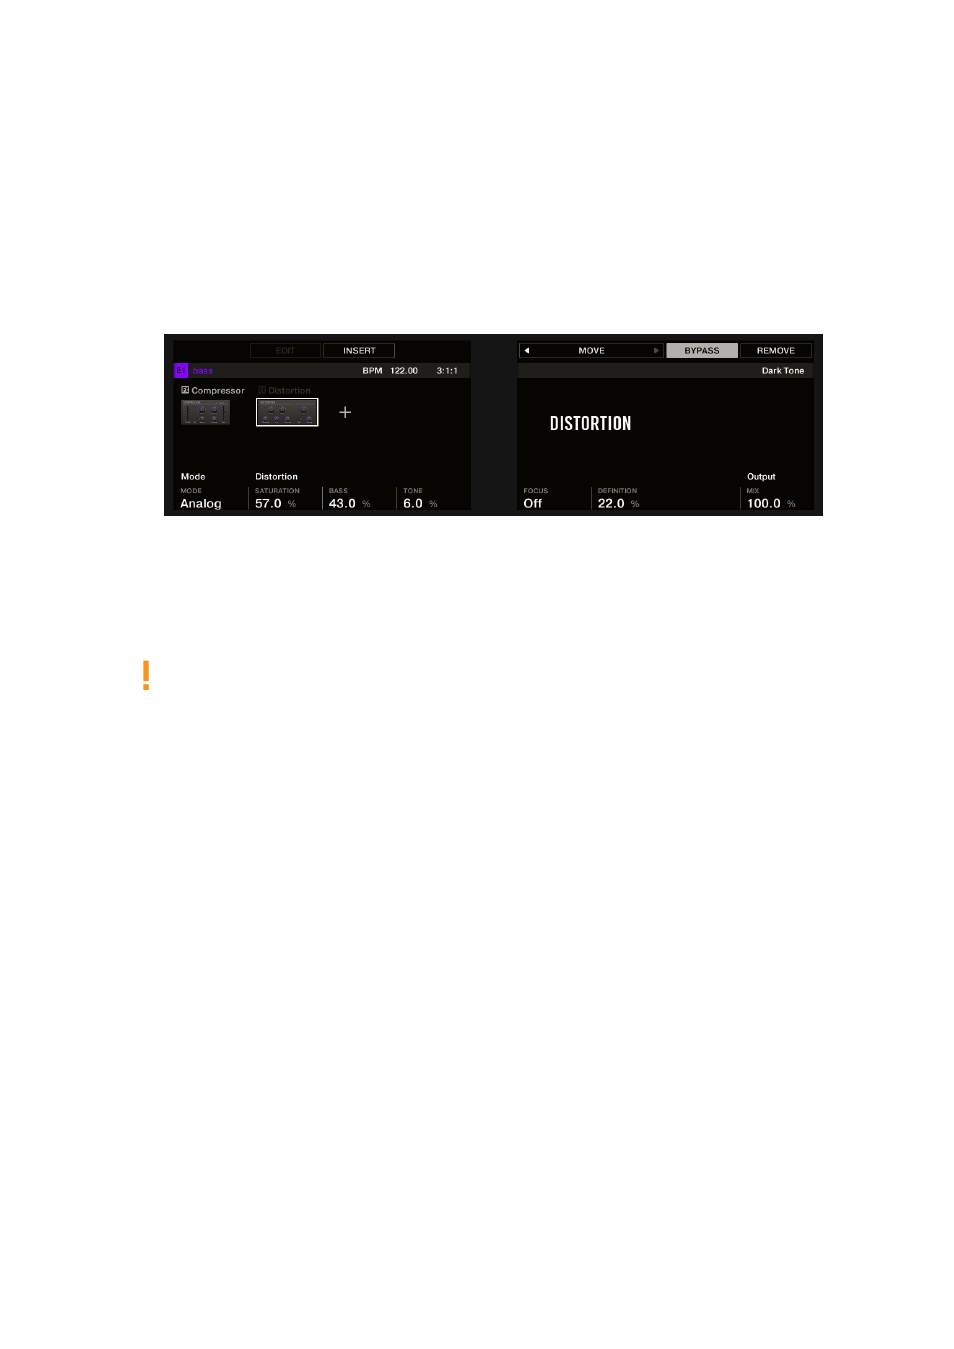
Press Button 5/6 to select the desired Plug-in slot. The name of the selected Plug-in appears
in the field between the left and right arrows under Button 5 and 6. If there are no Plug-ins in
the channel this will read
EMPTY
.
6.
Press
SHIFT
+ Button 7 (
BYPASS
) above the right display to bypass the selected Plug-in slot.
→
The Plug-in is bypassed and does not affect the sound anymore. In the left display, the Plug-in
icon and name are grayed out. When you hold
SHIFT
, Button 7 is fully lit and the
BYPASS
label on the right display is highlighted to indicate that this Plug-in slot is now bypassed:
Use the same method to unmute the effect:
▶
To unmute the effect, press
SHIFT
+ the lit Button 7 (
BYPASS
).
In most cases, the first Plug-in slot contains an Instrument Plug-in (for example, a
Sampler). Be careful: bypassing the slot will mute the whole Sound.
10.4. Using Side-Chain
Some Plug-ins provide side-chaining. This allows you to control their influence on the audio via
another audio signal sent to their secondary, side-chain input. This extra routing feature is
described in detail in section
10.5. Moving Plug-ins
MASCHINE allows you to move Plug-ins across the Plug-in List and across Sounds and Groups.
Moving a Plug-in
On your MASCHINE+ in Plug-in mode, you can move a Plug-in to another slot of the same Sound,
Group, or the Master. To do this:
1.
Press
PLUG-IN
.
2.
Select the desired Plug-in using the 4-D encoder.
3.
Press
SHIFT
+ Button 5/6 to move this Plug-in to the previous/next slot.
→
The Plug-in takes its new place between the existing Plug-ins while keeping the exact same
settings. All other Plug-ins sitting between its old and new location are shifted one slot
upwards/downwards to fill the gap.
WORKING WITH PLUG-INS
81