Creating multi-effects, Organizing your effects into several sounds – Native Instruments MASCHINE+ Standalone Production and Performance Instrument User Manual
Page 173
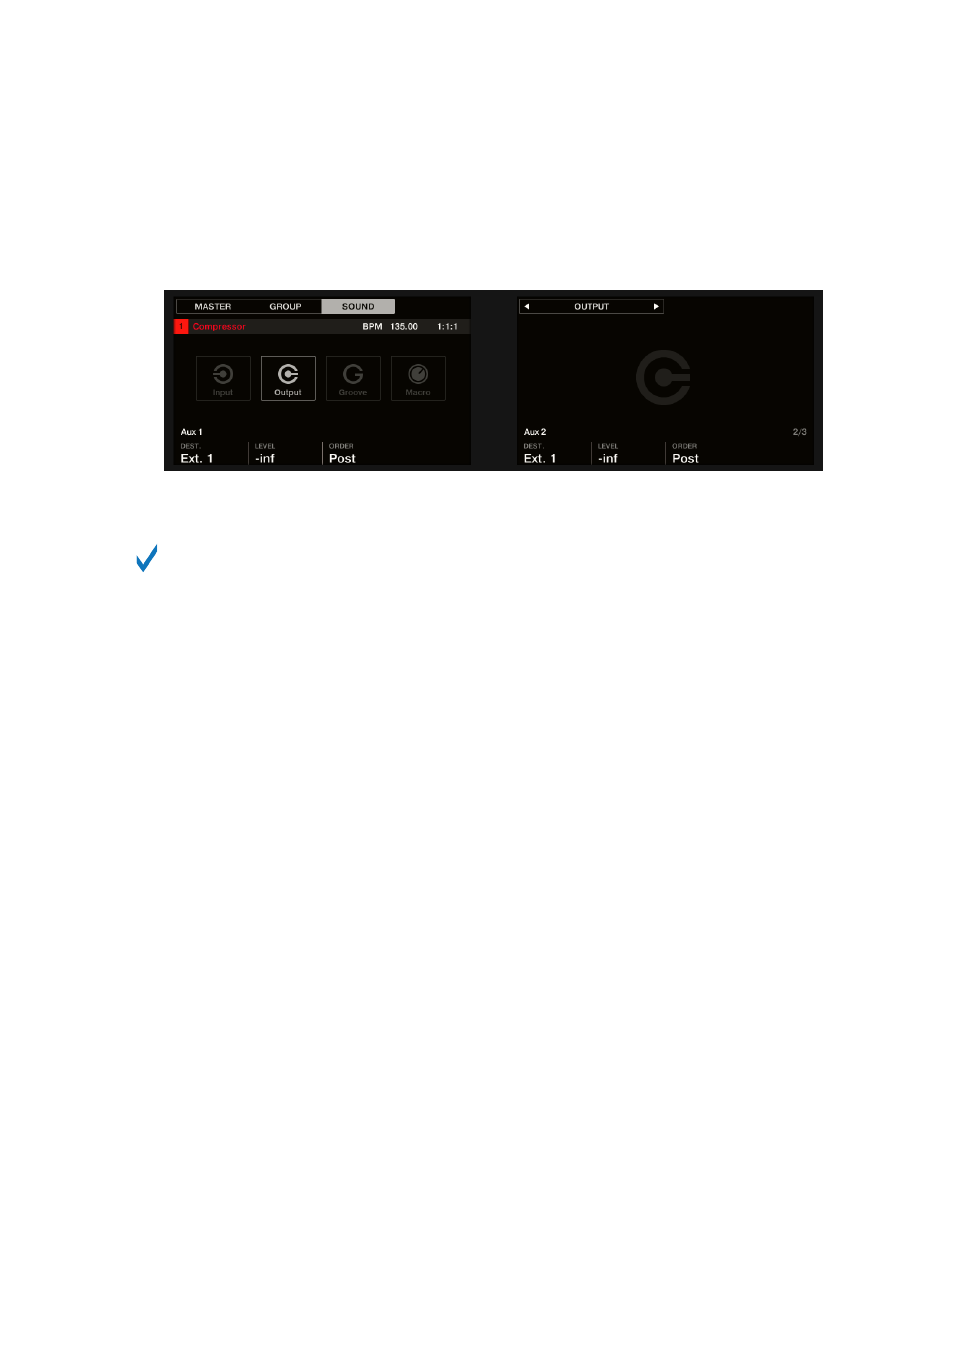
6.
Turn Knob 1 (
Aux 1 DEST
.) to assign the first auxiliary output to the desired send effect. In
addition to the usual entries available in both fields, you will find all the Sounds and Groups
with an Effect Plug-in loaded in their first Plug-in slot — see
Step 1: Set Up a Sound or Group
For each Sound, the entry shows the Group letter and number followed by the
Sound number (in the example underneath we selected the entry
A1:S1-1
for the
Aux 1
output).
7.
Use Knob 2 (
Aux 1 LEVEL
) to adjust the level of the signal sent to that auxiliary output.
The signal of each auxiliary output is taken by default after the main output level control
has been applied. This can be changed via Knob 3 (
Aux 1 ORDER
). For more information,
see
Setting Up Auxiliary Outputs for Sounds and Groups
.
You can repeat the process to route more Sounds/Groups to the same send effect, or route the
same Sound/Group to another send effect send using
Aux 2
.
15.5. Creating Multi-Effects
Creating a multi-effect unit is basically the same thing as creating a series of Sounds as send
effects within a Group and arrange them as you see fit. Following the procedure described in the
previous section
in every Sound of the Group you can set up a send effect
containing any number of effects, the only limit being the processing power of your computer! You
can route Sounds within the Group to your liking: You can chain them all, keep them as separate
effects to be used in parallel, build any combination of both, etc.
Organizing Your Effects into Several Sounds
If you plan to build a multi-effects containing more than a few Effect Plug-ins in series, you have
many ways at your disposal. Since you can have any number of Effect Plug-ins in each Sound, you
can set up the whole sequence of effects in series into one single Sound. However, it might be
judicious to split your sequence of effects across several Sounds whose outputs are sent into the
inputs of the next Sound (thereby re-building an equivalent sequence of effects). Doing this can
have several advantages, for example:
• The Sound List lets you keep a better overview of your effect sequence than the tiny Plug-in List
in a single Sound.
• You can rename and colorize each Sound individually according to the effect(s) it contains.
• You have better control over your whole effect sequence.
• You can easily re-arrange your effect sequence by changing the routing between your Sounds.
To use several Sounds plugged in series, use the procedure described in the previous section
to send the output of each Sound to the input of the next one in the
sequence.
USING EFFECTS
166