Page 2 – loop parameters, Page 3 – tune / mix parameters – Native Instruments MASCHINE+ Standalone Production and Performance Instrument User Manual
Page 206
Parameter
Description
START
(Knob 1)
Adjusts the playback’s start point in the Sample of the focused Zone.
END
(Knob 2)
Adjusts the playback’s end point in the Sample of the focused Zone.
▶
Hold
SHIFT
when turning the Knobs to adjust the parameters in finer increments.
In the waveform on the right display, the regions outside the play range are grayed out.
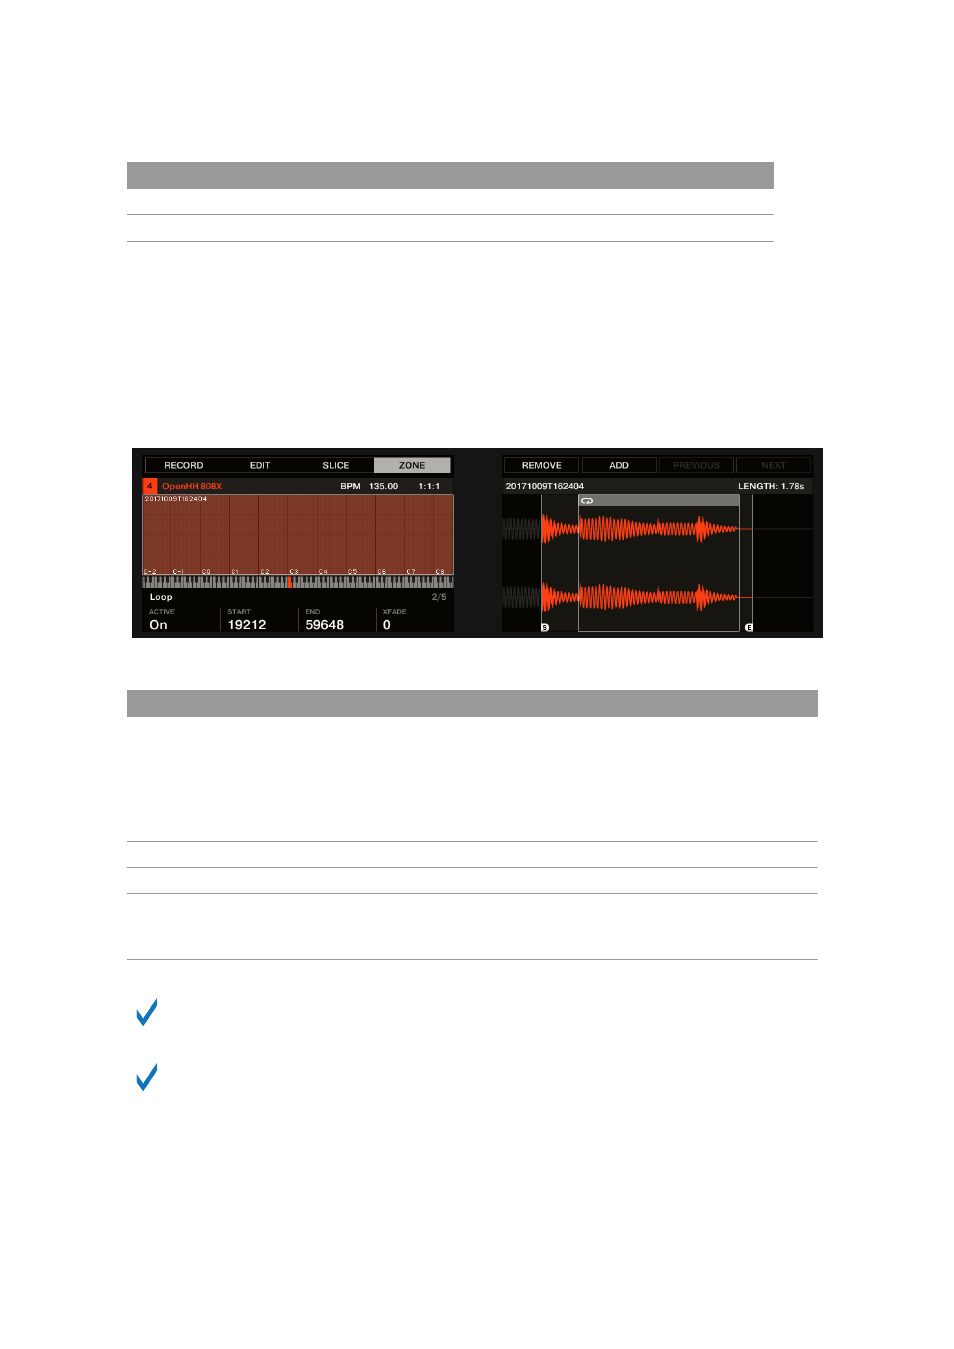
Page 2 – Loop Parameters
The parameters in the
Loop
page allow you to define and adjust a portion that will play in a loop
while the note is held.
The ZONE, page 2 of 5: Loop parameters.
Parameter
Description
ACTIVE
(Knob 1)
Enable this to define a loop in the Sample of the focused Zone. When the
play position reaches the loop, the playback is looped as long as the note
is held. This can be useful to loop either a whole Sample or part of it, e.g.,
to simulate a longer tone. Note: this technique requires that you set the
Sampler’s
TYPE
selector to
AHD
or
ADSR
in the
PITCH
/
GATE
section
(Parameter page 2, see
Page 2: Pitch / Envelope
).
START
(Knob 2)
Adjusts the start point of the loop.
END
(Knob 3)
Adjusts the end point of the loop.
XFADE
(Knob 4)
Allows you to blend a little of the material near the loop start and end
points in order to get a smoother, less abrupt loop. This is particularly
helpful if the loop is inducing any clicks.
Hold
SHIFT
when turning the Knobs to adjust the parameters in finer increments.
By moving the loop’s start and end points closer to each other you can shrink the loop to
very small values on-the-fly, thereby creating very interesting glitch effects in a live
situation.
Page 3 – Tune / Mix Parameters
The
Tune/Mix
page contains parameters controlling pitch- and level-related aspects of the Sample
playback.
SAMPLING AND SAMPLE MAPPING
199