Panasonic AV-HS6000 2 M/E Live Switcher Main Frame & Control Panel (Dual Redundant Power Supplies) User Manual
Page 66

– 66 –
Chapter 5 Basic Operations — KEY
Executing sampling of the selected key source
r
To execute the sampling automatically
1
Select the
→
[KEY1] to [KEY4]
→
[Chroma] tab.
2
Select an item in [Auto Compute] in the [Auto Compute] column.
[Auto Compute]
Executes sampling automatically.
[Reset]
Resets the sampled content.
r
To execute the sampling manually
1
Select the
→
[KEY1] to [KEY4]
→
[Chroma] tab.
2
Set an item in [Chroma PVW] in the [Sample] column.
f
Set the preview monitor. Change the video signals from ME1PVW/ME2PVW outputs to those for chroma key preview.
The chroma key preview image is output from the ME1KEYPVW/ME2KEYPVW outputs when the
→
[MAIN FRAME]
→
[ME1,2] tab
→
[ME1 KEYPVW] column
→
[Chroma PVW] item is set to [Enable].
[Off]
Displays the normal preview image. The sample marker is not displayed.
[Key1] ‑ [Key4]
Displays the preview image selected using [View] in the [Sample] column. The sample marker is displayed.
Because this is a common setting for [Key1] to [Key4], changing this setting for one key changes the setting of all the
other keys.
3
Select [Composite] in [View] in the [Sample] column.
f
The image for the chroma key preview becomes a composite image of the background and foreground images.
4
Select [Select BG Color] in [Mode] in the [Sample] column.
f
This sets the reference color (background color) for extracting the foreground image from the key source.
5
Set [X‑Pos], [Y‑Pos], and [Size] in the [Sample Area] column.
f
Set the position and size of the sample marker.
6
After setting the sample area, select [Sampling] in the [Sample Area] column.
f
The area that has been set is now sampled.
f
If you select [Undo] in the [Sample] column after sampling is executed, the status returns to the pre-sampling status.
f
Narrow color range is specified as the reference color when sampling is performed by selecting [Point BG Color] instead of selecting [Select BG
.
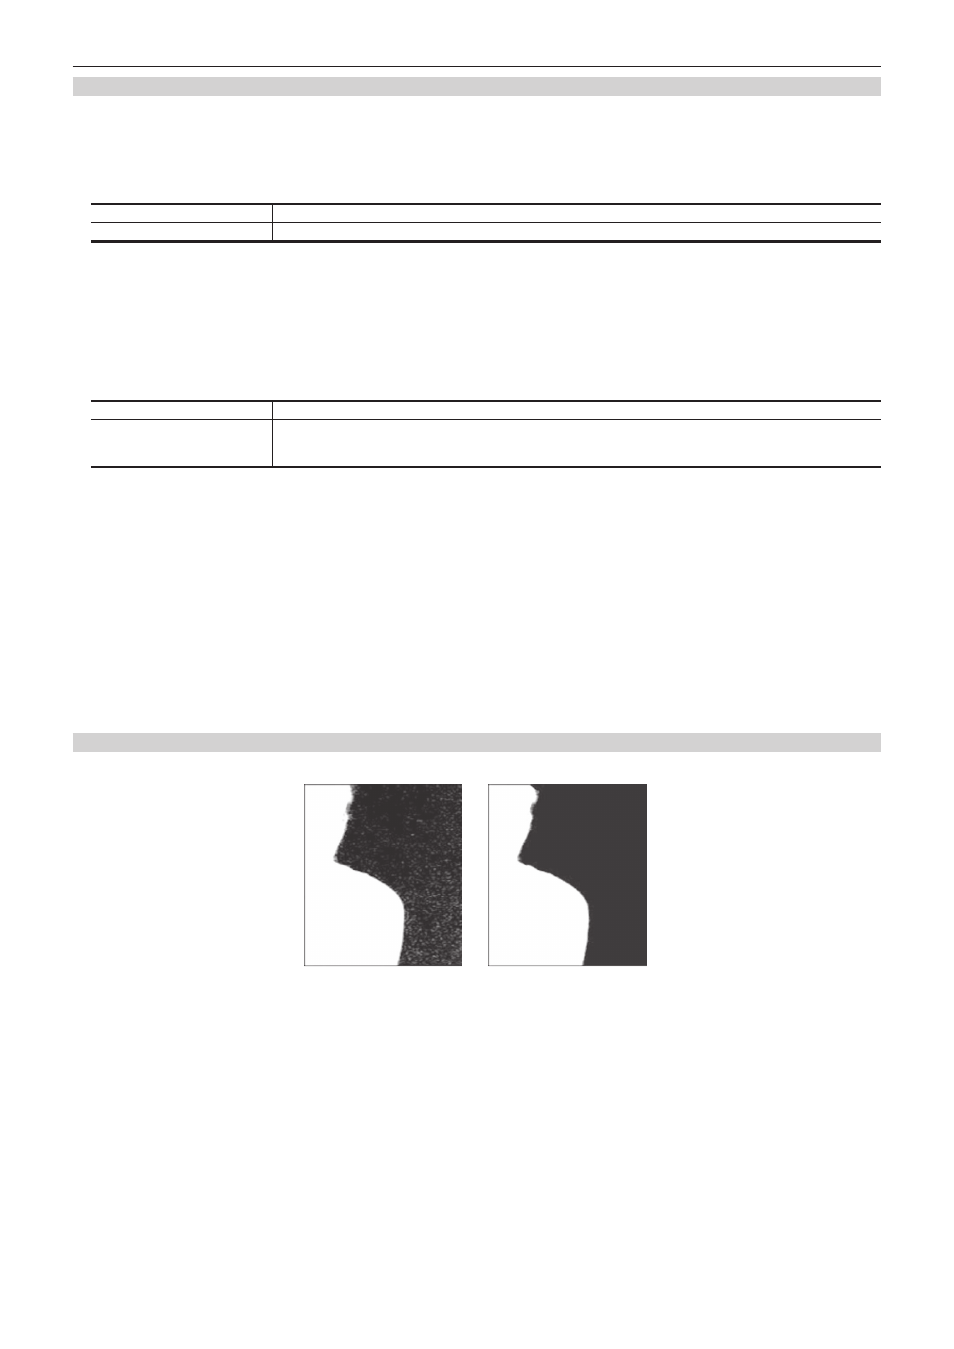
Removing noise in the background image
Remove the noise in the background image. Perform this operation several times to remove noise.
Before the noise is removed
After the noise is removed
1
Select the
→
[KEY1] to [KEY4]
→
[Chroma] tab.
2
Select [Matte] in [View] in the [Sample] column.
f
The image for the chroma key preview becomes a matte image.
3
Select [Clean BG Noise] in [Mode] in the [Sample] column.
f
Remove the noise in the background image.
4
Set [X‑Pos], [Y‑Pos], and [Size] in the [Sample Area] column.
f
Set the position and size of the sample marker at the position of noise (white dots) in the background image.
5
After setting the sample area, select [Sampling] in the [Sample Area] column.
f
The noise in the area that has been set is now removed.
f
If you select [Undo] in the [Sample] column after sampling is executed, the status returns to the pre-sampling status.
