Epson EcoTank Pro ET-5150 Wireless All-in-One Supertank Printer User Manual
Page 205
205
2.
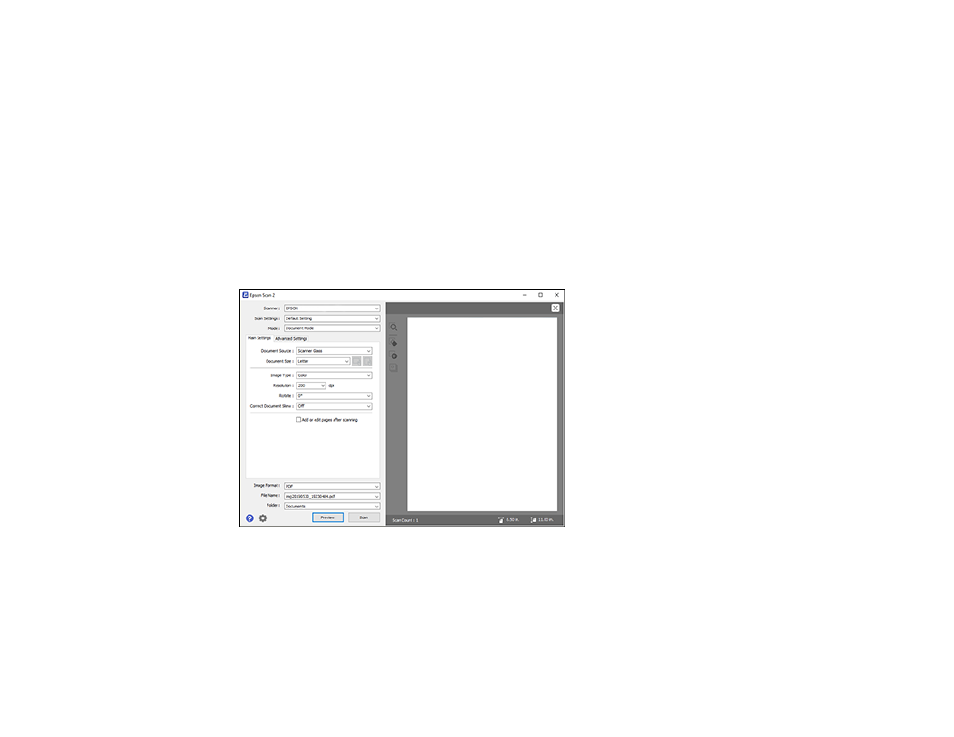
Select the
Mode
setting that matches the type of original you are scanning.
3.
Select the
Document Source
setting that matches where you placed your original, or select
Auto
Detect
to have Epson Scan 2 automatically detect the source.
4.
Select the
Document Size
setting that matches the size of your original. You can select
Customize
to enter a custom size, if necessary.
5.
Select the image type of your original and how you want it scanned as the
Image Type
setting.
6.
Select the
Resolution
setting you want to use for your scan.
7.
Select the
Rotate
setting to rotate the scanned image.
8.
Select the
Correct Document Skew
setting to correct skewed originals, image contents, or both.
9.
Click the
Preview
button.
Epson Scan 2 previews your original and displays the results in the Epson Scan 2 window.
10. Reinsert your original into the ADF, if necessary.
11. Select any of the additional settings that you want to use on the Main Settings tab.
12. Do one of the following:
• If you're scanning in Document Mode, select any of the additional settings that you want to use on
the Main Settings tab.
- Expression Home XP-4200 Wireless All-In-One Color Printer Expression Home XP-5200 Wireless All-In-One Color Printer EcoTank ET-3830 Wireless Color All-in-One Cartridge-Free Supertank Printer Workforce ST-C8090 All-in-One Supertank Printer EcoTank Pro ET-5880 All-in-One Cartridge-Free Supertank Printer with PCL Support EcoTank Pro ET-16600 Wide-Format All-in-One Supertank Printer WorkForce Pro WF-7820 All-in-One Inkjet Printer WorkForce Pro WF-7840 All-in-One Inkjet Printer