Exporting a clip to the k2 media server – Grass Valley EDIUS Pro v.7.20 User Manual
Page 486

Interaction with STRATUS
464
EDIUS - Reference Manual
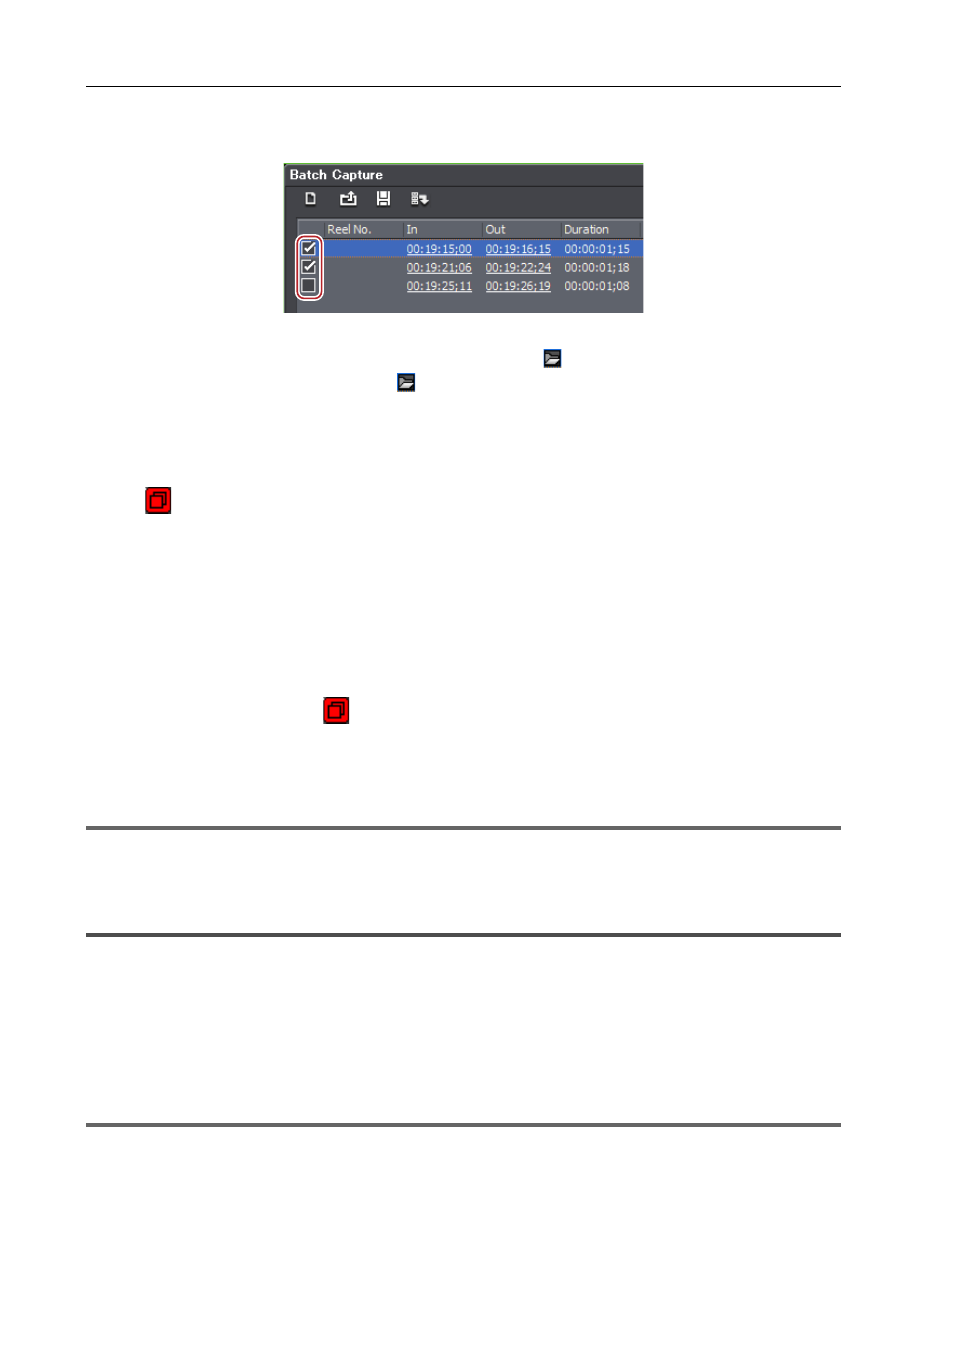
8 Turn on the check buttons for the sources to capture from the list in the [Batch Capture] dialog box.
The check buttons are turned on immediately after the sources are added to the list.
3
•
The [File Name] column in the [Batch Capture] dialog box shows the save destination addresses of the captured
clips. To rename a file, click it and enter any characters. Clicking
displays the [K2 Ingest Setting] dialog box.
You can select multiple sources and click
to change the save destinations for a group of sources.
[K2 Ingest Setting] Dialog Box
9 Click [Capture].
If a reel name is not set in step 4, capturing starts and the progress is displayed in [Status] of the [Batch Capture] dialog
box.
The icon
indicating that the system is generating a file is displayed on the clip that is being captured in the source
browser.
The captured clip is registered in the bin.
If you set a reel name in step 4, proceed to step 10.
10 Insert a tape in your camera, and select the corresponding reel name from the [Please insert the tape, and
select the reel name.] list.
The time required for capturing is indicated next to the reel name.
11 Click [OK].
Capture of the source corresponding to the selected reel name starts, and the progress is displayed in [Status] of the
[Batch Capture] dialog box. The icon
indicating that the system is generating a file is displayed on the clip that is
being captured in the source browser.
The captured clip is registered in the bin.
If you have set multiple reel names, repeat steps 10 to 11.
1
Note
• If only the audio is captured, it is not displayed as a clip in the source browser window. A WAV file is saved in the
project folder.
Exporting a Clip to the K2 Media Server
The clips in the bin or displayed in the source browser can be exported to the K2 Media server. The clips will be
automatically converted to K2 Clip format when exported.
Before performing this operation, you must configure the connection to a K2 Media server to be the export destination.
Setting the default value of the destination K2 Media server in the user settings makes the export operation easier.
K2 Asset Registration Settings
3
•
Clip markers remain on the clips exported to the K2 Media server.
1
Note
• When an In point, Out point, or duration of 720p format clips is an odd number of frames, the clip cannot be
transferred.
