Placing k2 clip files on the timeline, Capturing sources in k2 clip format, Capture workflow – Grass Valley EDIUS Pro v.7.20 User Manual
Page 482
Interaction with STRATUS
460
EDIUS - Reference Manual
• If [Allows Users to Rename/Delete Clips and Bins.] is checked in the browser settings, the following operations
can be performed in the clip view of the source browser.
- Click a clip name and rename it.
- Select a clip and press [F2] on the keyboard to rename it.
- Right-click a clip and click [Delete] to delete it.
Placing K2 Clip Files on the Timeline
0
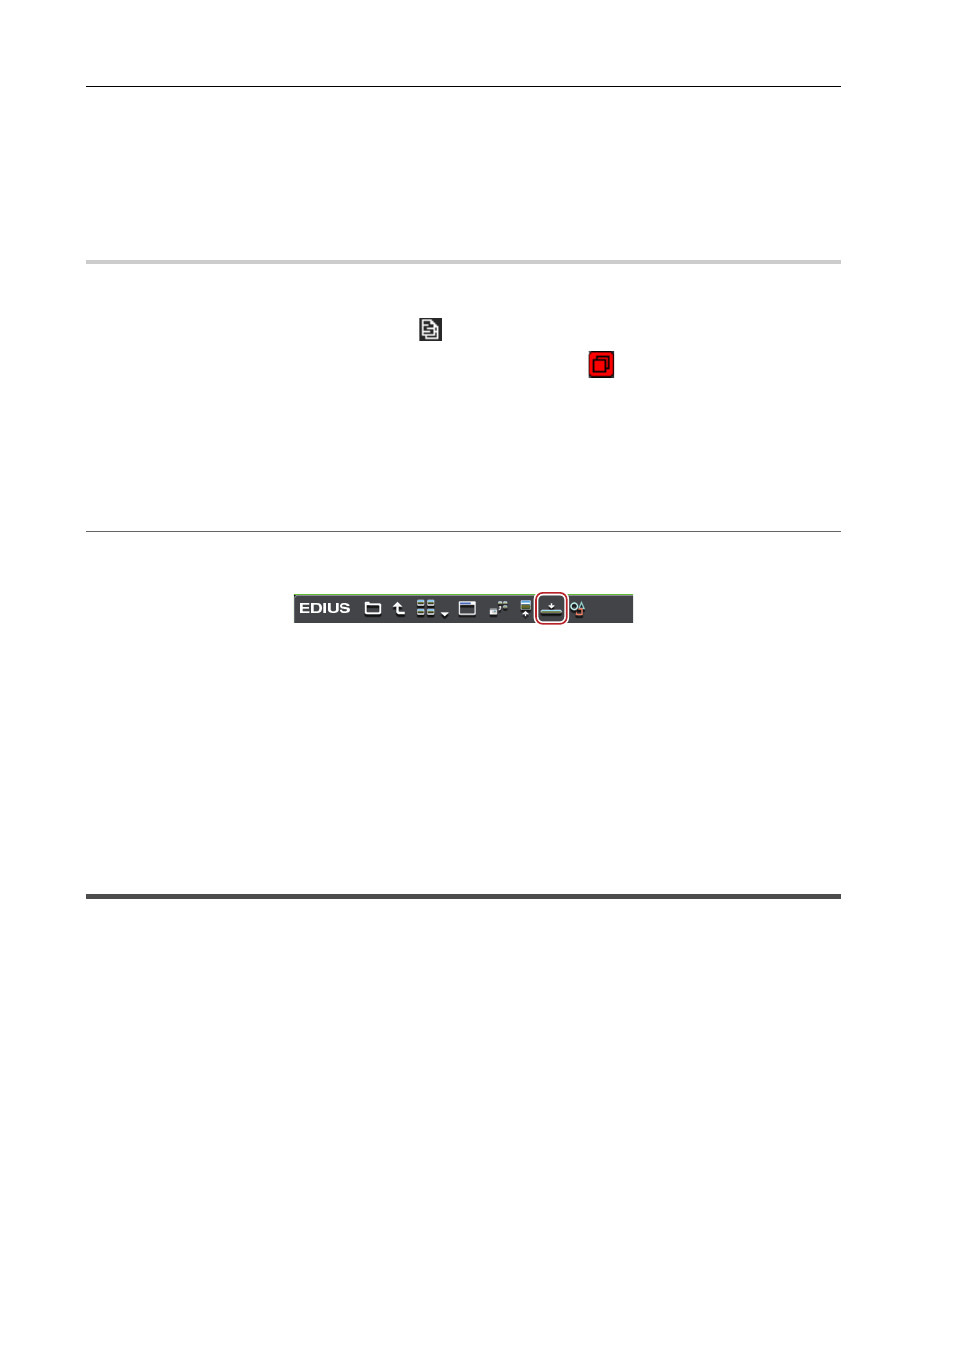
1 Click the [K2 (SAN)] tree in the folder view of the source browser, and click a connection destination.
The information on the K2 Media server is displayed in the clip view.
A Program/List format clip is displayed with the icon
.
A clip that is being captured by another EDIUS client is displayed with the icon
indicating that the system is
generating a file.
3
•
To update the information of the server, right-click the connection destination, and click [Refresh].
2 Drag and drop a clip to the timeline.
For a Program/List format clip, a dialog box appears indicating that loading is being performed. The clip is placed on the
timeline as a sequence clip when loading the clip is complete.
2
Alternative
• Configure the source channel mapping and move the timeline cursor to the point where you want to place a clip.
Select a clip, and click [Add to Timeline] in the source browser.
• Configure the source channel mapping and move the timeline cursor to the point where you want to place a clip.
Select and right-click a clip in the source browser, and click [Add to Timeline].
3
•
If you click [Cancel] in the dialog box that is displayed while loading a Program/List format clip, all of the
previously loaded clips will become invalid.
• If [Allows Users to Rename/Delete Clips and Bins.] is checked in the browser settings, the following operations
can be performed in the clip view of the source browser.
- Click a clip name and rename it.
- Select a clip and press [F2] on the keyboard to rename it.
- Right-click a clip and click [Delete] to delete it.
Capturing Sources in K2 Clip Format
Capture Workflow
The workflow to capture sources in K2 Clip format using EDIUS is as follows.
1 Specify the save destination for the captured source.
You set the save destination for the source captured in K2 Clip format.
K2 Server (SAN) Settings
2 Connect external devices to a PC.
Connect the external devices, such as cameras or decks, you want to use for capturing to Grass Valley hardware or
your PC.
3 Register a device preset that supports capturing in K2 Clip format.
Register setting items for the connection information or video format to load a clip in K2 Clip format, etc. as a device
preset for the external devices, such as cameras or decks, you want to use for capturing as well as Grass Valley
hardware. Select [K2 Clip] from the [File Format] list on the [Input H/W, Format Settings] screen.
Registering Device Presets