Sf-3040 radio modem, Configure the radio settings (sf-3040), Figure 130: receiver setup/configure sf-3040 radio – NavCom StarUtil-3000 Rev.G User Manual
Page 140
StarUtil 3000 User Guide
– Rev G
8-138
SF-3040 Radio Modem
StarUtil 3000 provides a GUI method and an Input Terminal method of configuring the SF-3040
plug-in radio.
Follow these steps to configure the radio as a rover (receiver) or base (transmitter):
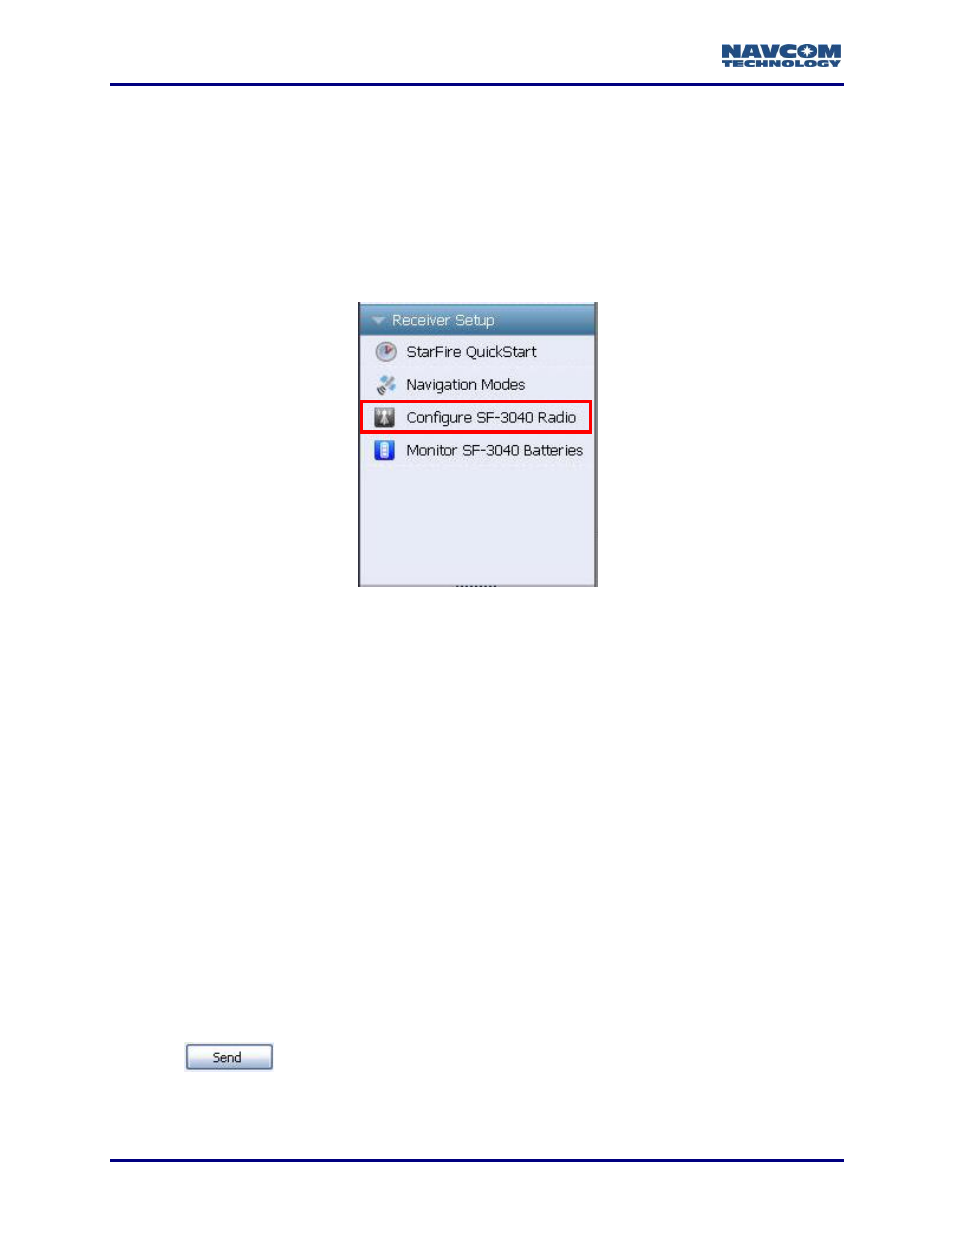
1. On the Receiver Setup menu of StarUtil 3000, click Configure SF-3040 Radio (see
) to display the SF-3040 Radio Configuration and Status dialog box (see Figure 131).
Figure 130: Receiver Setup/Configure SF-3040 Radio
Refer to Figure 130 for the steps below.
2. To turn on the radio, select the ON option.
Configure the Radio Settings (SF-3040)
3. To set a frequency other than the default frequency, type a frequency between 403.00000
and 473.000000 in the FREQUENCY in MHz (in 25KHz steps) text box.
4. To set the receiver sensitivity threshold power level other than the default power level, type
a power level between -118 and -80 in the RX Threshold in dBm text box. A larger value (i.e.
closer to -80) makes the receiver less sensitive, which means the base and rover need to be
closer together for the radio link to function properly.
5. To use a network ID other than the default ID, type a network ID between 0 and 4090 in the
NETWORK ID text box. The base and rover network IDs must match.
6. Select a Channel Width option: 12.5 kHz or 25 kHz.
7. Select a Protocol Option: Satel 3AS (0); Pacific Crest 4-FSK (1); Pacific Crest GMSK 92);
TRIMTALK GMSK (3.) Options (1) (2) and (3) are Trimble receiver protocols.
8. Click
to send the configuration to the radio using the selected parameters.