3 installing the bl-u1, 4 installing the bl-u2, n-42 – KEYENCE BL-700 Series User Manual
Page 41
Chapter 2 Connection and Installation
2
27
A
B
4 - ø5
150
98
POWER
SD
RD
BL-U2
RS-232C
READER
63.2 mm
43.2 mm
2 - ø4.5 mm
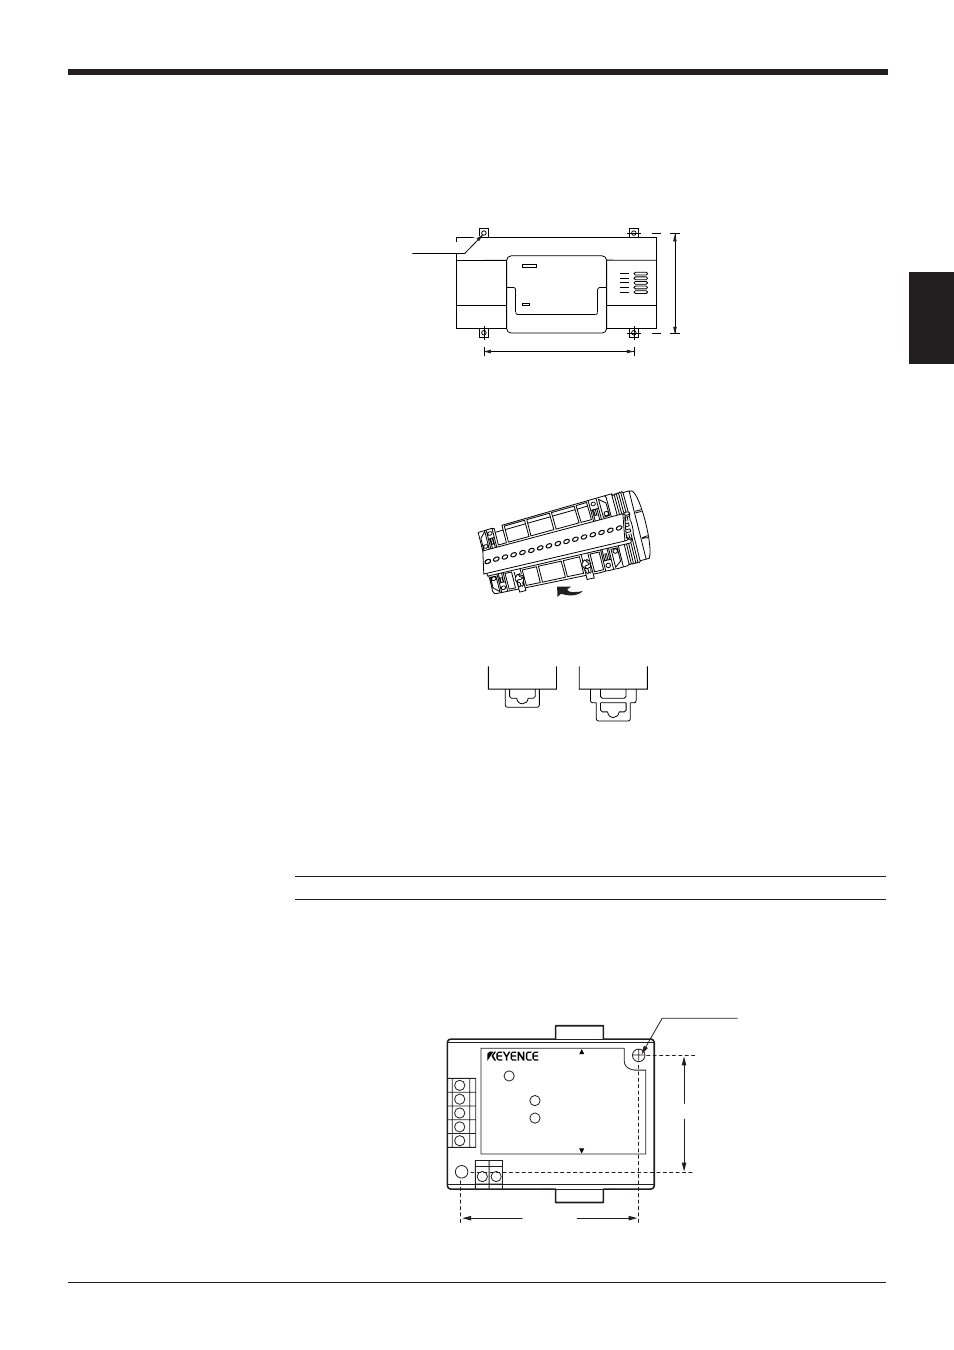
2.4.3 Installing the BL-U1*
There are 2 methods for installing the BL-U1:
■ When installing the BL-U1 directly
Pull out the 4 screw slots on the rear panel and screw them to the base.
■ When installing the BL-U1 to the DIN rail
1. Hook the BL-U1 to the DIN rail groove from its top. Push the BL-U1 bottom
against the DIN rail until you hear a click.
2. Check that the DIN rail mounting notch is shaped like notch A below. If not,
push the BL-U1 further.
3. To remove the BL-U1 from the DIN rail, pull out the notch until its shape turns
from Fig. B to Fig. A. Then, disengage the BL-U1 from the DIN rail.
4. When you want to reinstall the BL-U1 to the DIN rail, return the notch from that
of Fig. A to Fig. B.
Note: BL-U1 is not available in Europe.
2.4.4 Installing the BL-U2, N-42
Install the BL-U2 or N-42 using the mounting hole.
* The BL-U2 is 21 mm thick and the N-42 is 26 mm thick.