Unpacking and inspecting the dyno – Dynojet 424x: Installation Guide User Manual
Page 38
In Ground Model 424x/424xLC
2
Automotive Dynamometer Installation Guide
C H A P T E R 3
Unpacking and Inspecting the Dyno
3-2
. . . . . . . . . . . . . . . . . . . . . . . . . . . . . . . . . . .
UNPACKING AND INSPECTING THE DYNO
When you receive your dyno, examine the exterior of the shipping container for any
visible damage. If damage is detected at this stage, contact the shipper or Dynojet
before proceeding with unpacking.
Use the following steps to unload your dyno. You will need to provide equipment
capable of lifting a minimum of 2,495 kg (5,500 lb.) to move the crated dyno into
position in your dyno room. Refer to “Dynamometer Specifications and
Requirements” on page 1-4 for more information.
1
Move the crated dyno (crate 2) to a clear area near your dyno room.
2
Using a pry bar, or a large flat screwdriver, and a hammer, carefully remove the
top and sides of the crate.
Note: Inspect the exterior of the dyno for any indications of damage. Report any
damage immediately.
3
Remove the bridge pieces, pit covers, and track assembly from the top portion of
the crate and set aside.
4
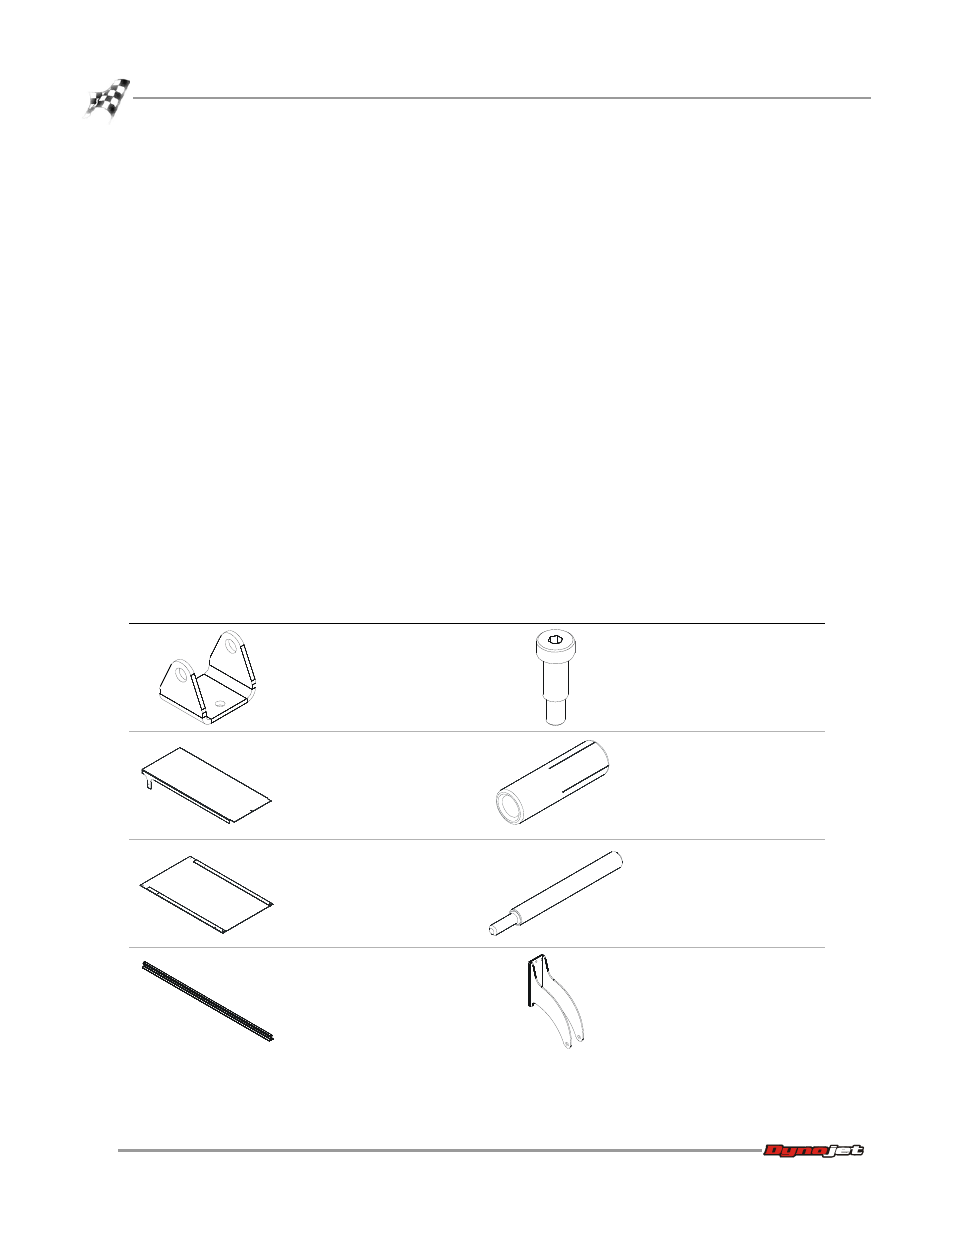
Remove the following parts and hardware boxes from the crate and set aside.
5
Verify the contents of the hardware boxes and set aside.
Note: Some of these parts may have been shipped in the stationary dyno crate
(crate 1).
part
description
part
description
cylinder mount, floor
P/N 21200064
bolt, shoulder, 3/8-16,
1/2"D x 1"L (8)
P/N 36800973
bridge cover, stationary
dyno
P/N 21219511
anchor, redhead, 3/8" (12)
P/N 37513200
bridge cover, 4WD dyno
P/N 21219512
installation tool, redhead
anchor
P/N 37518200
rail (2)
P/N 21514282
cylinder mount, dyno
P/N 61300016