Anchoring the dyno, Installing the eddy current brake – Dynojet 424x: Installation Guide User Manual
Page 36
In Ground Model 424x/424xLC
2
Automotive Dynamometer Installation Guide
C H A P T E R 2
Dyno Installation
2-12
A
NCHORING
THE
D
YNO
Dynojet recommends you secure your dyno to the floor in your dyno room using
concrete anchors. Use the following instructions to secure the dyno to the floor.
You will need the following parts:
• 36923100
Washer, 3/8", Hardened, Flat, Steel (4)
• 37513200
Anchor, Redhead, 3/8" (4)
• 37518200
Redhead Anchor Installation Tool
• DM150-019-012
Bolt, 3/8-16 x 1", Hex (4)
1
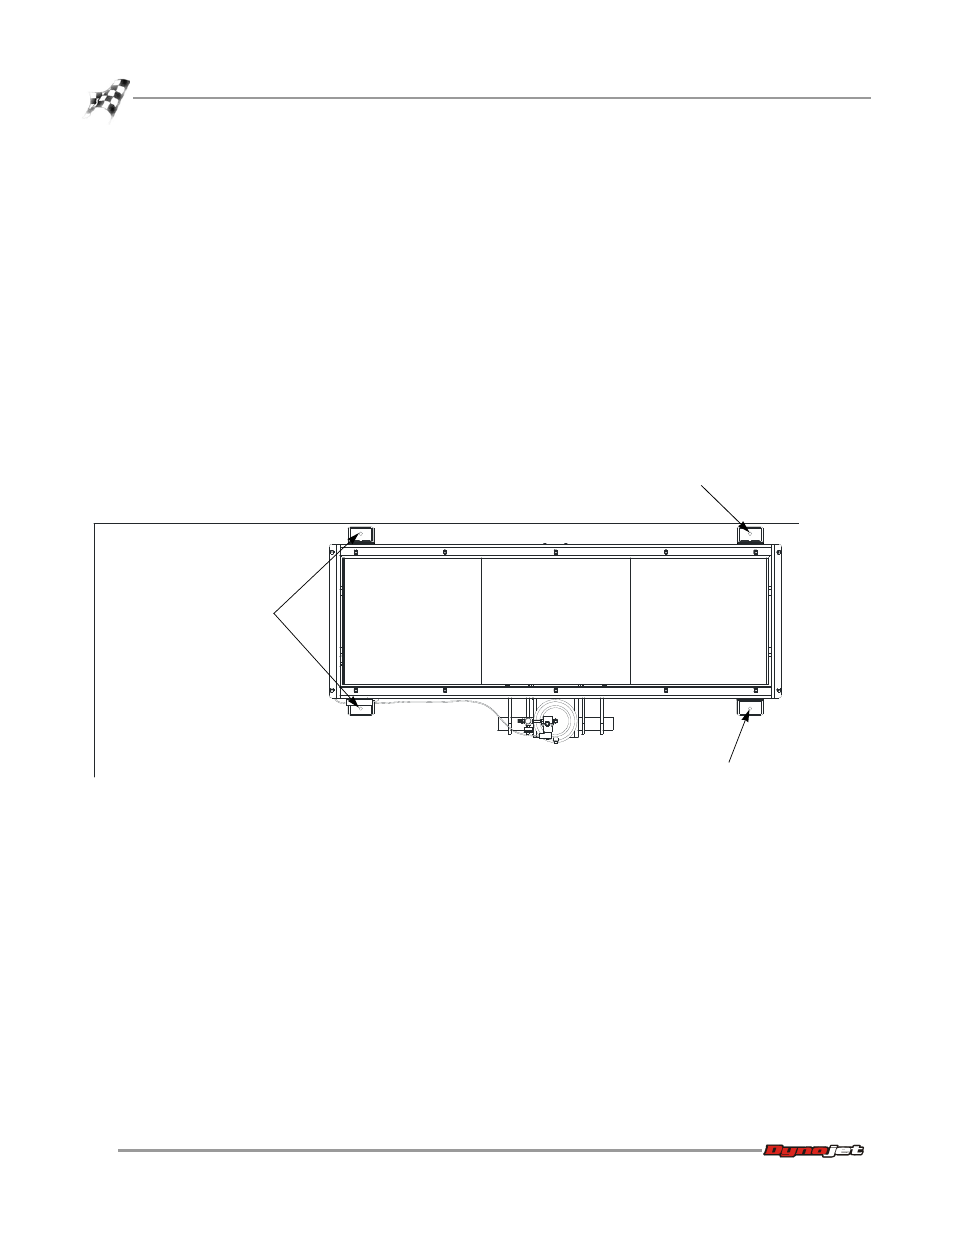
Using the mounting feet as a template, mark and drill each hole needed to secure
the four dyno feet to the floor.
2
Install four Red Head anchors. Refer to Appendix A for installation instructions.
3
Secure each mounting foot to the floor using one 3/8-16 x 1-inch hex-head bolt
and one 3/8-inch flat washer.
Figure 2-5: Secure the Dyno to the Floor
I
NSTALLING
THE
E
DDY
C
URRENT
B
RAKE
Refer to Chapter 4 for eddy current brake installation instructions and install your
eddy current brake at this time.
AD137
secure dyno to floor
secure dyno to floor
secure dyno to floor