Install lights – Great Plains NTA2007HD Predelivery Manual User Manual
Page 93
Great Plains Manufacturing, Inc.
Implement Assembly
89
02/09/2011
166-283Q
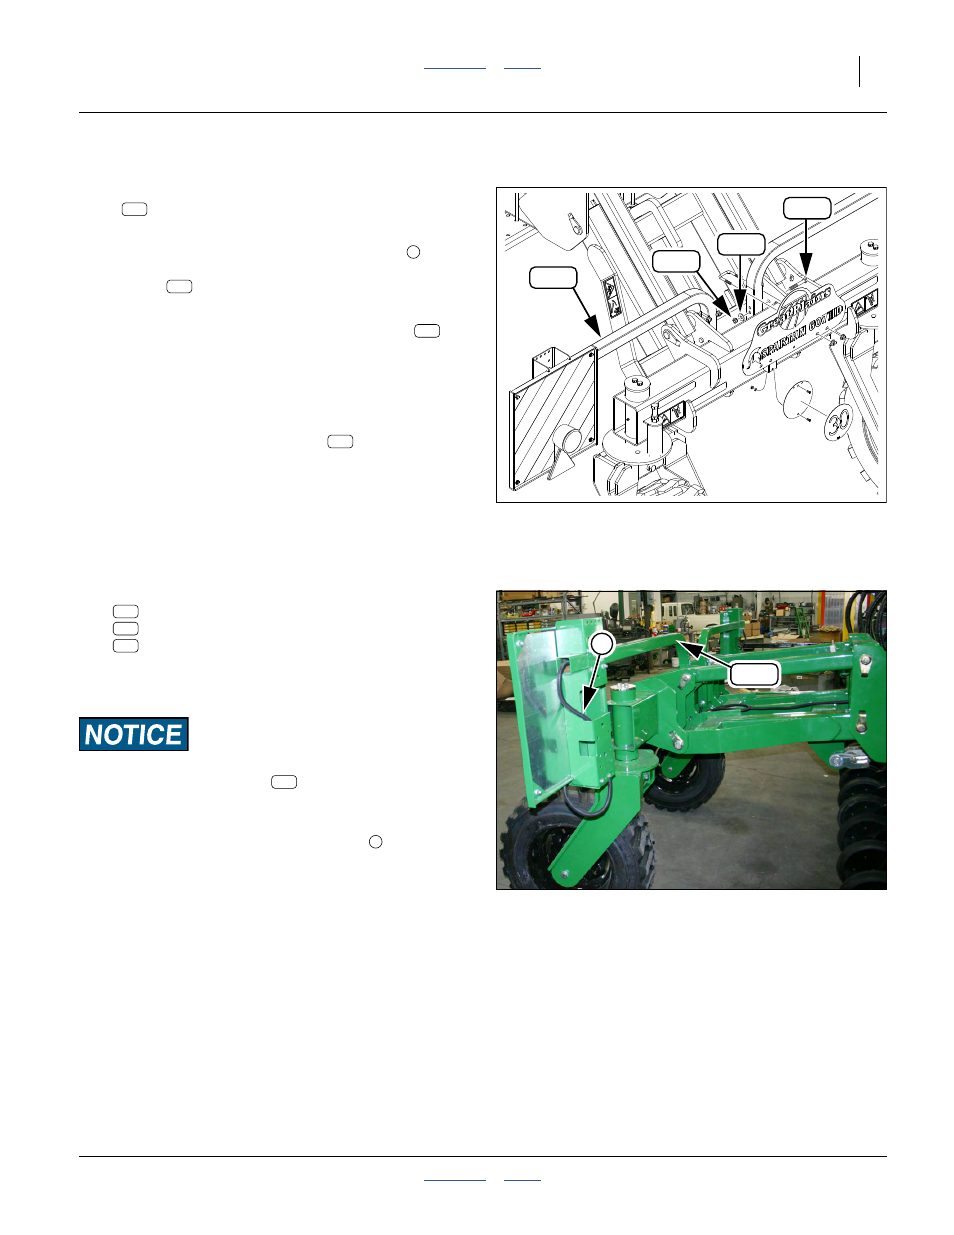
Install Lights
Lights are provided pre-assembled on reflector support
tubes
, as left- and right-handed assemblies.
Refer to Figure 160
Note: Due to the connectors on the lamp leads
, it is
necessary to route the leads through the support
tubes
prior to mounting with through-bolts.
Refer to Figure 159
360. Locate the Y-section of the lighting harness
routed at step 256 (page 61).
Dress the left lamp lead to the left, and the right to
the right.
361. Select the left light assembly. Prop it up with the
inside end of the support tube
near the center
of the rear caster weldment.
362. Fish the connector and lead for the left lamps
through the support tube from the inside end (away
from the lights). Pull just enough clear of the other
tube end to allow easy maneuvering of the assem-
bly, with no risk of pulling the connector back into
the tube.
363. Select two sets:
802-041C HHCS 1/2-13X3 1/2 GR5
804-113C WASHER FLAT 1/2 USS HARD PLT
803-147C NUT HEX NYLOCK 1/2-13
Mount the support tube to the inside face of the
upper inside parallel arm lug.
Cable Damage Risk:
Be careful when inserting bolt
through the support tube.
Gently push the cable aside with the bolt tip.
Refer to Figure 160
364. Route the free end of the lamp cable
down
through the sign mount bracket and then back up
into it.
365. Mate the lead connectors for the lamps and the
lighting cable. Coil up excess cable and secure
lamp housing.
366. Repeat step 361 through step 365 for the right light-
ing assembly.
Null4:
Null4:
Figure 159
Install Lights
31287
132
237
214
183
132
132
171
132
Null4:
Figure 160
Lighting Lead Routing
Q0080
1
132
183
237
214
183