Using the timeline – Apple Motion 2 Tutorials User Manual
Page 30
30
Tutorial 1
The Motion Interface
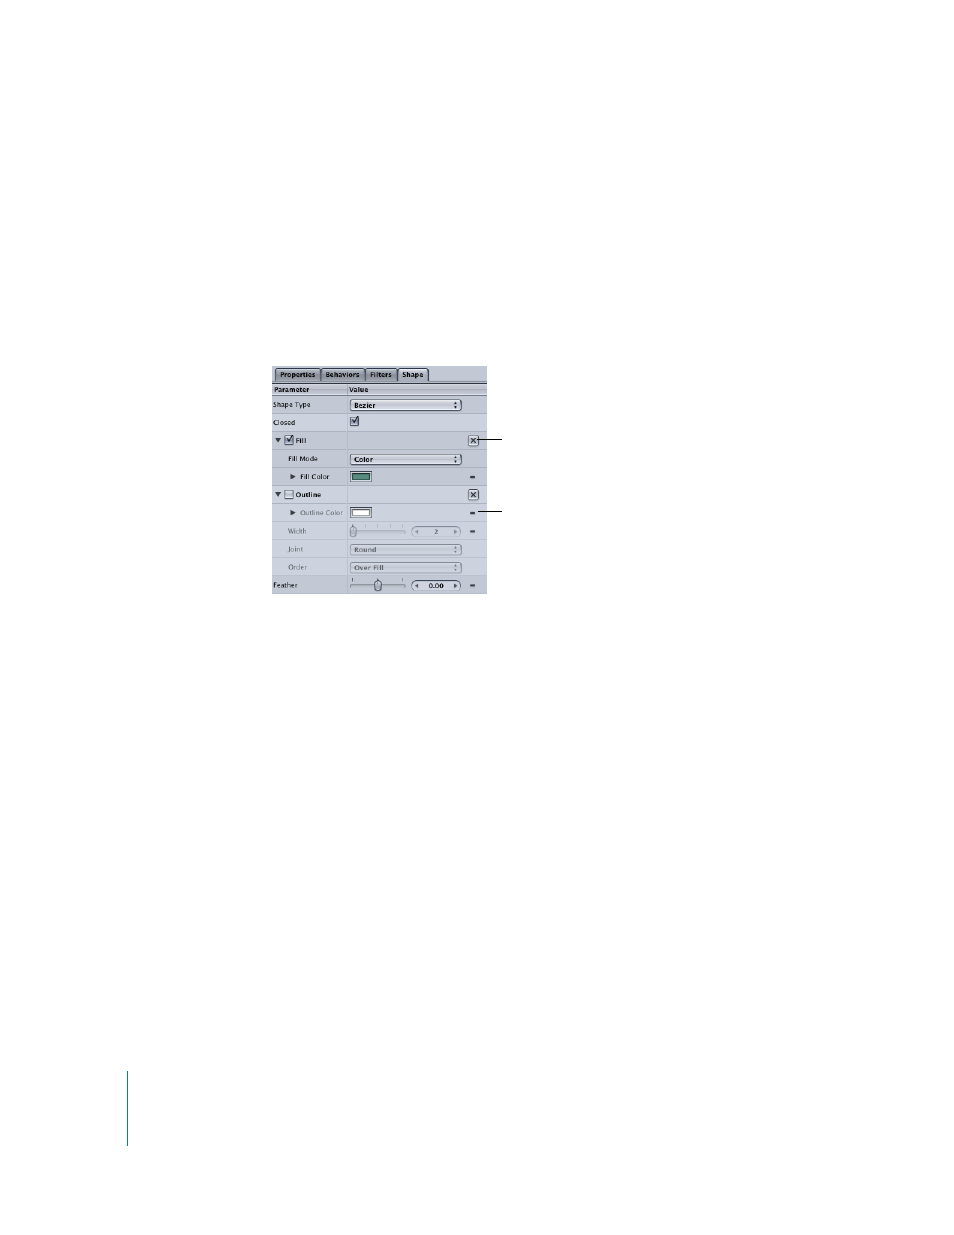
Viewing the Shape (Object) Tab
The fourth tab in the Inspector is the Object tab. The Object tab changes depending on
the type of object that is currently selected. In this example, the Object tab is the Shape
tab, because a shape is the currently selected object.
To view the Shape tab parameters:
m
Click the Shape tab.
The Shape tab contains parameters for modifying the shape, color, fill mode, outline,
softness, and so on, of the shape object.
As you can see in the image above, most of the parameters in the Inspector have a
small “–” icon at the end of the parameter row. This is the Animation menu icon, and
indicates that the parameter can be animated. This pop-up menu contains controls that
allow you to set keyframes, enable and disable animation, show parameters in the
Keyframe Editor, and reset the individual parameter. The larger Reset button, the “x,”
resets all of the parameters within that parameter group. For this tutorial, do not use
the Animation menu or the Reset button.
Using the Timeline
The Timeline is the other major component of the Motion interface. It displays the
objects in your project, including behaviors, filters, masks, shapes, and text, laid out
over time. This lets you adjust an object’s placement in time and edit its In and Out
points.
To show the Timeline, do one of the following:
m
Click the Timing icon in the Toolbar.
m
Choose Window > Timeline.
m
Press Command+7.
Animation menu icon
Reset button