Customizing the particle gradient – Apple Motion 2 Tutorials User Manual
Page 194
194
Tutorial 4
Working With Particles
To change the scale of the particles:
1
In the Layers tab, select the 5-sided star cell source, which has the particle icon next to
it.
2
In the Particle Cell tab of the Inspector, change Scale to 20.
3
Save your project (press Command+S).
Customizing the Particle Gradient
To make each particle stand out, add more colors to the gradient across its range.
To add a gradient to the particle system:
1
In the Layers tab, select the Stars emitter.
2
In the Emitter tab of the Inspector, choose Over Life from the Color Mode pop-up
menu.
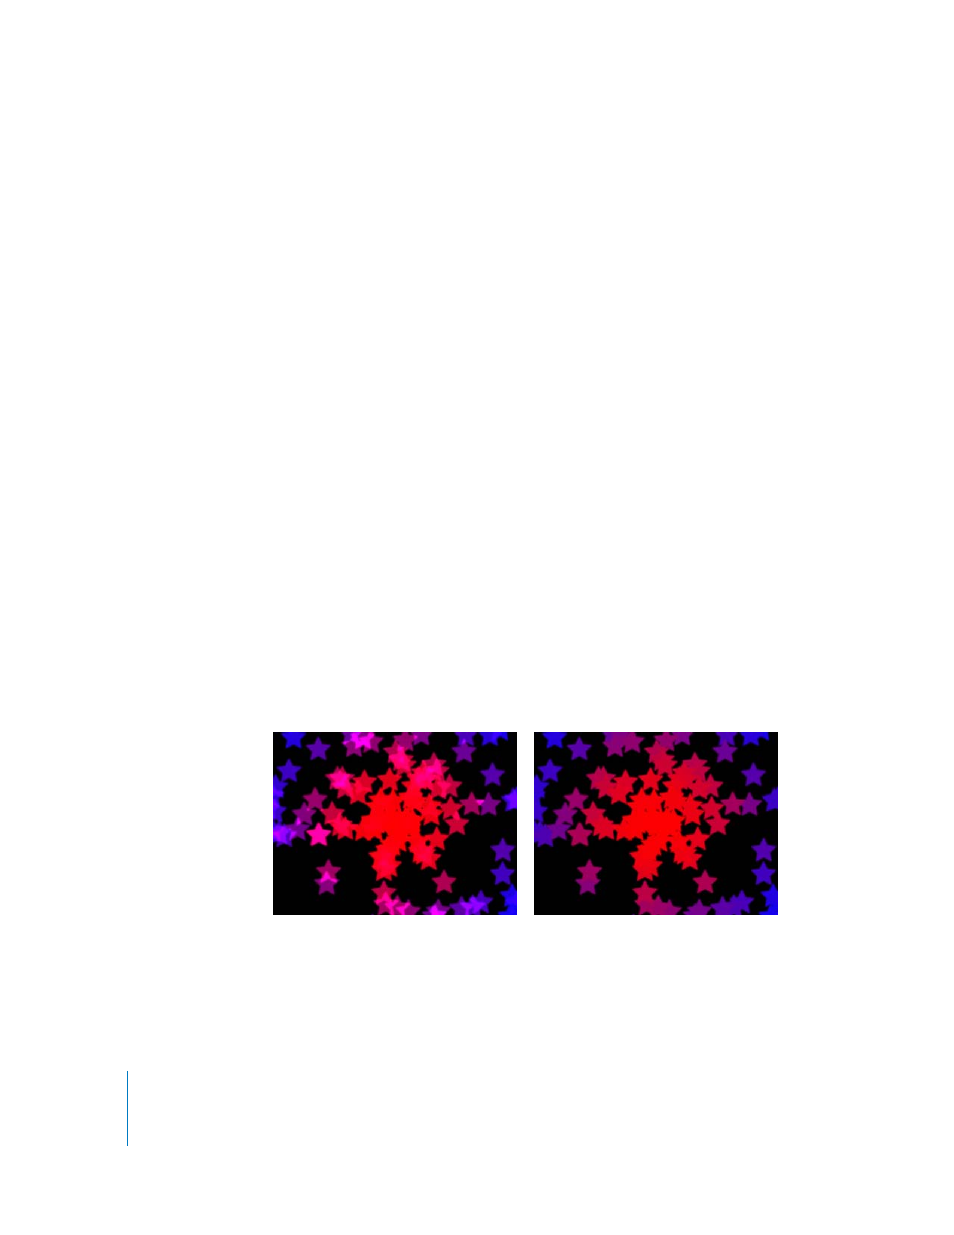
The default red to blue color gradient appears, and the stars in the Canvas become
more blue toward the edges of the Canvas. Each particle in a particle system has a
Life—a length of time the particle is visible, measured from the time it is created. At
the end of its specified Life, the particle disappears. As this is a function of time, when
the Color Mode is set to Over Life, individual particles change color over the course of
their lifetime.
To change the blend mode of the star object:
1
In the Layers tab, select the Stars emitter.
2
In the Emitter tab of the Inspector, click the checkbox to activate Additive Blend.
The overlapping stars now interact more dramatically, as the stars’ color values are
added together when they overlap.
Now you can also see the effect of Additive Blend.
To add color tags:
1
Click the Color Over Life disclosure triangle to display the Gradient Editor.
Next, add three more color tags to the gradient.
Additive Blend on
Additive Blend off