Storing/editing address book, Registering fax numbers in the address book, Storng/edtng address book -2 – Canon Color imageCLASS MF9280Cdn User Manual
Page 85: Registering fax numbers in the, Address book -2, Storing/editing address book -2, Registering fax numbers in the address book -2
3-2
Storing/Editing Address Book
Reg
ist
er
ing D
estina
tions in the A
ddr
ess B
ook
Storing/Editing Address Book
The Address Book is a feature used for storing fax numbers, e-mail addresses, I-fax
addresses, and file server addresses. You can also register multiple destinations for a group
address. Registering a destination in the Address Book saves you the effort of entering that
destination’s address each time you send a job.
Storing addresses in the Address Book is available only for the Color imageCLASS MF9280Cdn.
You can register a total of 300 destinations in the Address Book, including 200 destinations registered in one-touch.
Each address entry is treated as a single entry, so if a destination is registered in a group address, that destination and the
group address are counted as two entries.
Destinations stored in the Address Book can be exported to your computer as a file, which can be imported into the
machine. For information on how to export and import the Address Book, see “Setting from a PC,” in the e-Manual.
For easy reference, it is recommended to print the list of recipients registered in the Address Book and one-touch. For
information on how to print the lists, see “Introduction of the Machine,” in the e-Manual.
New destinations cannot be registered in the Address Book if
in
Registering Fax Numbers in the Address Book
This section describes the procedure for registering fax numbers in the Address Book.
This section describes how to register destinations from the Additional Functions screen. You can also register destinations from the
Select Send Type screen, as follows:
In the Select Send Type screen, use [
▼], [▲] or (Scroll Wheel) to select
, then press [OK].Press the left Any key to select
Use [
▼], [▲] or (Scroll Wheel) to select
Follow the procedure described in this section from step 6.
–
–
–
–
–
–
–
–
–
–
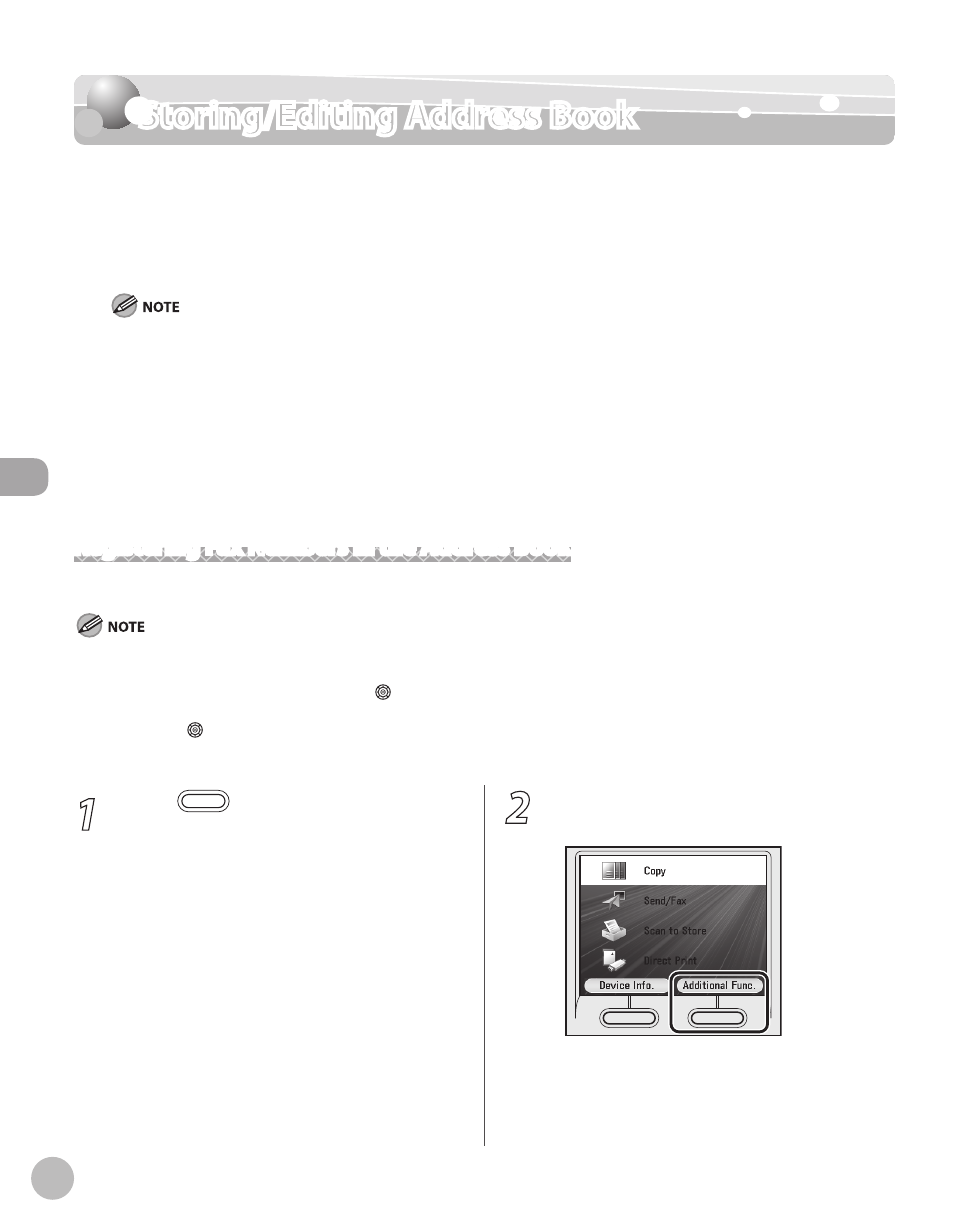
1
Press
(Main Menu).
2
Press the right Any key to select