Imaging unit, Front panel messages, Diagnosing print quality – Tektronix 560 User Manual
Page 154: Replacing the imaging kit
6
Caring for Your Printer
6-6
Phaser 560 Color Laser Printer
Imaging unit
Front panel
messages
Imaging Unit:replace
Replace the Imaging Unit soon. After the message
appears, the unit may still yield about 1,500 color
pages, depending on the complexity of your prints.
Imaging Unit expired
Replace the unit
now
; it is used up and print quality is
affected.
Diagnosing print
quality
■
Dark, vertical streaks on the
print.
■
Print the
Consumables Page
from the front panel.
■
Check the
%
Remaining
gauge.
■
Compare your output with the print quality
examples in “Maintaining print quality” on
page 7-6 to diagnose and correct the symptoms.
■
Print the
Configuration Page
from the front panel or
access the front panel
System Counts
menu.
■
Check the Imaging Unit
Count
; compare the
number to the component’s average life (refer to
page 6-3).
■
Dark color spots and streaks in
all colors.
■
A wide, light, horizontal band in
one place on the page.
■
All colors are faded; fine line
detail disappears.
Replacing the
imaging kit
1.
Open the printer’s front door.
2.
Unlock the Imaging Unit:
■
Loosen the two thumbscrews (turn
counterclockwise
).
■
Turn the lower lever
counterclockwise
.
3.
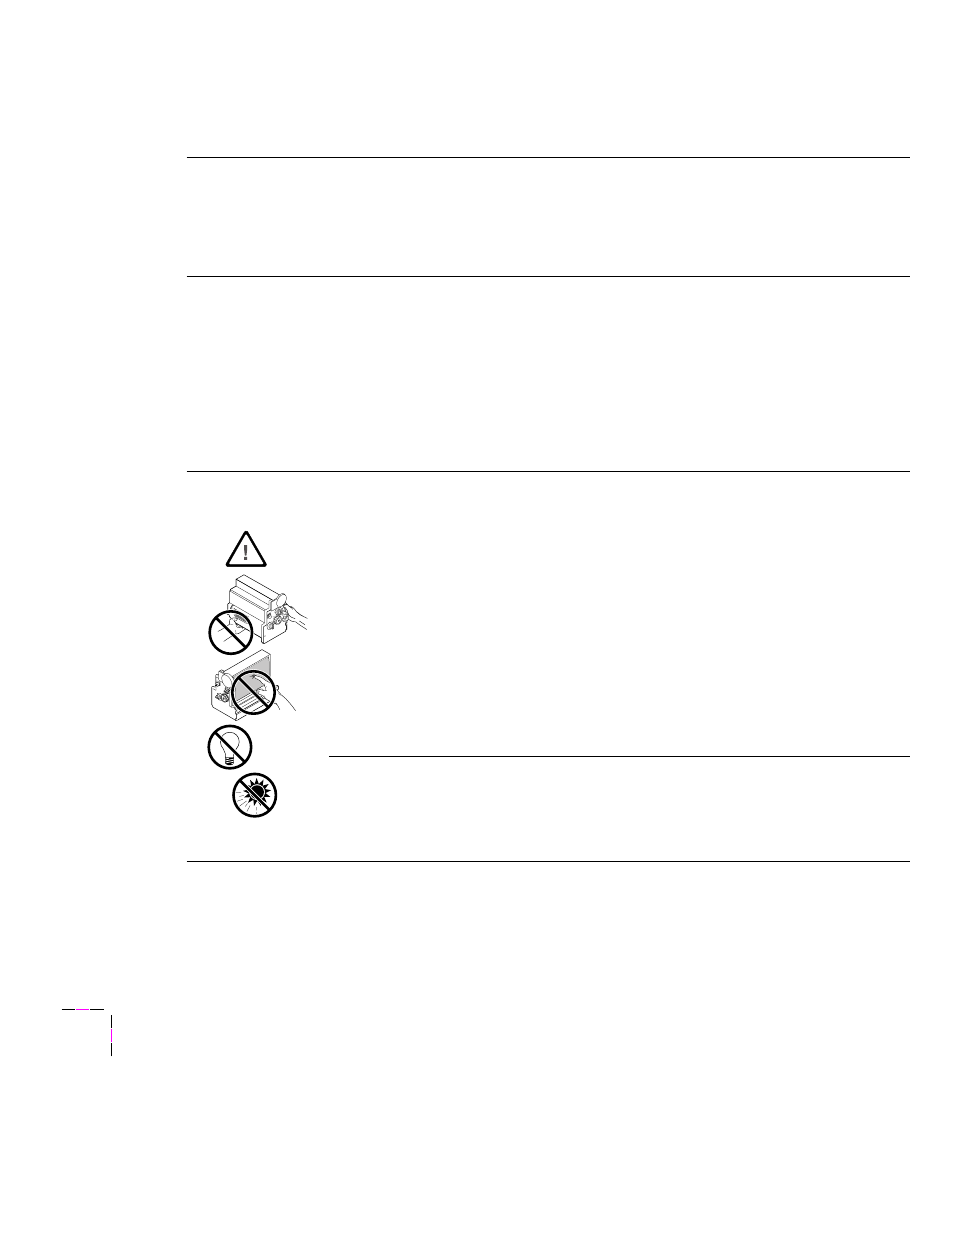
Remove the old Imaging Unit and cover it completely to prevent damage from light
exposure.
*
After you determine that the new Imaging Unit corrects the symptom, dispose
of the used unit as normal office waste.
4.
Unpack the new unit and filter; do not touch the right side or underside of the Imaging Unit.
5.
Replace the filter.
6.
Insert the new Imaging Unit:
■
Turn the unit’s upper lever
90˚ clockwise
.
■
Remove the protective plastic sheet.
■
Slide the unit into the printer; turn the lower lever
180˚ clockwise
and tighten the
thumbscrews. Close the printer’s front door.
*
If installing a new unit does not correct the symptom:
1.
Remove the new unit from the printer and carefully repack it for future use (it must be
protected from light exposure).
2.
Re-install the original Imaging Unit.
LOCK
LOCK
9698-103