Tektronix Phaser Color Printer 750 User Manual
Tektronix Printers
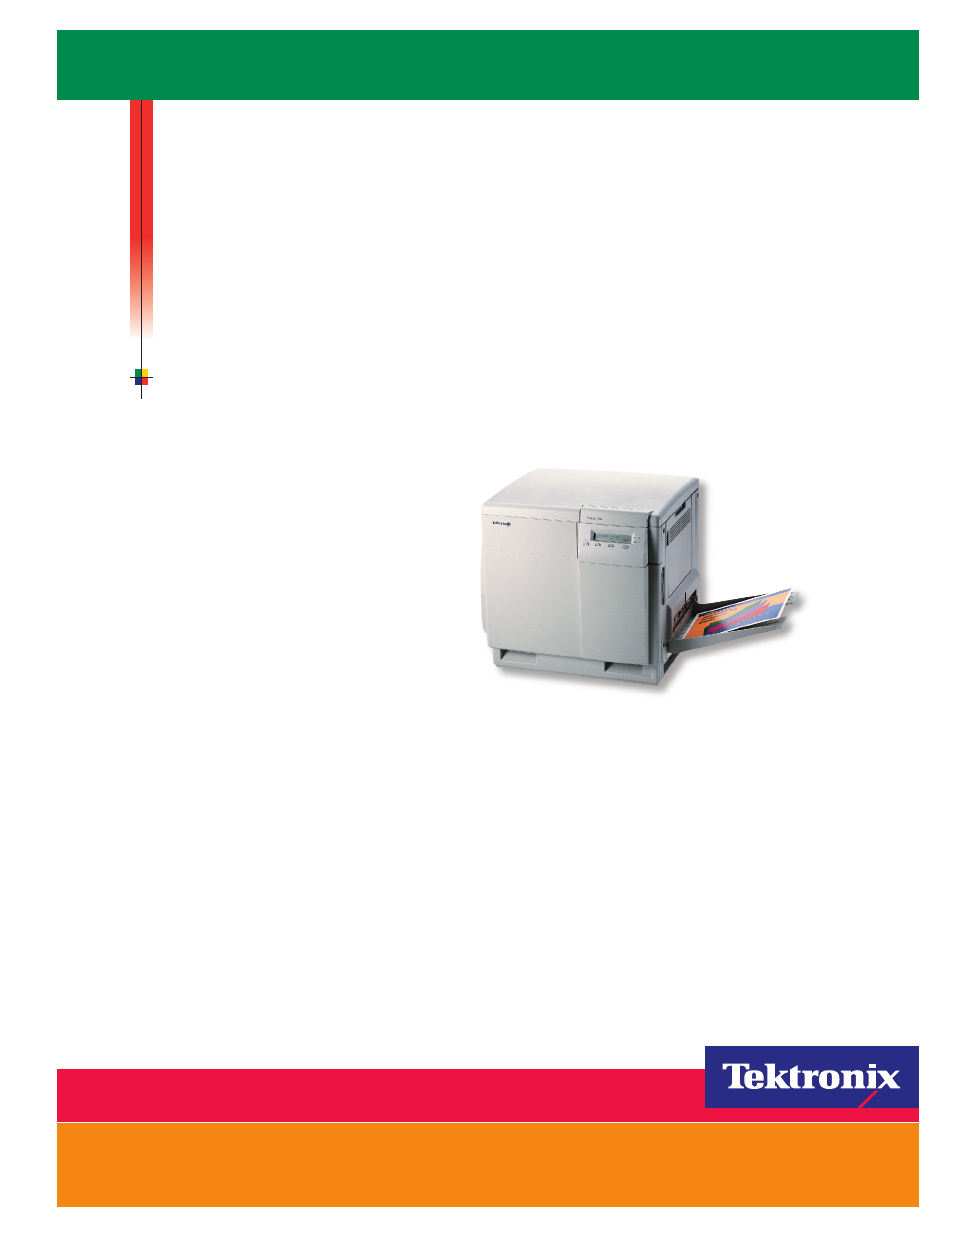
Table of contents
Document Outline
- Contents
- Network Printing with Tektronix Color Printers
- Before you begin network configuration
- The printer’s Configuration Page
- Printing a Configuration Page from the Phaser 750 front panel
- Printing a Configuration Page: PhaserLink Printer Management Software
- The printer’s networking software
- Connecting Your Printer to a Network
- Direct Ethernet Connection to Macintosh or PC
- Requirements
- Procedure
- The printer’s Ethernet interface
- Ethernet connections and indicators
- Ethernet cables
- Token Ring connection
- Direct Ethernet Connection to Macintosh or PC
- Using the Tektronix Installer
- Tektronix Installer for Windows
- Running the installer from the printer’s CD-ROM
- Running the installer from the printer’s hard disk
- Tektronix Installer for Macintosh
- Running the installer from the printer’s CD-ROM
- Running the installer from the printer’s hard disk
- Tektronix Installer for Windows
- Novell NetWare
- Configuration software for NetWare Networks
- Printing the Configuration Page
- Installing the PhaserShare Administrator
- Setting up the printer on a NetWare network
- Log on to the file server
- Start the PhaserShare Administrator
- Select a print server
- Launch the Quick Configuration Wizard
- Configure the printer and set up queues
- Verify information and finish
- Troubleshooting Windows configurations
- Printer does not appear in the Main window printer list
- Testing from the PhaserShare Administrator
- Testing the file server-to-printer connection
- Cannot submit job to a queue
- Job appears in queue, but printer does not service it
- Job is serviced, but does not print
- Setting IPX frame types from the Phaser 750 front panel
- TCP/IP Configuration Overview
- Windows 95 and Windows 98: PhaserPort Software
- TCP/IP configuration for a PC
- Setting up the printer for TCP/IP printing
- Installation on workstations for peer-to-peer printing
- Installation on workstations for client-server printing
- Adding a port to an existing printer
- Changing a port’s IP address
- WindowsNT
- Installation on servers or on workstations for peer-to-peer printing
- Installation on workstations for client-server printing
- TCP/IP for Macintosh
- Setting up the Macintosh Ethernet port for TCP/IP
- Creating an LPR Printer with LaserWriter 8.5.1
- Creating an AppSocket Printer with LaserWriter 8.6
- PhaserPort for MacOS System Requirements
- Files and Installation
- Creating a desktop printer with PhaserPort for MacOS
- Setting the Printer’s IP Address
- Automatic IP addressing
- Other methods for setting the printer’s IP address
- Information needed for IP addressing
- Setting the IP address from the Phaser 750 front panel
- Setting the IP address: DHCP
- Enabling DHCP on the printer
- Installing the DHCP server
- Setting up a DHCP server
- Supported DHCP fields
- Setting the IP address: PhaserLink Printer ManagementSoftware
- DNS (Domain Name Service)
- Setting up the printer for DNS using PhaserLink Printer ManagementSoftware
- EtherTalk and TokenTalk Configuration
- Setting up the Macintosh Ethernet port for EtherTalk
- Setting up the printer for EtherTalk or TokenTalk
- Finding the printer’s name in the Chooser
- Changing the printer’s name (optional)
- Notes regarding printer names
- Changing the printer’s name: Apple Printer Utility
- Changing the printer’s name: PhaserLink Printer Management Software
- Changing the printer’s EtherTalk/TokenTalk zone (optional)
- Changing the printer’s zone: PhaserLink Printer Management Software
- Troubleshooting
- IPP (Internet Printing Protocol)
- PhaserLink Printer Management Software
- Accessing the printer from a browser
- Printer Management
- Job accounting
- Job accounting: PhaserShare Administrator
- Job accounting: PhaserLink Printer Management Software
- Intelligent Ready
- Enabling and disabling Intelligent Ready from the Phaser 750 front panel
- Setting up Intelligent Ready using PhaserLink Printer Management Software
- PhaserLink Status Notification
- Setting up PhaserLink Status Notification
- Usage Profile reports
- Types of Usage Profile reports
- Printing reports from the Phaser 750 front panel
- Printing reports from the Phaser 750 front panel (all fields shown)
- Printing reports for OCR from the Phaser 750 front panel
- Printing reports from PhaserLink Printer Management Software
- Sending reports via email from the Phaser 750 front panel
- Sending reports via email: PhaserLink Printer Management Software
- Setting up Usage Profile reporting
- Usage Analysis
- System requirements
- Installing the Usage Analysis Tool
- Using the Usage Analysis Tool
- Job accounting
- Disabling and Enabling Protocols
- Determining which protocols are enabled
- Disabling and enabling protocols: Phaser 750 front panel
- Disabling protocols: PhaserShare Administrator
- Disabling protocols: PhaserLink Printer Management Software
- Getting Help
- Help from the World Wide Web
- Help by phone
- Index