Installing the tape drive – Lenovo ThinkServer RD650 User Manual
Page 181
•
“Replacing the tape drive” on page 170
The EMI integrity and cooling of the server are protected by having all drive bays covered or occupied. When
you install the tape drive, save the removed protective shield from the chassis. If you later remove the
drive, you will need the shield to cover the drive bay.
Attention: An unoccupied drive bay without any other protection might impact the EMI integrity and cooling
of the server, which might result in overheating or component damage. To maintain the EMI integrity and
cooling of the server, install a new tape drive as soon as you remove the failing one or the protective shield.
Installing the tape drive
Attention: Do not open your server or attempt any repair before reading and understanding “Safety information”
on page iii and “Guidelines” on page 67.
Before you begin, print all the related instructions or ensure that you can view the PDF version on another
computer for reference.
Notes:
• Depending on the model, your server might look slightly different from the illustrations in this topic.
• Use any documentation that comes with the tape drive and follow those instructions in addition to
the instructions in this topic.
To install the tape drive, do the following:
1. Remove all media from the drives and turn off all attached devices and the server. Then, disconnect all
power cords from electrical outlets and disconnect all cables that are connected to the server.
2. Prepare your server. See “Removing or extending the server from the rack cabinet” on page 69.
3. Remove the server cover. See “Removing the server cover” on page 69.
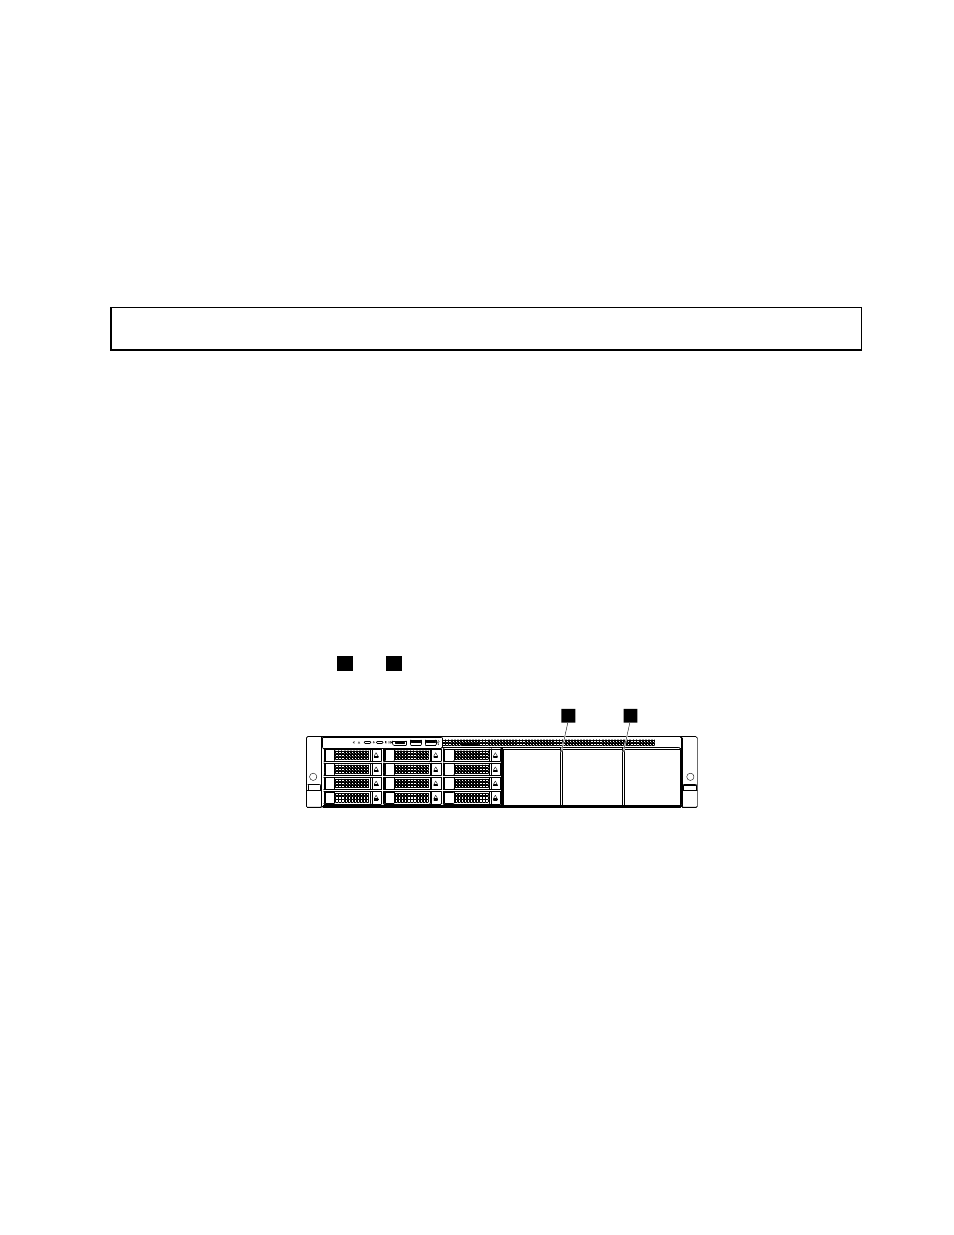
4. Remove the drive partitions
1
and
2
. See “Removing the drive partition” on page 160.
2
1
Figure 162. Removing the drive partitions
5. Touch the static-protective packages that contain the tape drive and the tape drive cage to any
unpainted surface on the outside of the server. Then, take the tape drive and the tape drive cage
out of the packages.
.
167