Displaying calibration values – HEIDENHAIN TNC 640 (34059x-02) User Manual
Page 526

Manual operation and setup
15.7 Calibrating a 3-D touch trigger probe
15
526
TNC 640 | User's Manual
HEIDENHAIN Conversational Programming | 5/2013
Proceed as follows for manual calibration with a stud or calibration
pin:
In the Manual Operation mode, position the ball tip above the
center of the calibration pin
Select the calibration function: Press the CAL. R
soft key
Enter the diameter of the stud
Enter the safety clearance
New cal. spindle angle: Spindle angle that is used
for the calibration. The TNC uses CAL_ANG from
the touch probe table as a default value. If you
change the value, the TNC saves the value to the
touch probe table during calibration
Start the probing procedure: Press the machine
START button. The 3-D touch probe probes all
required touch points in an automatic probing
routine and calculates the effective ball-tip radius.
If probing from opposite orientations is possible,
the TNC calculates the center offset
Check the results (change the values if required)
Press the OK soft key for the values to take effect
Press the END soft key to terminate the calibrating
function
In order to be able to determine the ball-tip center
misalignment, the TNC needs to be specially
prepared by the machine manufacturer.
Refer to your machine manual.
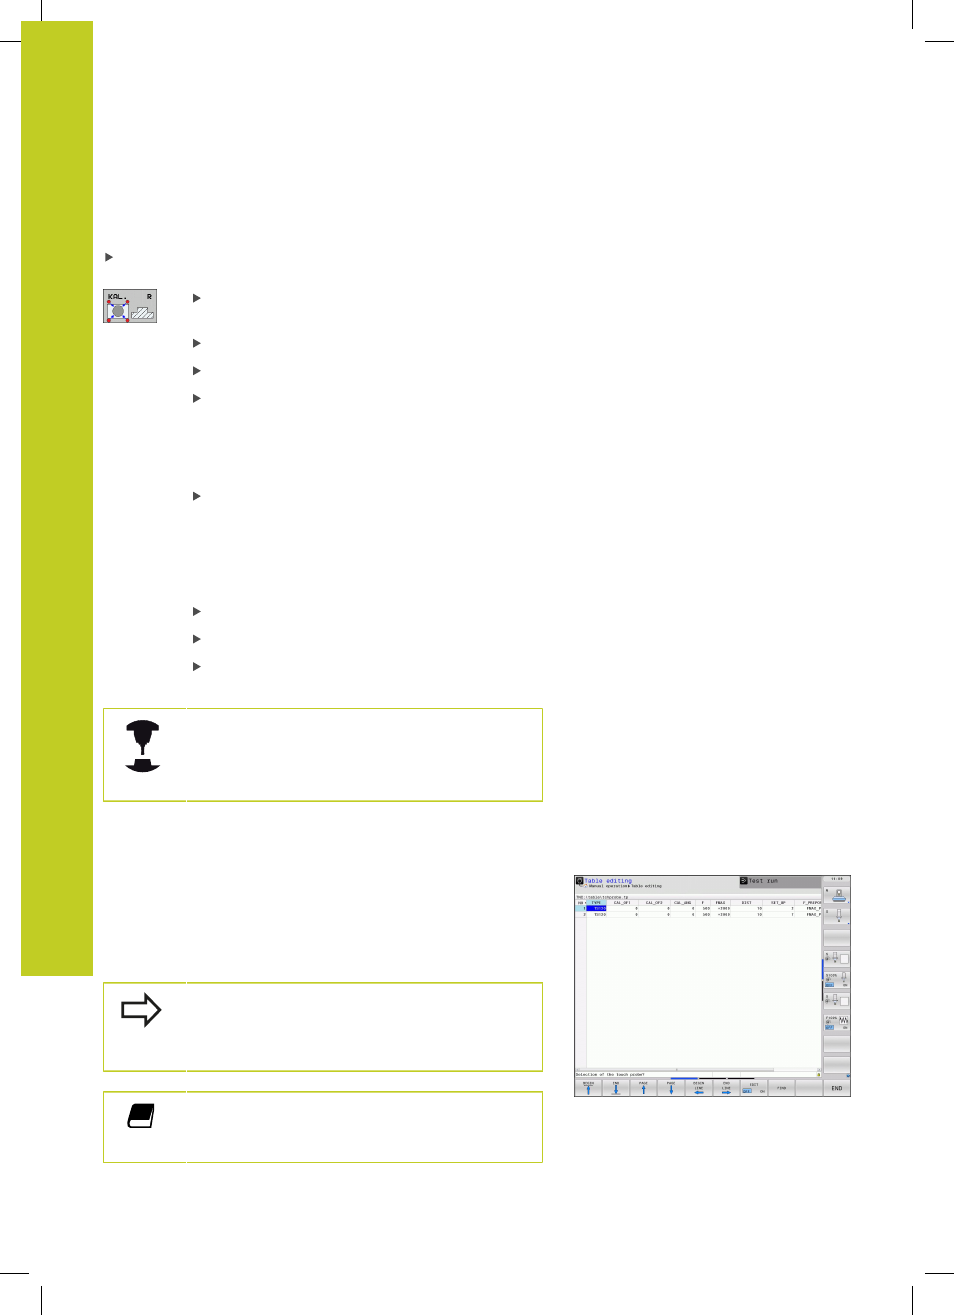
Displaying calibration values
The TNC saves the effective length and effective radius of the
touch probe in the tool table. The TNC saves the ball-tip center
offset of the touch probe in the touch-probe table in the
CAL_OF1
(principal axis) and
CAL_OF2 (secondary axis) columns. You can
display the values on the screen by pressing the TOUCH PROBE
TABLE soft key.
Make sure that you have activated the correct tool
number before using the touch probe, regardless of
whether you wish to run the touch probe cycle in
automatic mode or manual mode.
For more information about the touch probe table,
refer to the User’s Manual for Cycle Programming.
