Calibrating the effective length, Calibrating a 3-d touch trigger probe 15.7 – HEIDENHAIN TNC 640 (34059x-02) User Manual
Page 523

Calibrating a 3-D touch trigger probe
15.7
15
TNC 640 | User's Manual
HEIDENHAIN Conversational Programming | 5/2013
523
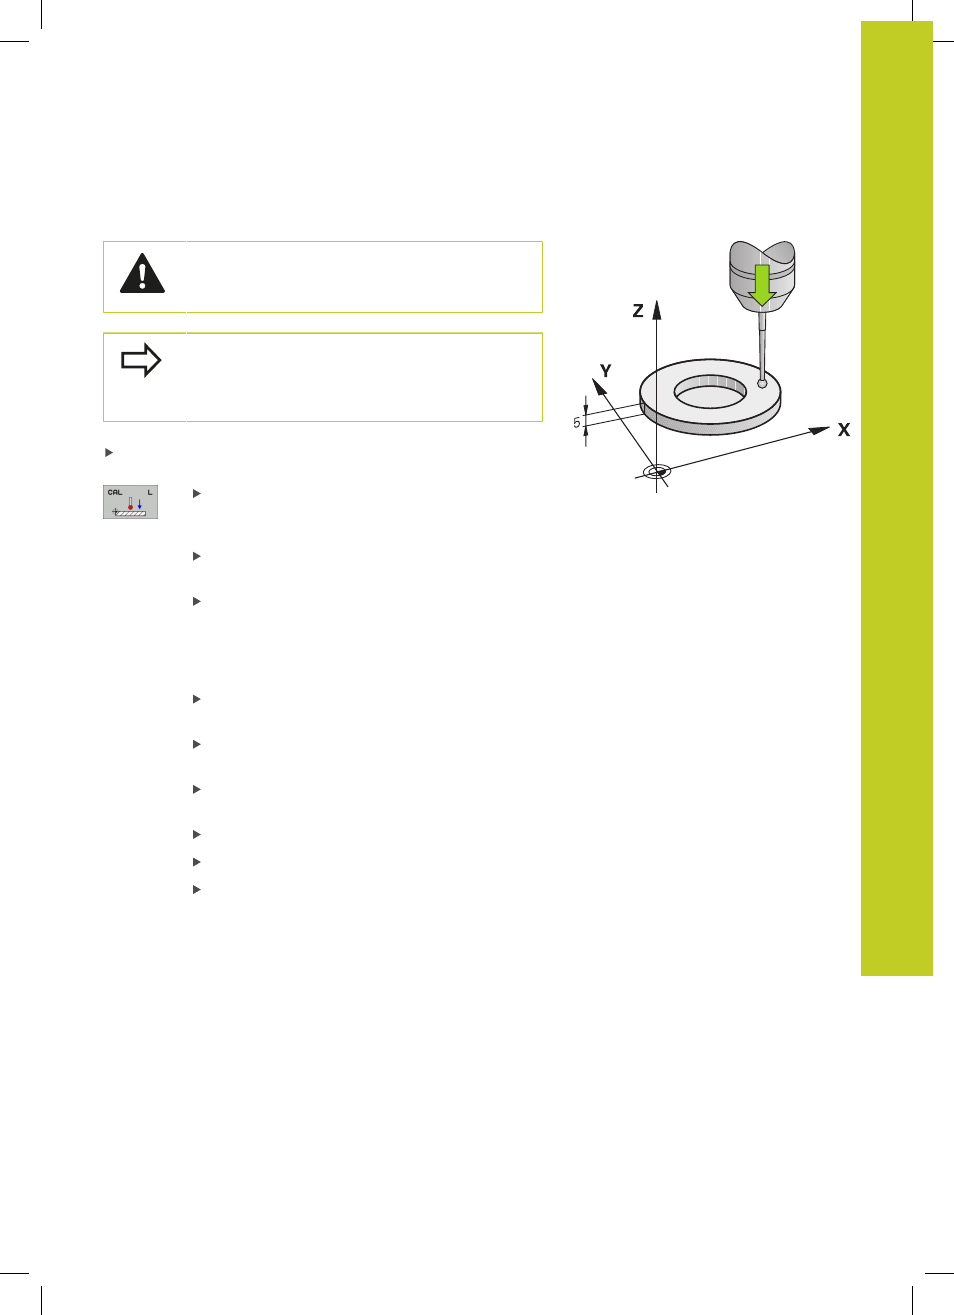
Calibrating the effective length
HEIDENHAIN only gives warranty for the function of
the probing cycles if HEIDENHAIN touch probes are
used.
The effective length of the touch probe is always
referenced to the tool datum. The machine tool
builder usually defines the spindle tip as the tool
datum.
Set the datum in the spindle axis such that for the machine tool
table Z=0.
Select the calibration function for the touch probe
length: Press the CAL. L soft key. The TNC opens
a menu window with input fields
Datum for length: Enter the height of the ring
gauge
New cal. spindle angle: Spindle angle that is used
for the calibration. The TNC uses CAL_ANG from
the touch probe table as a default value. If you
change the value, the TNC saves the value to the
touch probe table during calibration
Move the touch probe to a position just above the
ring gauge
To change the traverse direction (if necessary),
press a soft key or an arrow key
To probe the upper surface of the ring gauge,
press the machine START button
Check the results (change the values if required)
Press the OK soft key for the values to take effect
Press the END soft key to terminate the calibrating
function
