6 using 3-d touch probes, Overview, Using 3-d touch probes – HEIDENHAIN TNC 640 (34059x-02) User Manual
Page 514

Manual operation and setup
15.6 Using 3-D touch probes
15
514
TNC 640 | User's Manual
HEIDENHAIN Conversational Programming | 5/2013
15.6
Using 3-D touch probes
Overview
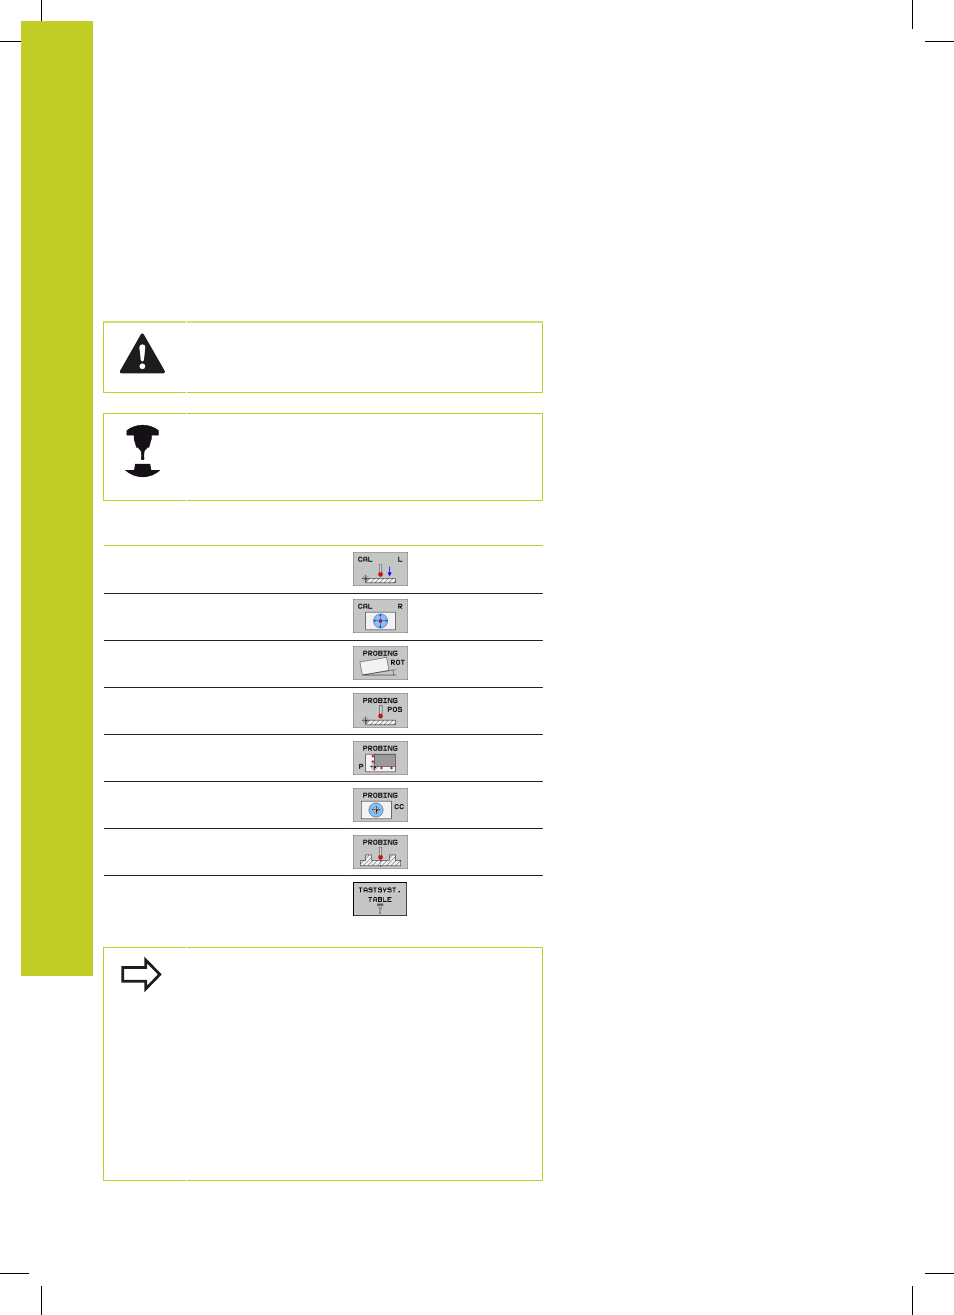
The following touch probe cycles are available in the Manual
Operation mode:
HEIDENHAIN only gives warranty for the function of
the probing cycles if HEIDENHAIN touch probes are
used.
The TNC must be specially prepared by the machine
tool builder for the use of a 3-D touch probe. Refer to
your machine manual.
Function
Soft key
Page
Calibrating the effective length
Calibrating the effective radius
Measuring a basic rotation using a
line
Setting a datum in any axis
Setting a corner as datum
Setting a circle center as datum
Setting the centerline as datum
Touch probe system data
management
See User’s
Manual for
Cycles
You can also use all manual touch probe cycles,
except the corner probing cycle, in Turning mode.
Observe that in Turning mode all measured data
in the X coordinate are calculated and displayed as
diameter values.
To use the touch probe in Turning mode you should
separately calibrate the touch probe in Turning mode.
Because the basic setting of the turning spindle in
Milling mode and Turning mode may deviate, you
should calibrate the touch probe without center
offset. You can create additional tool data for this
purpose, e.g. as an indexed tool.
