Range takes, How to perform a range take in the table view – Grass Valley CRSC v.3.2 User Manual
Page 95
83
CRSC
User’s Guide
6 Click Execute. The take is performed. Click Cancel to leave the dialog without performing
any takes. (If any output is locked, the take to that output will not occur.)
See also
Range Takes
A range take switches a single input to multiple outputs. Input 1 could be switched to outputs 1
through 12, for example. The outputs can be contiguous or non-contiguous.
How to Perform a Range Take in the Table View
1 Optionally perform a selection of outputs. Use standard click, shift-click, and ctrl-click meth-
ods to make the selection.
2 Either click the ‘Range Take’ button at the bottom of the page or right-click the crosspoint
view and choose the ‘Range Take . . .’ command from the context menu that appears.
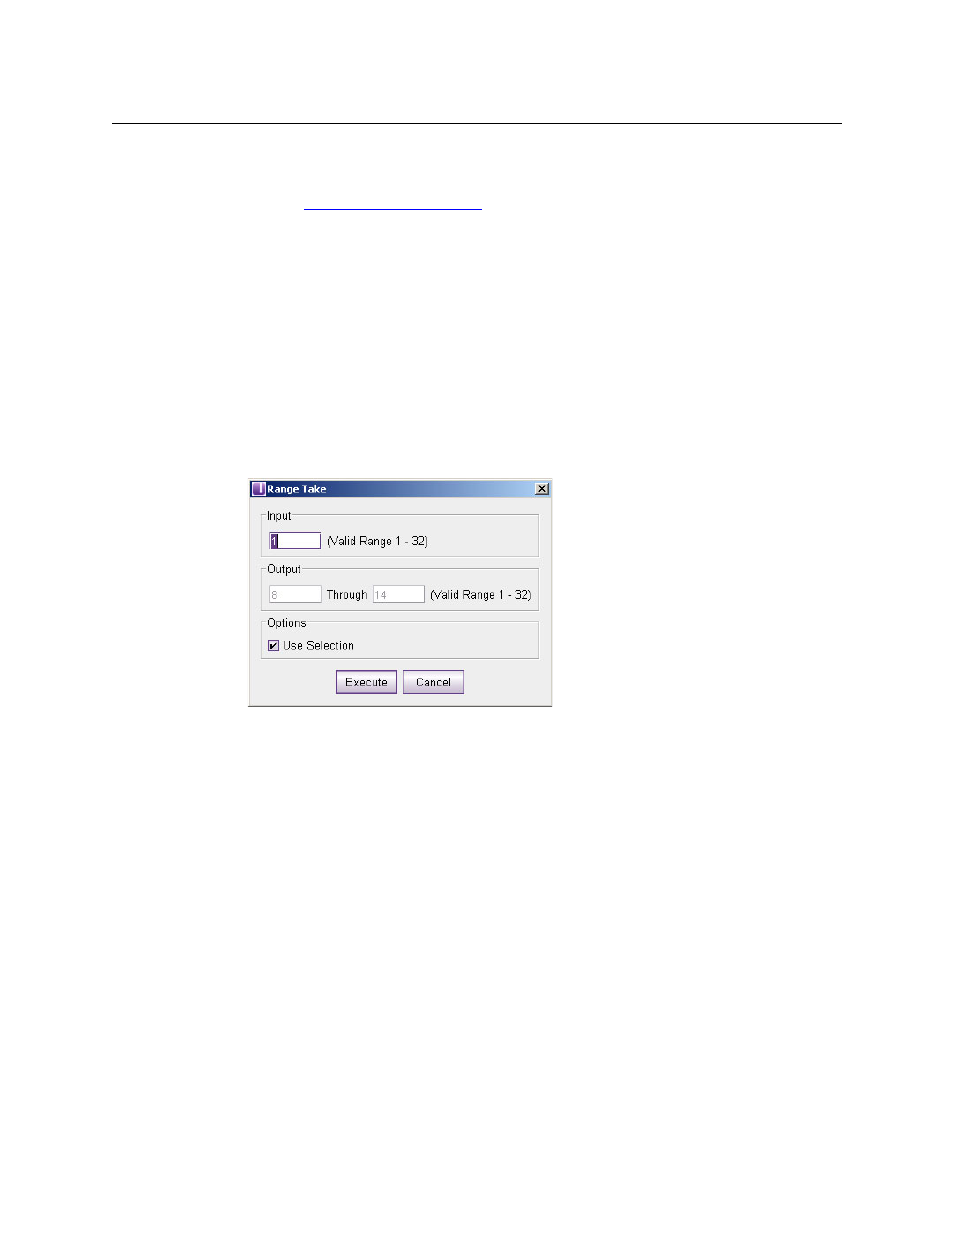
3 The ‘Range Take’ dialog appears.
4 Enter a range of outputs In the ‘Output’ section. The range of valid destinations appears at
the right. Enter a starting number in the left-hand field and an ending number in the right-
hand field. All outputs in that range are selected.
5 In the ‘Input’ field, enter the input to be switched to the destinations.
6 Click Execute. The take is performed. Click Cancel to leave the dialog without performing a
range take.
7 CRSC shows the status of the affected entries in the ‘Status’ column. (If an output is locked,
the status will be “Destination Locked” and the take to that output will not occur.)