How to add a level – Grass Valley CRSC v.3.2 User Manual
Page 45
33
CRSC
User’s Guide
6 If you have a remote panel in your system, you might need to specify ‘Controller Input Start’
and ‘Controller Destination Start’ values for the level.
Click the field to enter a value in the field.
(The controller end values are derived from the controller start fields and the physical start
and end fields.)
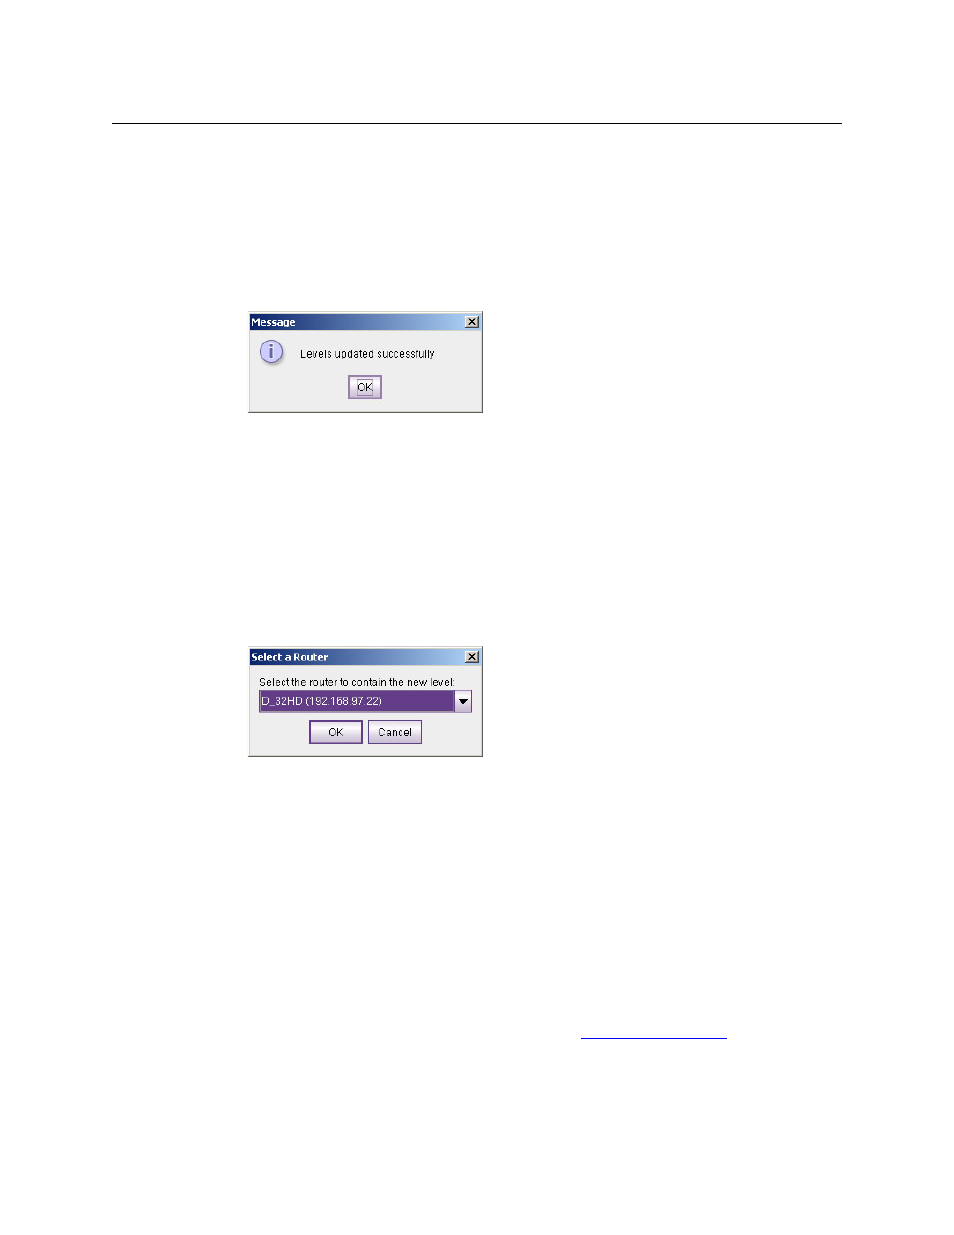
7 When you have finished changing level data, click Update Router Levels to send the level
configuration data to the routers. You should see a confirmation message:
Note that the ‘Update Router Levels’ button updates only the levels that were changed.
Other levels remain unaffected. This is particularly important for the levels of CR6400 rout-
ers.
How to Add a Level
1 Go to the ‘Configure Router Levels’ page.
2 Optionally, select the subnet on which you want to add routers levels.
3 Click the Add Level . . . button.
If your subnet has more than one router, a dialog appears:
Choose a router from the drop-down list and click OK. (The routers you choose are those
that exist in the selected subnet.)
If your subnet has no routers, you will receive a message stating that CRSC cannot create lev-
els where there are no routers.
If your subnet has more than 8 levels, you will receive a message stating that a subnet can-
not have more than 8 levels.
4 If there were no failures in step 3, CRSC creates a new level, with a new (unique) level num-
ber for the router you chose.
If your subnet has only a single router, CRSC simply adds a level identical to the existing
level.
IF your subnet has more than one router, CRSC adds a default level for the router you chose
in the dialog of step 3.
You can now edit the parameters for this level. (See
5 Repeat steps 2–4 for additional levels.