Figure 2, Select project name dialog box – Zilog Z8F0130 User Manual
Page 35
UM013037-1212
Create a New Project
Zilog Developer Studio II – Z8 Encore!
User Manual
11
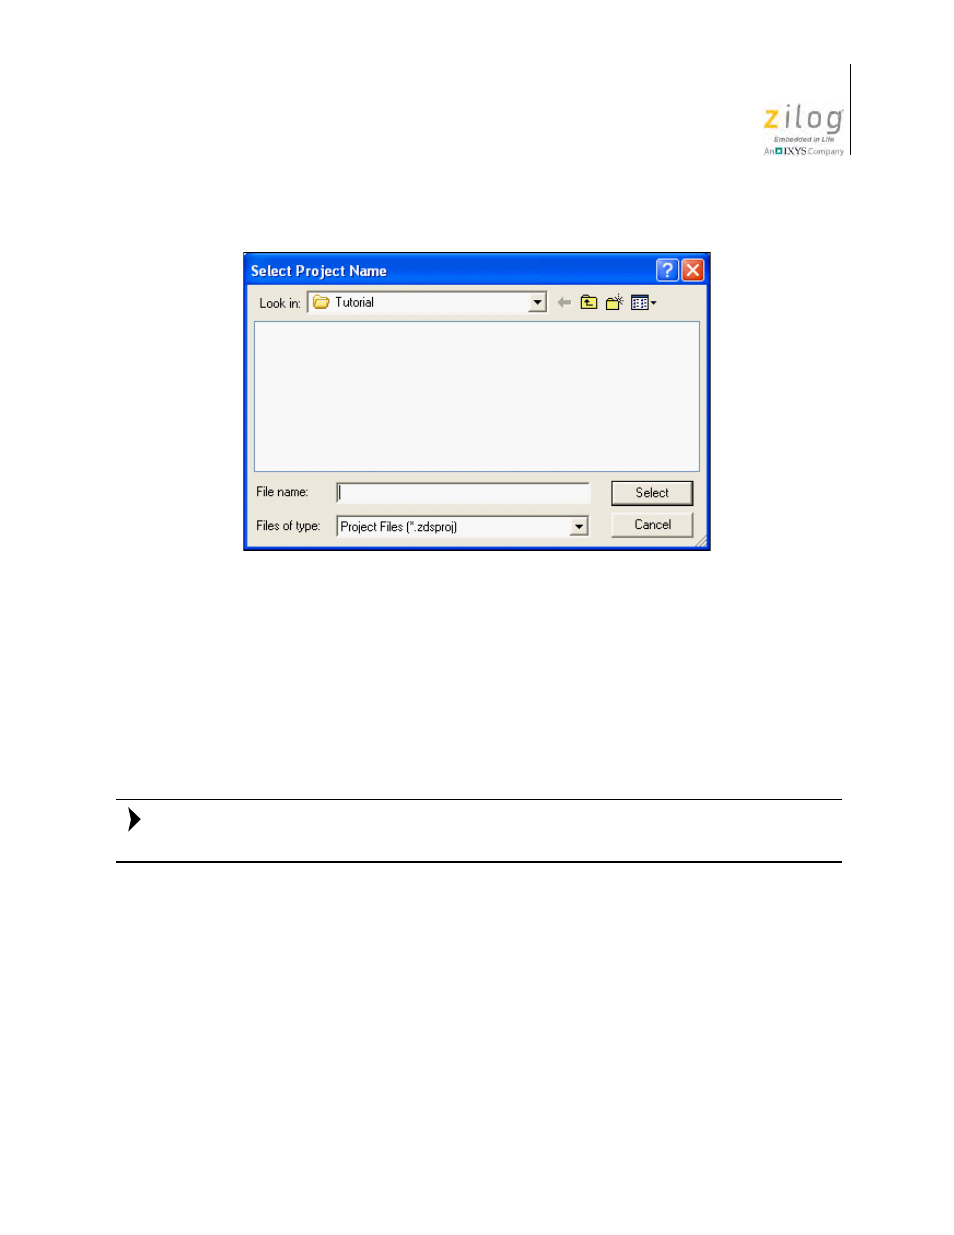
3. Use the
Look In
drop-down list box to navigate to the directory in which you want to
save your project. For this tutorial, place your project in the following directory:
If Zilog Developer Studio was installed in the default directory, the following is the
actual path:
C:\Program Files\Zilog\ZDSII_Z8Encore!_4.11.0\samples\Tutorial
You can create a new folder in which you want to save your project. For example:
C:\
<New Folder>.
4. In the
File Name
field, enter
sample
for the name of your project. The Z8 Encore!
developer’s environment creates a project file. Project files have the
.zdsproj
exten-
sion (for example, <project name>
.zdsproj
). You do not have to type the extension
.zdsproj
. It is added automatically.
5. Click
Select
to return to the
New Project
dialog box.
6. In the
Project Type
field, select
Standard
because the sample project uses
.c
files.
7. In the
CPU Family
drop-down list box, select
Z8Encore_XP_F1680_Series_16K
.
8. In the
CPU
drop-down list box, select
Z8F1680XJ
.
Figure 2. Select Project Name Dialog Box
Note:
- Z8F0131 Z8F0230 Z8F0231 Z8F0430 Z8F0431 Z8F043A Z8F0830 Z8F0831 Z8F083A Z8F1232 Z8F1233 Z8F0113 Z8F011A Z8F0123 Z8F012A Z8F0213 Z8F021A Z8F0223 Z8F022A Z8F0411 Z8F0412 Z8F0413 Z8F041A Z8F0421 Z8F0422 Z8F0423 Z8F042A Z8F0811 Z8F0812 Z8F0813 Z8F081A Z8F0821 Z8F0822 Z8F0823 Z8F082A Z8F0880 Z8F1621 Z8F1622 Z8F1680 Z8F1681 Z8F1682 Z8F2421 Z8F2422 Z8F2480 Z8F3221 Z8F3222 Z8F3281 Z8F3282 Z8F4821 Z8F4822 Z8F4823 Z8F6081 Z8F6082 Z8F6421 Z8F6422 Z8F6423 Z8F6481 Z8F6482 Z8FS021A ZMOT1AHH Z8FS040B ZMOT0BHH ZMOT0BSB Z8FMC04 Z8FMC08 Z8FMC16