Create a new project, List of figures, Figure 1 – Zilog Z8F0130 User Manual
Page 34: New project dialog box
Getting Started
UM013037-1212
10
Zilog Developer Studio II – Z8 Encore!
User Manual
•
When you complete this tour, you have a
sample.lod
file that is used in debugging.
Using the Integrated Development Environment
learn more about all of the dialog boxes and their options discussed in this tutorial.
For the purpose of this quick tour, your Z8 Encore! developer’s environment directory will
be referred to as <ZDS Installation Directory>, which equates to the following path:
In the above filepath:
•
ZILOGINSTALL is the ZDS II installation directory. For example, the default installa-
tion directory is
C:\Program Files\Zilog.
•
version is the ZDS II version number. For example, version can be
4.11.0
or
5.0.0
.
Create a New Project
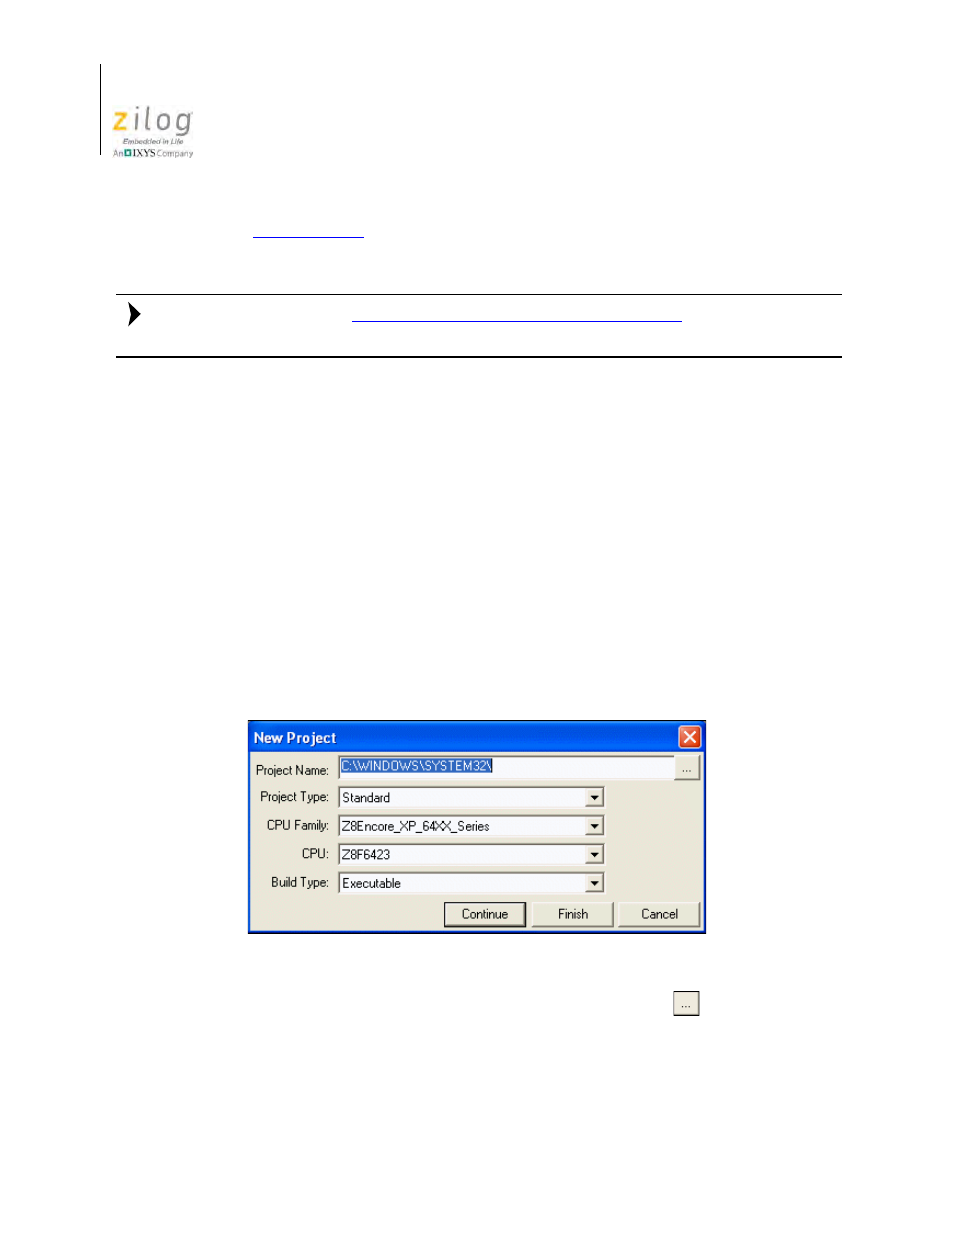
1. To create a new project, select
New Project
from the
File
menu. The
New Project
dialog box is displayed, as shown in Figure 1.
2. From the
New Project
dialog box, click the
Browse
button (
) to navigate to the
directory into which you want to save your project. The
Select Project Name
dialog
box is displayed.
Figure 1. New Project Dialog Box
Note:
- Z8F0131 Z8F0230 Z8F0231 Z8F0430 Z8F0431 Z8F043A Z8F0830 Z8F0831 Z8F083A Z8F1232 Z8F1233 Z8F0113 Z8F011A Z8F0123 Z8F012A Z8F0213 Z8F021A Z8F0223 Z8F022A Z8F0411 Z8F0412 Z8F0413 Z8F041A Z8F0421 Z8F0422 Z8F0423 Z8F042A Z8F0811 Z8F0812 Z8F0813 Z8F081A Z8F0821 Z8F0822 Z8F0823 Z8F082A Z8F0880 Z8F1621 Z8F1622 Z8F1680 Z8F1681 Z8F1682 Z8F2421 Z8F2422 Z8F2480 Z8F3221 Z8F3222 Z8F3281 Z8F3282 Z8F4821 Z8F4822 Z8F4823 Z8F6081 Z8F6082 Z8F6421 Z8F6422 Z8F6423 Z8F6481 Z8F6482 Z8FS021A ZMOT1AHH Z8FS040B ZMOT0BHH ZMOT0BSB Z8FMC04 Z8FMC08 Z8FMC16