2 connecting up, Connecting audio and video cables, Connecting control cables – Pioneer DV-939A User Manual
Page 20: Connecting, Important, Pages 24 and 28
Attention! The text in this document has been recognized automatically. To view the original document, you can use the "Original mode".
2
Connecting
U p
Important:
Before making or changing any rear panel connec
tions, make sure that all components are switched off and unplugged
from the wall outlet.
This easy setup is the minimum set of connections you need to start
watching DVD video discs. Both sound and picture are fed directly to
your TV using the supplied audio and video cables. For other possible
connections, see
pages 24 and 28.
- AV CONNECTOR -
(480i)1 r(480p)
^ CONTROL -
digital
OUT-,
lOUTl IN
Q(§)
OPT COAX
SYSTEM-
NTSC
■’AL
•AUTO
*
1
Connect to a composite video input on your
TV using the supplied yellow video cable.
1
2
^---------------------------------- AUDIO OUT -
i.
i^SUB
WOOFER
Connect to a pair of stereo audio inputs on your O
TV using the supplied red/white stereo audio
^
cable.
Plug into a standard AC wall
outlet.
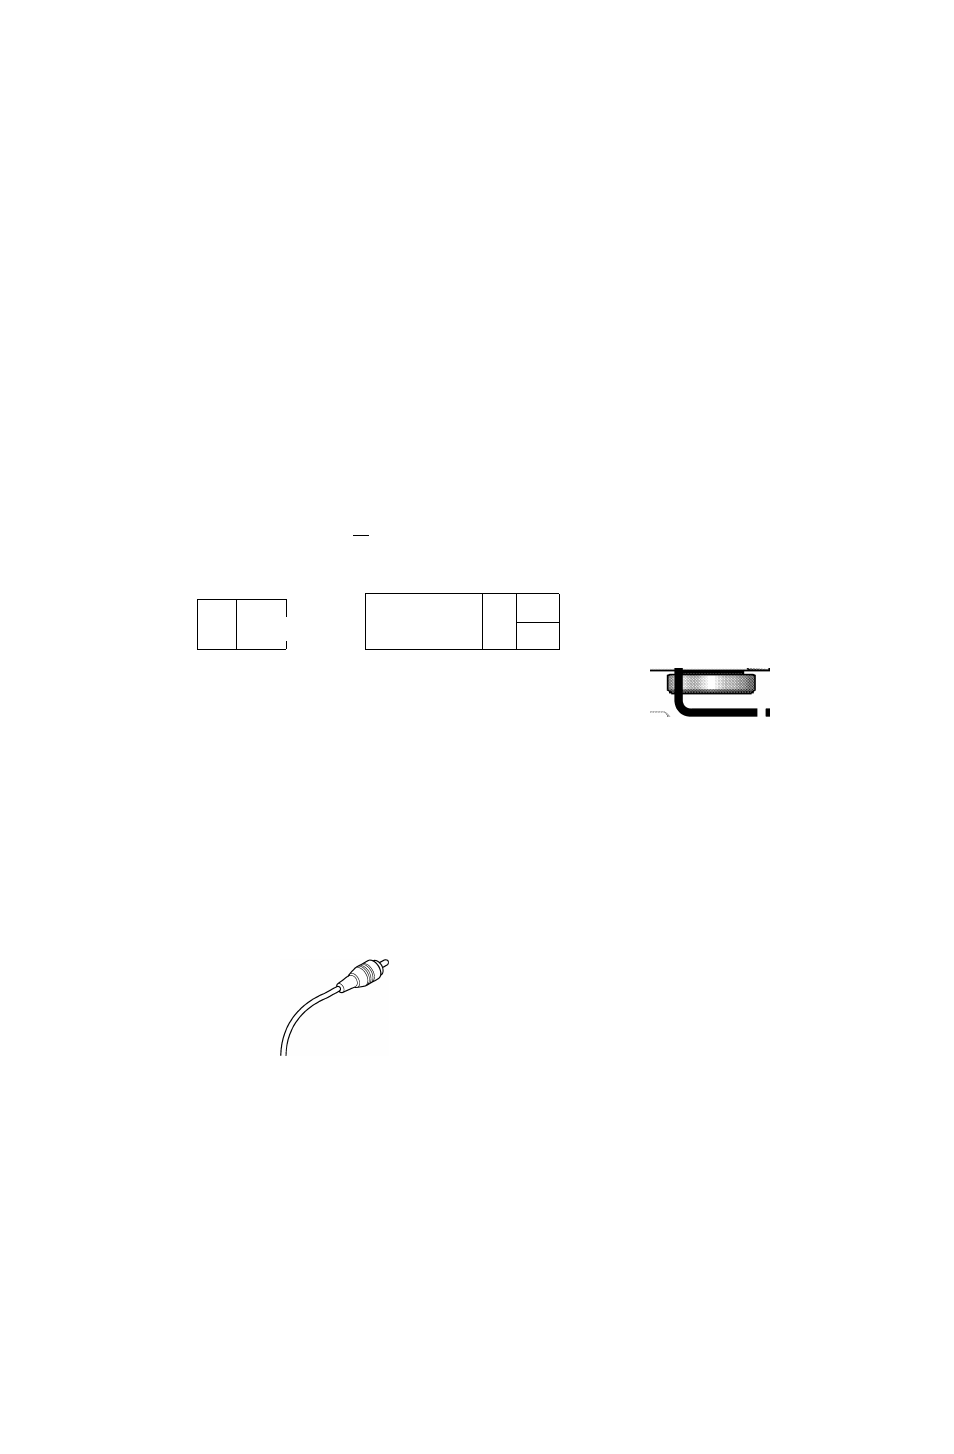
Connecting audio and video cables
Be sure to insert each plug fully for
the best connection. The plugs and
jacks are colour-coded to make
connection easier.
Connecting control cables
Use a stereo mini-plug cable (not supplied) to connect the
CON
TROL OUT of your Pioneer amplifier/receiver to the CONTROL IN
of this unit. This allows you to operate this unit with the amplifier/
receiver’s remote control. See the instruction manual that came with
your amplifier/receiver for more detailed instructions. Add more
components to the chain by connecting the
CONTROL OUT of this
unit to the
CONTROL IN of other Pioneer components.