8 audio settings / paramètres audio, Center: large, Sub: on – Pioneer DV-939A User Manual
Page 114: Surround: large, Distance: all 3.0m), L/r), Distance: tous à 3,0 m)
Attention! The text in this document has been recognized automatically. To view the original document, you can use the "Original mode".
8 Audio Settings / Paramètres audio
Set in Setup Navigator (default:
Center: Large
I
Sub: On
I
Surround: Large
I
Distance: all 3.0m)
You only need to make this setting if you connected this piayer to
your ampiifier using the 5.1 channei anaiog outputs.
Follow the on-screen displays to describe which speakers are in your
system and their sizes and positions.
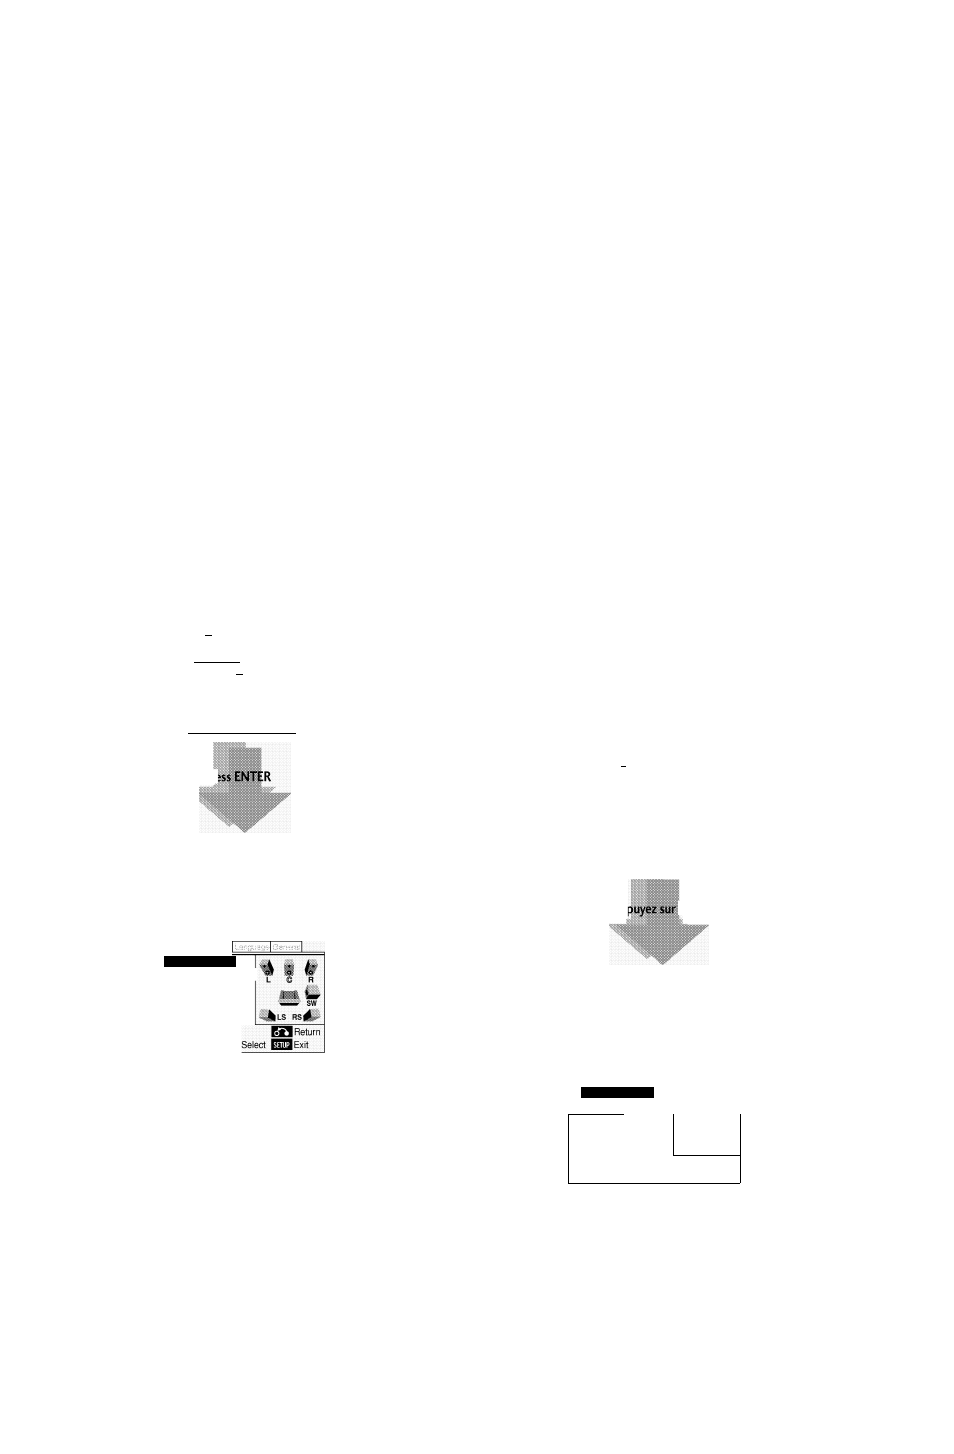
Set the size of your speakers in the Size screen. The front left/right
(L/R)
speakers have a fixed setting of Large. The center
(C)
, left
surround
(LS)
and right surround
(RS)
speakers can each be set to
Large, Small or Off. Set a speaker to Large if the main speaker cone is
12cm or more; set to Small if the it’s less than 12cm. Note that the LS
and RS speakers cannot be set independently.
The subwoofer
(SW)
can only be set to On or Off.
The graphic on the right of the screen represents your speaker setup,
with the currently selected speaker’s name highlighted in blue, and
the speakers set to On highlighted in yellow.
Audio 2 > Speaker Setting >
Start
: |Audio2 I a
Audio DRC-Off
Audio Out-2 Channel
I
Start
Gain Setting - Fix
CD Digital Direct-Off
'Move EElSelect ESÜExit
PI
L/1 (Large)
C (Large/Small/Off)
LS (Large/Small/Off)
RS (Large/Small/Off)
Sub-woofer (On/Off)
_|Audio2 [
Speaker Setting
Size
W
L.argg
C
— Large
LS
— Large
RS
— Large
SW
—
On
^Distance
Sélectionnez le réglage des haut-parleurs dans le navigateur
d’installation (réglage par défaut:
Center: Large
I
Sub: On
I
Surround: Large
I
Distance: tous à 3,0 m)
Vous ne devez effectuer ce réglage que si vous avez raccordé ce
lecteur à votre amplfficateur via les sorties analogiques à 5,1
canaux.
Suivez les instructions des écrans de menu pour préciser les haut-
parleurs que comporte votre installation ainsi que leur taille et leur
position.
Précisez la taille de chacun de vos haut-parleurs dans l’écran Size.
Les haut-parleurs gauche/droit
(L/R)
sont déjà réglés sur Large. Les
haut-parleurs central
(C)
, surround gauche
(LS)
et surround droit
(RS)
peuvent être réglés sur Large, Small ou Off Réglez un haut-
parleur sur Large si le cône du haut-parleur principal est de 12 cm
ou plus; réglez-le sur Small s’il fait moins de 12 cm. Remarquez que
les haut-parleurs LS et RS ne peuvent être réglés indépendamment.
Le haut-parleur d’extrêmes-graves
(SW)
peut uniquement être réglé
sur On ou Off
Le graphique à droite de l’écran représente la configuration de vos
haut-parleurs, avec le nom du haut-parleur actuellement sélectionné
mis en évidence en bleu et les haut-parleurs réglés sur On mis en
évidence en jaune.
Audio 2 > Speaker Setting >
Start
|Audio2| I
Audio DRC-Off
Audio Out-2 Channel
I
Start
Gain Setting - Fix
CD Digital Direct-Off
^^É^Move r^ïTlSelect E3!3Exit
Api
(ENTER
L/R (Large)
C (Large/Small/Off)
LS (Large/Small/Off)
RS (Large/Small/Off)
Sub-woofer (On/Off)
2jAudio2 [v
I
Speaker Setting
Size
c -
LS
-
RS -
Large
Large
Large
r SW
'ïiJllLS
RSdipÿ'
SW —
On
Return
^ Distance
IWHlSelect EWÜExit
E n / F r