1 overview of procedure, 2 adding the point id, 1 overview of procedure 7.4.2 adding the point id – Leica Geosystems GPS System 500 - Technical Reference Manual User Manual
Page 182
182
7. Measuring with System 500
Technical Reference Manual-4.0.0en
7.4.1 Overview of Procedure
As soon as data is received from the
Reference, and the Rover itself is
tracking sufficient satellites, the
ambiguity resolution process will
begin. This processes the data and
calculates the baseline from Refer-
ence to Rover to within 1-5 cm.
When the ambiguities are resolved,
the Accuracy Status Icon will show
the position to be between 1 and
5cm.
Additionally, the Coordinate Quality
(Quality) in the Main Survey screen
should show between 0.01 and 0.05.
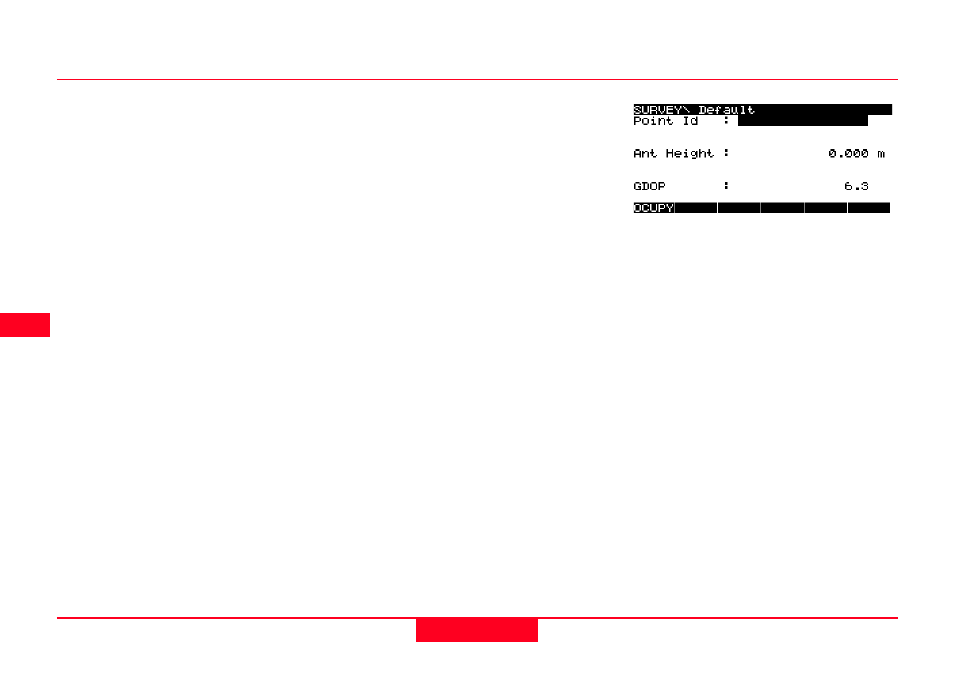
To record a point, place and level the
pole, Input the Point Id and Code (if
required). If configured, you will also
be able to enter a start time for the
point occupation. If working in Ad-
vanced mode, use the ADD key to
add point annotations and/or hidden
points.
Then press the OCUPY (F1) key.
Then according to what has been set
in the Occupation Settings, press
STOP (F1) and STORE (F1).
When working with DGPS (code only)
corrections, the accuracy will be
around 0.5-5m. Ambiguity resolution
will not be attempted. The Accuracy
Status Icon will show between 0.5
and 5m
The Coordinate Quality (Quality) in
the Main Survey screen should show
between 0.5 and 5.0.
Raw GPS observation data may be
logged during the Real-Time survey
with no change to the procedure.
7.4.2 Adding the Point Id
The Point Id is an identifier for a
particular point. It also collates all
measurements made on that point
and all other associated data such as
codes, point annotations and meteo-
rological data.
If a point Id template has been
configured in the Configuration Set, a
Point Id will be suggested. You can
overwrite this with a different Id if
required.
If no point Id is suggested then enter
a point Id. By default if the point Id
contains any numerical values, these
will be incremented by 1.