Attach rails to the node, Install appliance in rack, 45 install appliance in rack – HP StorageWorks 6000 Virtual Library System User Manual
Page 45: Remove slides from rails, Attaching rails to the node
3.
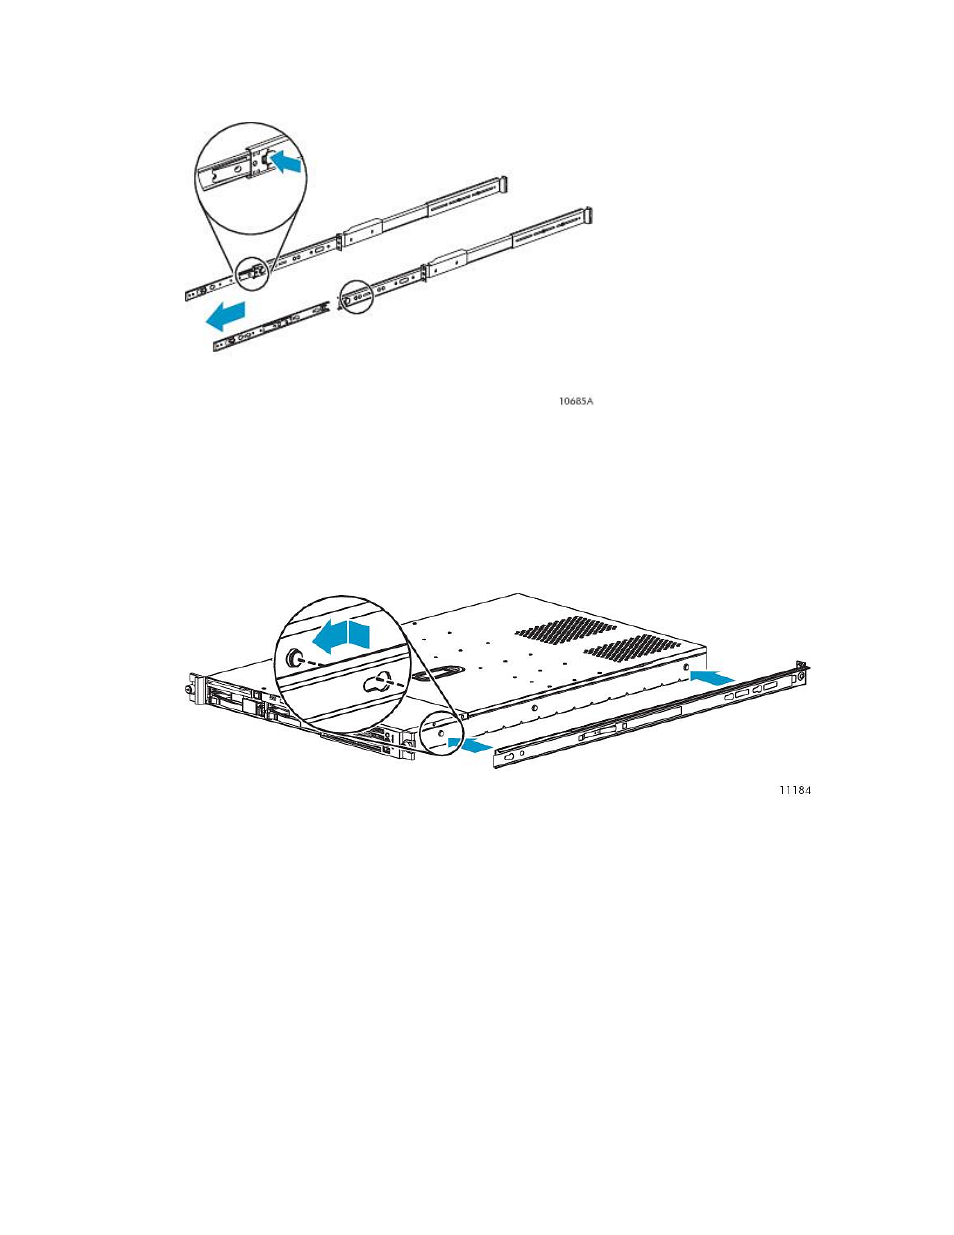
Remove the inner slide rails from the outer slide rails. To do so, extend the inner slide rails from
the front of the rack until they lock in place. Then press the inner rail release latch (see
) and pull the inner slide rails straight out.
Figure 12 Remove slides from rails
.
Attach Rails to the Node
To attach the rails to the node:
1.
Align the rail with the node so that the word “FRONT” on the rail is seen right-side-up and at the
front of the node.
Figure 13 Attaching rails to the node
.
2.
Align the holes in the rail with the round tabs on the side of the node.
3.
Put the rail onto the node with the tabs extending into the holes on the side of the rail, then slide
the rail toward the front of the node until the tabs are locked into the rail.
4.
Perform these steps again to Install the other rail on the other side of the node.
Install Appliance in Rack
1.
Align the rails on the node with the rails in the rack.
2.
Slide the node fully into the rack.
The rails on the node will lock into the rails on the rack.
HP StorageWorks 6000–series Virtual Library System User Guide
45