Removing the torx t-15 tool, Extending the node from the rack – HP StorageWorks 6000 Virtual Library System User Manual
Page 257
•
Remove the node access panel. See
Removing the VLS Node Access Panel
, or
Removing the VLS Node Access Panel
If you must remove a component located inside the node, remove the access panel.
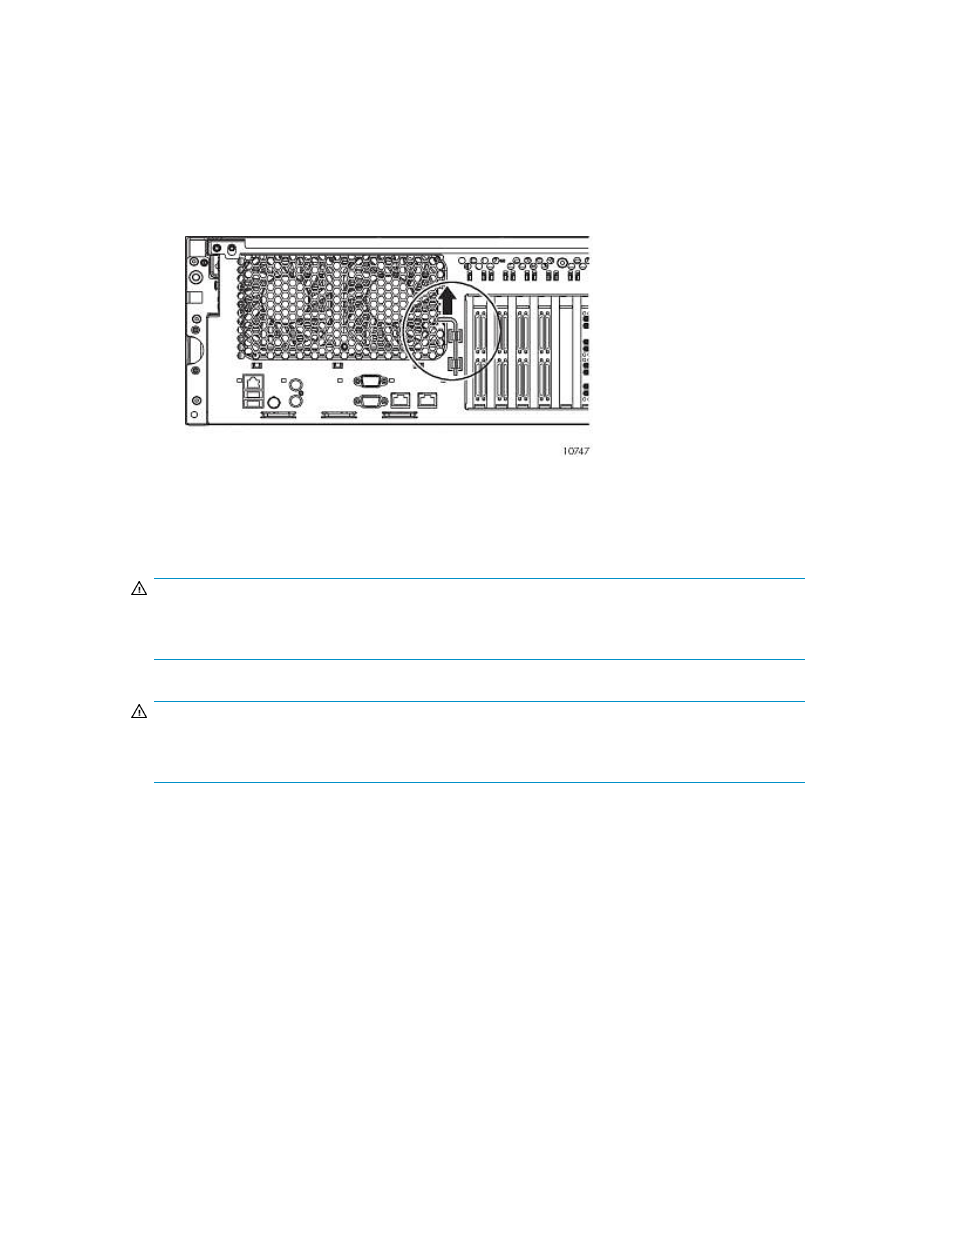
Locating and Removing the Torx T-15 Tool (VLS6800 node only)
1.
Locate the Torx T-15 tool on the back of the node.
2.
Slide the tool upward out of the retaining clips.
Figure 71 Removing the Torx T-15 tool
.
Extending a VLS6100, VLS6200, or VLS6500 Node from the Rack
WARNING!
To reduce the risk of personal injury or equipment damage, be sure that the rack is adequately
stabilized before extending a node from the rack.
WARNING!
Be careful when pressing the rail-release levers and sliding the component into or out of the rack. The
sliding rails could pinch your fingertips.
To extend a node from the rack:
1.
Loosen the thumbscrews that secure the node faceplate to the front of the rack.
2.
Extend the node on the rack rails until the node rail-release latches engage.
3.
After performing the replacement procedure, slide the node back into the rack:
a.
Press the node rail-release latches and slide the node fully into the rack.
b.
Secure the node by tightening the thumbscrews.
HP StorageWorks 6000–series Virtual Library System User Guide
257