9 input calibration & multi-point scaling, User calibration, Calibration reminder – West Control Solutions Pro-EC44 User Manual
Page 77: Single point calibration, Input calibration & multi-point scaling

Pro-EC44 2-Loop Graphical Profile Controller & Recorder
Pro-EC44 Product Manual - 59540-1 October 2013
Page 70
9 Input Calibration & Multi-point Scaling
User Calibration
The process inputs can be adjusted to remove sensor errors or to match the characteristics
of the attached process. For each loop, independent use of base (unadjusted), single point
offset or two point calibration strategies are possible, as is the use of multi-point scaling for
the displayed values of linear inputs. These parameters are in the Input 1 & 2 calibration sub-
menus of
Input Configuration Sub-Menu Screens
- page 46.
CAUTION:
Incorrect use of Calibration & Scaling can make the displayed
value very different from the actual process variable. There is no front
panel indication of when these parameters are in use.
Note: These methods do not alter the internal instrument calibration. Simply
choose Base Calibration to restore normal measured values.
Re-calibration of the internal base values is possible, but should only be
attempted by qualified personnel as it overwrites the factory calibration
– see
Base Calibration Adjustment below if you think this may be required.
Calibration Reminder
If the Data Recorder feature is fitted, a calibration reminder can be set for a future date.
From this date a daily reminder is shown (and shown at every start-up), until a new date has
been set. This is useful in applications that require a regular check of the measured accuracy
– see Input Configuration Sub-Menu Screens on page 46.
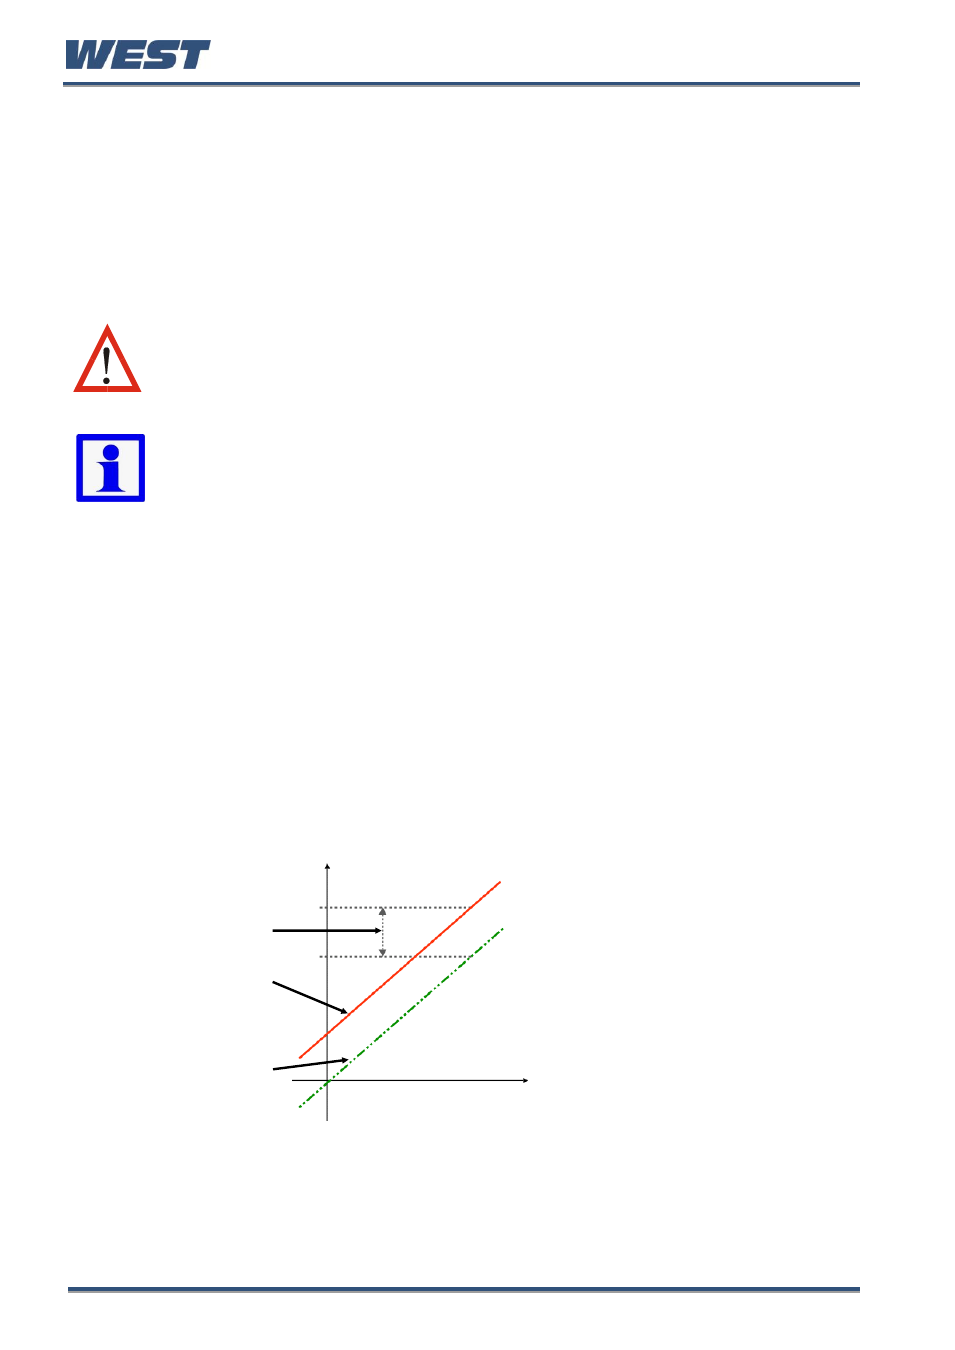
Single Point Calibration
This is a ‘zero offset’ applied to the process variable across the entire span. Positive values
are added to the reading, negative values are subtracted. It can be used if the error is
constant across the range, or the user is only interested in a single critical value.
To use, select Single Point Calibration from the input calibration menu, and simply enter a
value equal, but opposite to the observed error to correct the reading.
This example shows a positive offset
value. For example:
If the process displays 27.8 when it
should read 30, The error is -2.2 so
an applied offset of +2.2 would
change the displayed value to 30.
The same offset is applied to all
values, so at 100.0 the new displayed
value would be 102.2.
Figure 44.
Single Point Calibration
Single Point ‘Offset
Calibration’ value
New Displayed Value
Original Displayed Value
