I/o presets, Overview, Saving a preset – Extron Electronics ISM 824 User Manual
Page 52: Chapter 3, “operation and setup”, “i/o, Presets” sectio, I/o presets, Saving a preset, See the ”front, Panel operation”, “saving a preset, Front panel operation”, “saving a preset
Operation and Setup, cont’d
ISM 824 Integration Scaling Multiswitcher • Operation and Setup
3-20
I/O presets
Overview
The ISM 824 has a total of sixteen I/O preset memory addresses available. Each
preset can be saved and recalled using the front panel input and output buttons
with presets 1 through 8 assigned to the input buttons, and presets 9 through 16
assigned to the output buttons. Any current tie configuration can be saved to any
one of the preset locations, in any order. Saving the current configuration to an
existing preset overwrites that existing preset in favor of the new configuration.
Likewise, when a preset is recalled, it replaces the current (active) configuration,
which is then lost unless already saved in a previous preset location. The recalled
preset overwrites all of the current configuration ties, in favor of the recalled
configuration. Read all the notes below.
N
I/O presets are not the same as memory or user presets, which are used to store
image sizing and centering configurations.
N
Presets can not be viewed from the front panel, unless recalled as the current
configuration.
N
Only the audio and video ties are stored and recalled as a preset. Audio gain
settings are not saved, and do not change when a preset is recalled.
N
The current configuration and all I/O presets are stored in non-volatile memory.
When power is removed and restored, the current configuration is active and all
presets are retained.
N
When a preset mode is recalled, all the input and output buttons with previously
assigned presets light red.
Saving a preset
To save a preset do the following:
1
.
Press the Esc button to clear all pending changes and reset the LCD.
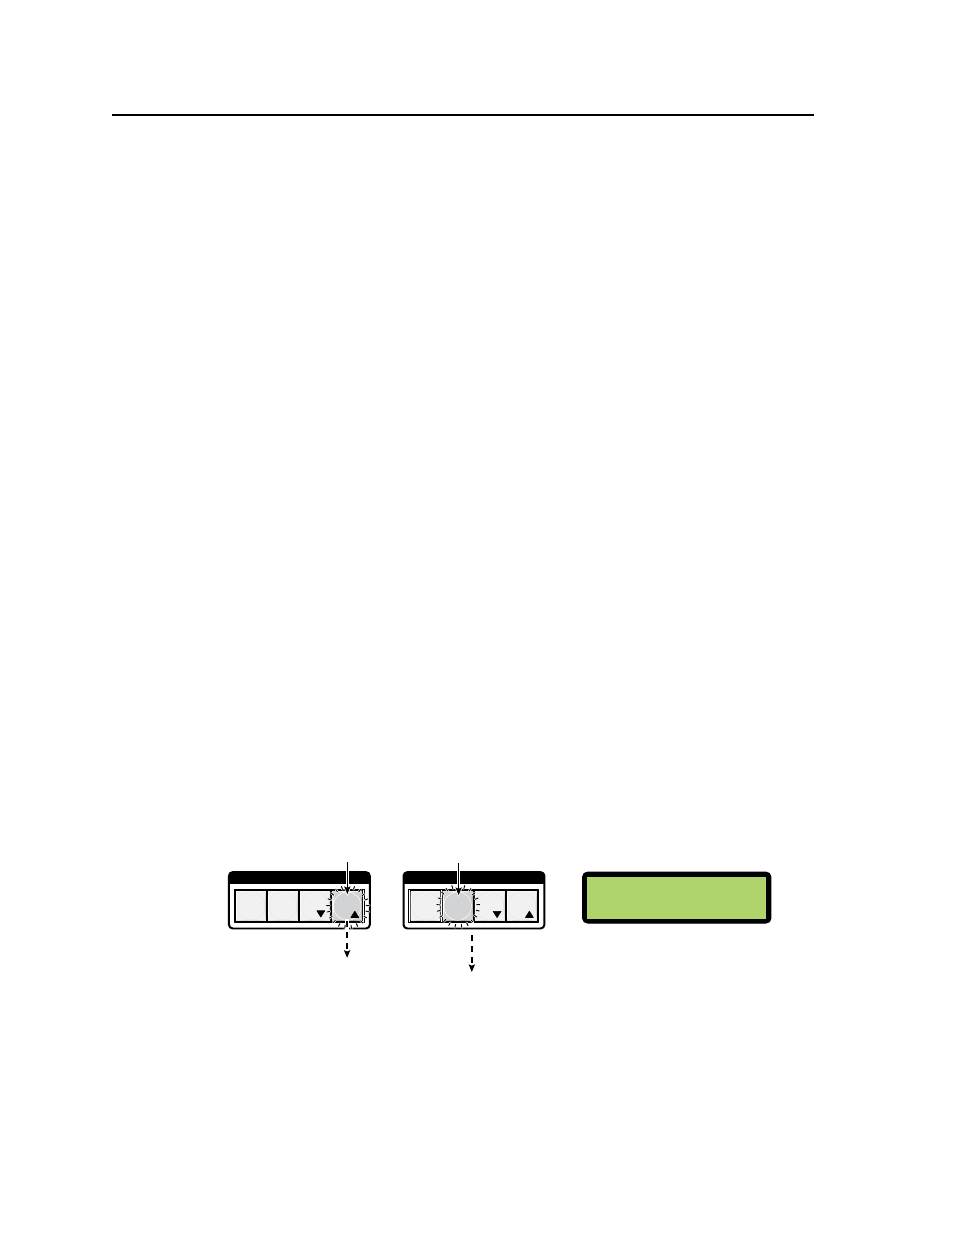
2
.
Press and hold the Preset button until it flashes red. Input and output buttons
light red and the LCD panel shows the Preset save mode (see figure 3-27).
N
If no buttons are pressed for 30 seconds after step 2, the Preset mode times out,
and all buttons extinguish.
1 2 3 4 5 6 7 8
1 2 3 4 5 6 7 8
OUTPUTS
INPUTS
C O N T R O L
PRESET
ENTER
ESC
VIEW
C O N T R O L
PRESET
ENTER
ESC
VIEW
Step 1.
Press the Esc button to
clear all selections.
The Esc button flashes
green once.
Step 2.
Press and
hold the Preset
button. The button flashes
red.
The input and output buttons light
red.
N
The LCD shows the Preset
save mode.
Step 3.
Press and release the desired input or
output button.
P
reset
#11
S
ave
Step 4.
Press and release the
Enter button to save the preset.
All lights extinguish and the
LCD resets.
P
reset
#00
S
ave
C O N T R O L
PRESET
ENTER
ESC
VIEW
C O N T R O L
PRESET
ENTER
ESC
VIEW
The Selected button blinks
red.
The Enter and Preset buttons flash
red.
The LCD shows the selected preset
number.
Figure 3-27 — Steps 1 and 2 for saving a preset
3
.
Press and release an input or output button as desired for the address to save
the current configuration. The selected address button, the Preset button, and
the Enter button flash red. The LCD shows the selected preset number (see
figure 3-28).
N
Input buttons have preset addresses 1 through 8, output buttons have preset
addresses 9 through 16.