2 syslog logging – ZyXEL Communications 70 Series User Manual
Page 605
ZyWALL 5/35/70 Series User’s Guide
605
Chapter 46 System Information & Diagnosis
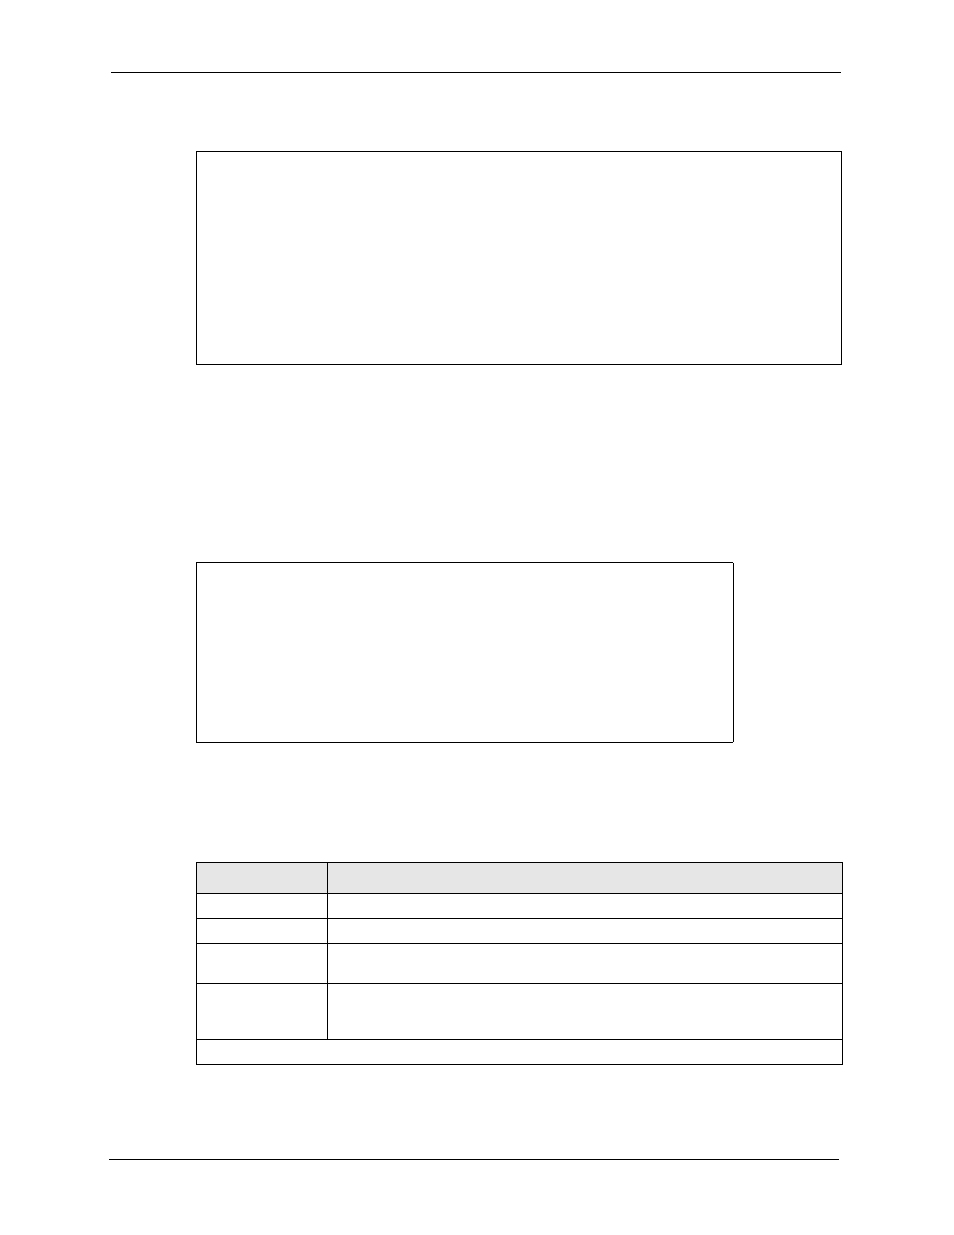
Figure 361 Examples of Error and Information Messages
46.4.2 Syslog Logging
The ZyWALL uses the syslog facility to log the CDR (Call Detail Record) and system
messages to a syslog server. Syslog and accounting can be configured in Menu 24.3.2 -
System Maintenance - Syslog Logging, as shown next.
Figure 362 Menu 24.3.2: System Maintenance: Syslog Logging
You need to configure the syslog parameters described in the following table to activate syslog
then choose what you want to log.
52 Thu Jul 1 05:54:53 2004 PP05 ERROR Wireless LAN init fail, code=15
53 Thu Jul 1 05:54:53 2004 PINI INFO Channel 0 ok
54 Thu Jul 1 05:54:56 2004 PP05 -WARN SNMP TRAP 3: interface 3: link up
55 Thu Jul 1 05:54:56 2004 PP0d INFO LAN promiscuous mode <0>
57 Thu Jul 1 05:54:56 2004 PP0d INFO LAN promiscuous mode <1>
58 Thu Jul 1 05:54:56 2004 PINI INFO Last errorlog repeat 1 Times
59 Thu Jul 1 05:54:56 2004 PINI INFO main: init completed
60 Thu Jul 1 05:55:26 2004 PSSV -WARN SNMP TRAP 0: cold start
61 Thu Jul 1 05:56:56 2004 PINI INFO SMT Session Begin
62 Thu Jul 1 07:50:58 2004 PINI INFO SMT Session End
63 Thu Jul 1 07:53:28 2004 PINI INFO SMT Session Begin
Clear Error Log (y/n):
Menu 24.3.2 - System Maintenance - Syslog Logging
Syslog:
Active= No
Syslog Server IP Address= 0.0.0.0
Log Facility= Local 1
Press ENTER to Confirm or ESC to Cancel:
Table 228 System Maintenance Menu Syslog Parameters
FIELD
DESCRIPTION
Syslog:
Active
Press [SPACE BAR] and then [ENTER] to turn syslog on or off.
Syslog Server IP
Address
Enter the server name or IP address of the syslog server that will log the selected
categories of logs.
Log Facility
Press [SPACE BAR] and then [ENTER] to select a location. The log facility allows
you to log the messages to different files in the syslog server. Refer to the
documentation of your syslog program for more details.
When finished configuring this screen, press [ENTER] to confirm or [ESC] to cancel.