Details for 24 vdc mating connector, Procedure for creating 24 vdc cable – Adept s650 Viper User Manual
Page 54

Chapter 4: System Installation
Adept Viper s650/s850 Robot with MB-60R/eMB-60R User’s Guide, Rev F
Page 54 of 100
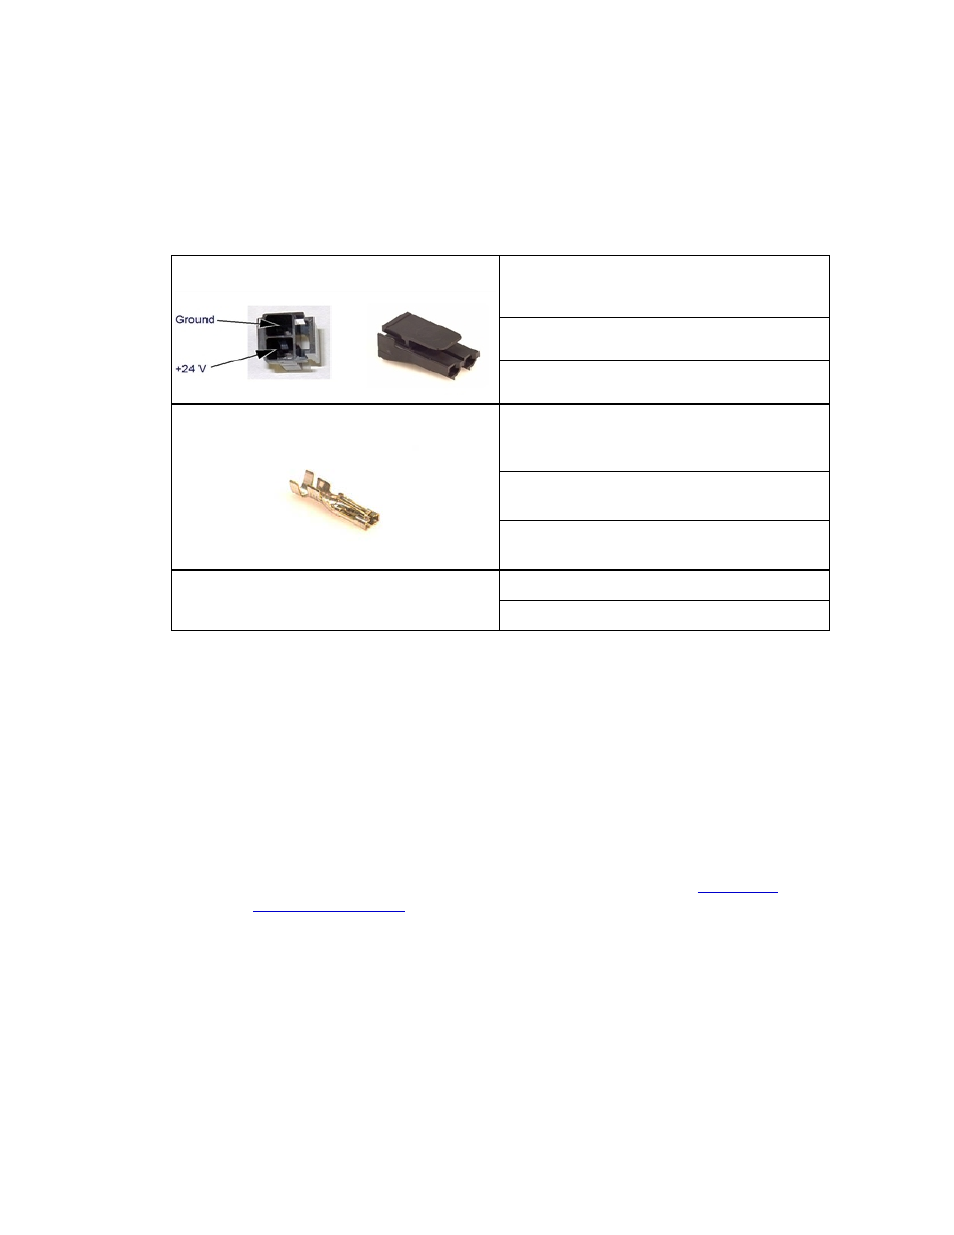
Details for 24 VDC Mating Connector
The 24 VDC mating connector and two pins are supplied with each system. They are shipped
in the cable/accessories box.
Table 4-4. 24 VDC Mating Connector Specs
Connector Details
Connector receptacle, 2 position, type:
Molex Saber, 18 A, 2-Pin
Molex P/N 44441-2002
Digi-Key P/N WM18463-ND
Pin Details
Molex connector crimp terminal,
female, 14-18 AWG
Molex P/N 43375-0001
Digi-Key P/N WM18493-ND
Recommended crimping tool, Molex Hand
Crimper
Molex P/N 63811-0400
Digi-Key P/N WM9907-ND
NOTE: The 24 VDC cable is not supplied with the system, but is available in the
optional Power Cable kit. See Cables and Parts List on page 50.
Procedure for Creating 24 VDC Cable
1. Locate the connector and pins from the preceding table.
2. Use shielded two-conductor cable with 14-16 AWG wire to create the 24 VDC cable.
Select the wire length to safely reach from the user-supplied 24 VDC power supply to
the MB-60R/eMB-60R base.
NOTE: You also must create a separate 24 VDC cable for the Smart-
Controller. That cable uses a different style of connector. See the
Adept Smart-
Controller User’s Guide
.
3. Crimp the pins onto the wires using the recommended crimping tool.
4. Insert the pins into the connector. Confirm that the +24 V and ground wires are in the
correct terminals in the plug.
5. Install a user-supplied ring lug (for an M3 screw) on the shield at the MB-60R/eMB-60R
end of the cable.
6. Prepare the opposite end of the cable for connection to the user-supplied 24 VDC power
supply, including a terminal to attach the cable shield to frame ground.
