4 calibration function, Press the x button – KEYENCE IL Series User Manual
Page 104

4-4 Calibration Function
4-50
4
Setting V
ar
iou
s F
unct
ions
IL-E
When there is a difference between the calculated value (CALC value) and the actual
dimension of the object, the value can be corrected.
With two-point calibration of the calculated value (CALC value), the zero point (offset) and
tilt (span) of the calculated value are corrected, but with three-point calibration of the
calculated value (CALC value), the tilt (span) of the main unit's internal measurement value
(R.V.) is calibrated with the zero point (offset) and tilt (span) of the calculated value.
Even when measuring the same workpiece, an error may result in the measurement
position. This error can be calibrated with three-point calibration.
7
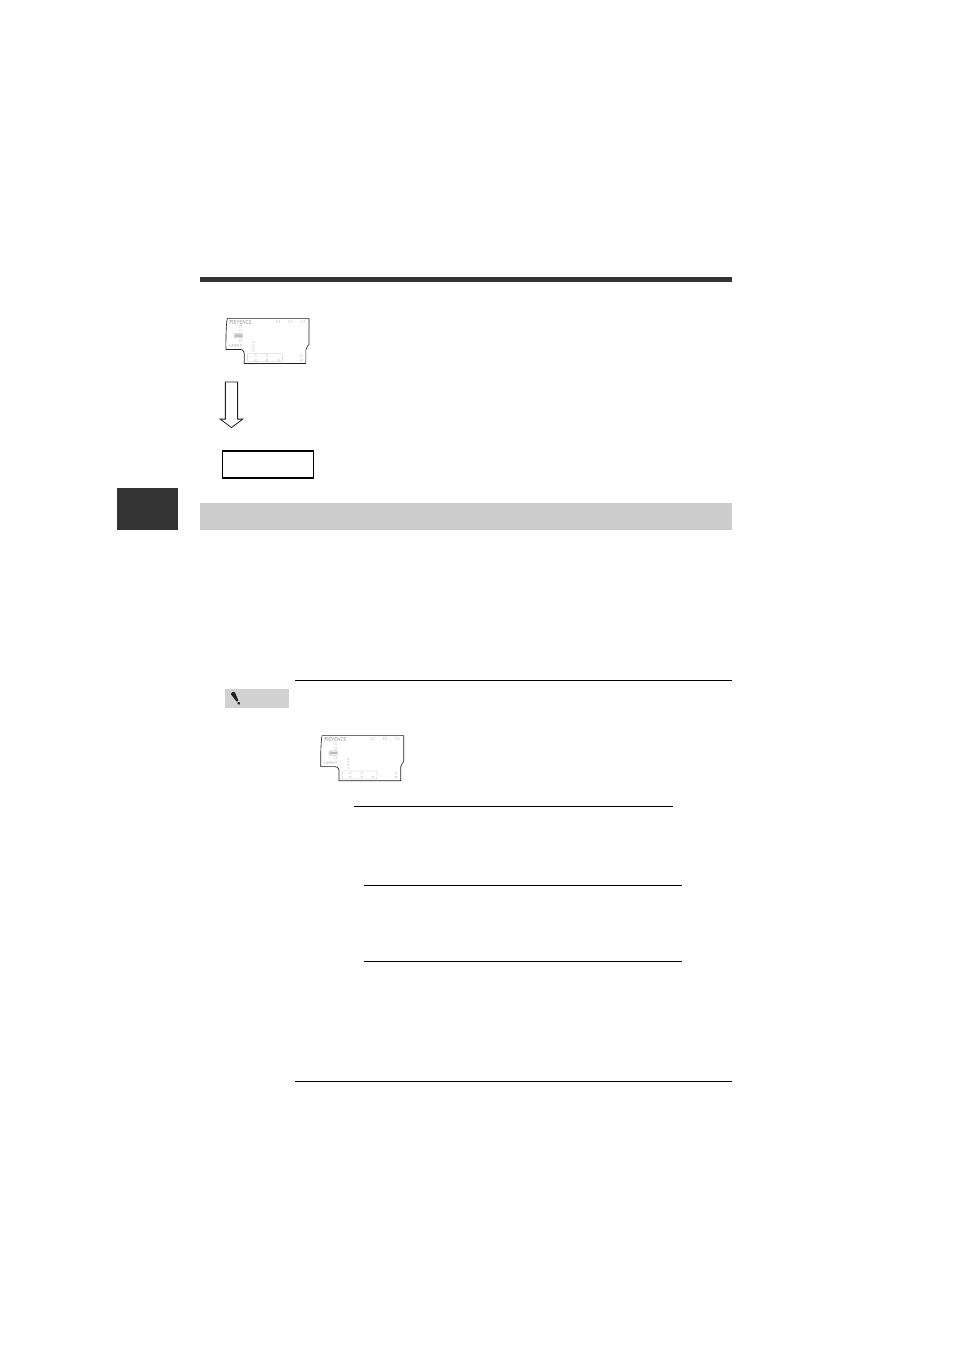
Press the [SET] button. (SET2 confirmation operation)
After [SEt2] blinks several times on the sub display (lower
level), [End] blinks.
This completes the calibration.
8
Press the X button.
The main screen is restored.
X
button
'P&
LASER
BANK
0
1
2
3
HI
GO
LO
R.V. ANALOG
HI SHIFT
ZERO SHIFT
TIMING
LO
HOLD CALC CHECK
Main screen
Setting method (Three-point calibration of calculated value (CALC value))
Point
• Move the same workpiece between the 1st point and 2nd point.
• If the following conditions are not satisfied, the screen below is
displayed when the setting is complete. Make the setting again.
•
•Addi-
tion
•Subtrac-
tion
•Workpiece is not within measurement range.
•The setting was switched during the calibration.
•Workpieces inserted at the 1st point and 2nd point are different.
• When three-point calibration is performed, the main unit's internal
measurement value (R.V.) is calibrated. Thus, the calibration set-
tings for the main unit's head are automatically changed to [Usr].
'TT
LASER
BANK
0
1
2
3
HI
GO
LO
R.V. ANALOG
HI SHIFT
ZERO SHIFT
TIMING
LO
5'6
HOLD CALC CHECK
0.5 ≤
(CALC you wish to display (3) ) - (CALC you wish to display (1))
(CALC before calibration (3)) - (CALC before calibration (1))
≤ 2
0.5 ≤
- (R.V. of expansion unit at 2nd point - R.V. of expansion unit at 1st point)
(R.V. of main unit at 2nd point before calibration) - (R.V. of main unit at 1st point before calibration) ≤
2
0.5 ≤
R.V. of expansion unit at 2nd point - R.V. of expansion unit at 1st point
(R.V. of main unit at 2nd point before calibration) - (R.V. of main unit at 1st point before calibration)
≤ 2
