Basic setup menu – SATEC PM180 Operation Manual User Manual
Page 37
Chapter 3 Using the RDM
Configuring the PM180
PM180 Substation Automation Unit
35
Label
Option
Format/Range
Default
Description
date
Date
YY.MM.DD,
MM.DD.YY,
DD.MM.YY
The date is displayed as per the user
definition, where the first two items are
shown in the middle window, and the last
one - in the lower window. For instructions
on how to select the date format, see
dAY
Day of week
Sun = Sunday
on = Monday
tuE = Tuesday
UEd = Wednesday
thu = Thursday
Fri = Friday
Sat = Saturday
The day of the week is displayed in the
lower window. It is set automatically when
you change the date.
dSt
Daylight savings
time option
diS = disabled
En = enabled
En
When DST is disabled, the RTC operates
in standard time only. When enabled, the
device automatically updates the time at
2:00 AM at the pre-defined DST switch
dates.
dSt.S
DST start date
Month-week-
weekday
Week = 1
st
, 2
nd
, 3
rd
,
4
th
or LSt (last week
of the month)
The DST start date when Daylight
Savings Time begins. The DST switch
point is specified by the month, week of
the month and weekday. By default, DST
starts at 2:00 AM on the first Sunday in
April of each year.
dSt.E
DST end date
Month-week-
weekday
Week = 1
st
, 2
nd
, 3
rd
,
4
th
or LSt (last week
of the month)
The DST end date when Daylight Savings
Time ends. The DST switch point is
specified by the month, week of the month
and weekday. By default, DST ends at
2:00 AM on the last Sunday in October of
each year.
OFFSE
T
Local time zone
offset, min
-720 to 720 min
-300
(Eastern
Time)
Local offset in minutes from UTC
(Universal Coordinated or Greenwich
Mean Time)
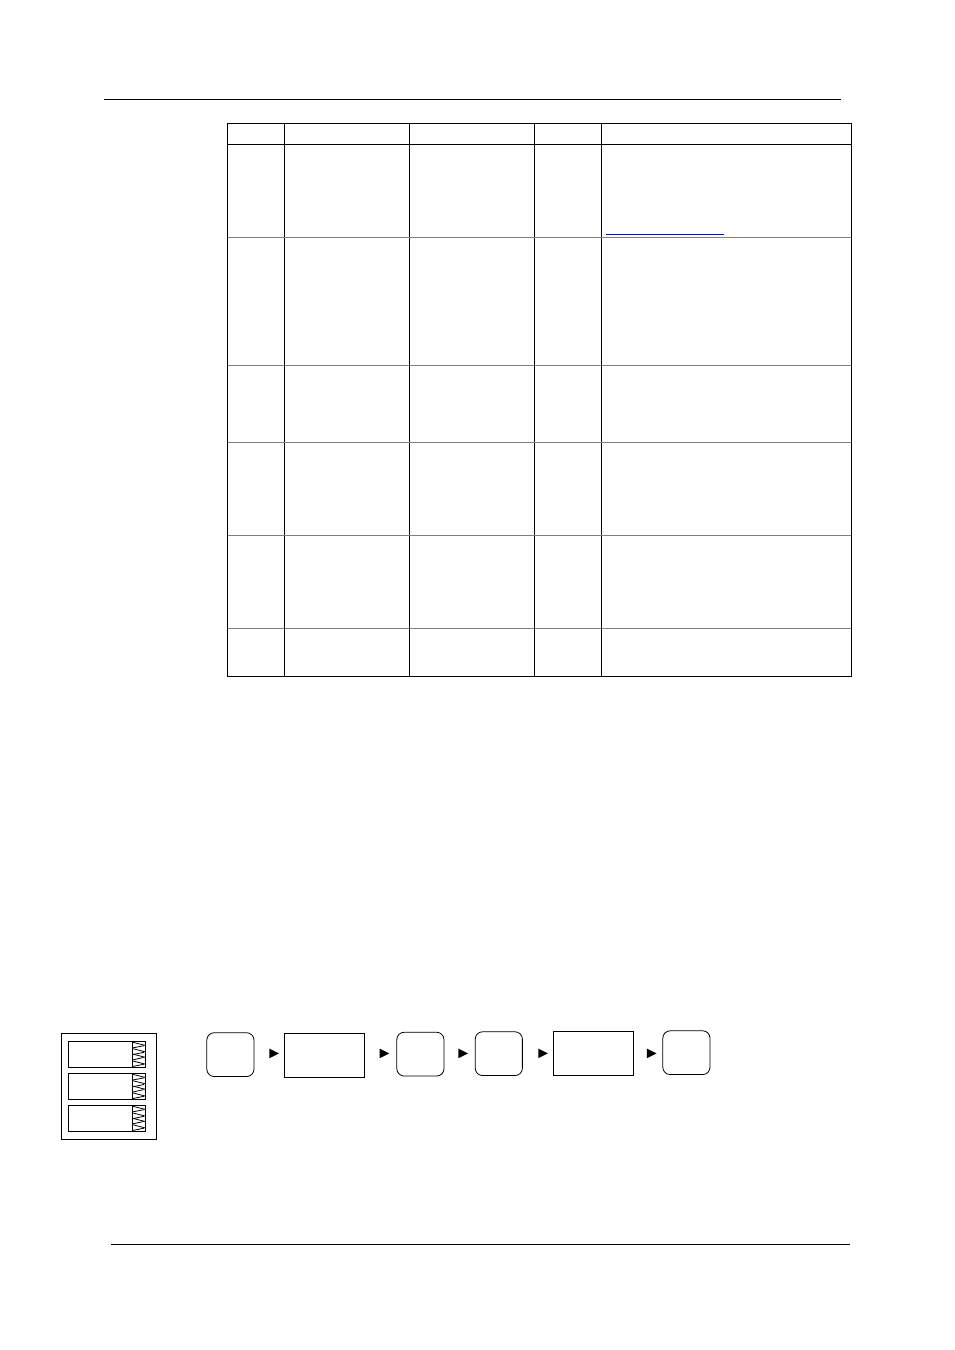
To select a setup option, use the Up/Down arrow keys from the upper window.
To change the time, date, DST setting or local time offset:
1. Press SELECT to activate the desired item. When you enter the
time setup display, the hours and minutes indications are frozen to
allow you to adjust them.
2. Use the Up/Down arrow keys to set the desired value.
3. Set the other option items in the same manner.
4. Press ENTER to confirm your new settings, or press ESC to
discard changes. If you confirm the time change and the seconds
window is not currently active, the seconds stay unchanged.
To reset seconds:
1. Press SELECT to activate the seconds window.
2. Press ENTER.
To exit the menu:
From the upper window, press ESC or ENTER.
Basic Setup Menu
This menu allows you to configure the basic device settings of the PM180 that define
the general operating characteristics of the device. To enter the Basic Setup menu,
select “bASc” from the menu list.
The following table lists available options, their default settings and ranges.
SELECT
ENERGY
ENTER
ENERGY
ENTER
CHG
bASc
bASc
4Ln3
ConF