Configuring the rdm, Configuring the sa300, Clock setup menu – SATEC SA300 ezPAC Operation Manual User Manual
Page 35: Entering numbers, Mode through the display setup menu (see, The common
Chapter 3 Using the RDM
Configuring the RDM
SA300 Substation Automation Unit
35
Configuring the RDM
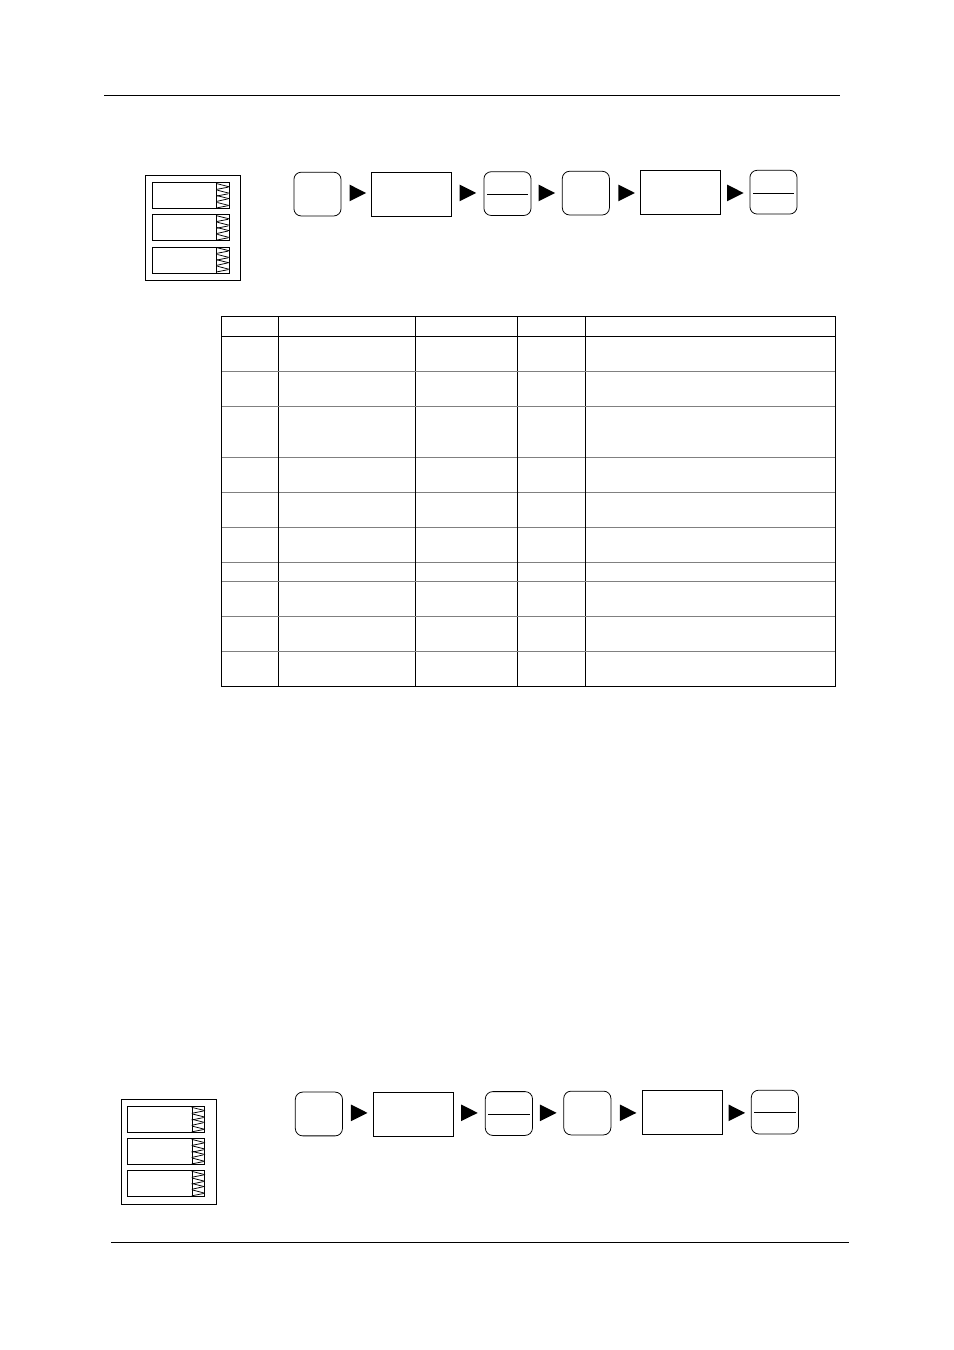
To change communication or display options for your RDM, select “diSP” from the
menu list.
The following table lists available display options, their default settings and ranges.
Label Option
Range
Default
Description
Updt
Update rate
0.1-10.0 sec
1 sec
Defines the interval between display
updates
ScrL
Auto scroll
NONE, 2-15 sec NONE
Disables auto scroll or defines the scroll
interval for the main data display
rEtn
Auto return to the
main screen
diS, En
diS
Disables or enables auto return to the
main display after 30 seconds of
uninterrupted use
Uolt Primary/Secondary
volts units
Pri, SEc
Pri
Sets primary or secondary units for volts
display
Ph.P
Phase powers display
mode
diS, En
diS
Disables or enables phase powers in the
main display
Fund. Fundamental
values
display mode
diS, En
diS
Disables or enables fundamental values in
the main display
dAtE
Date order
dnY, ndY, Ynd, ndY
Defines the date order in the RTC display
Addr
Master SA300 device
address
1-247
1
The target SA300 device address (must
match the SA300 COM3 port setting)
bAud
Baud rate
4800-115200
19200
The RDM port baud rate (must match the
SA300 COM3 port setting)
dAtA
Data format
8n
8n
The RDM port data format (must match
the SA300 COM3 port setting)
To select a display option:
1. Press SELECT to activate the middle window.
2. Use the Up/Down arrow keys to scroll to the desired option.
To change the display option:
1. Press SELECT to activate the lower window.
2. Use the Up/Down arrow keys to set the desired option.
3. Press ENTER to confirm your changes and to store your new
setting, or press ESC to discard changes.
To exit the display menu:
From the middle window, press ESC or ENTER.
Configuring the SA300
The RDM allows you to set up only limited number of parameters in your SA300,
such as basic configuration settings and communications settings for serial ports. All
other settings can be made through HyperTerminal and PAS.
Clock Setup Menu
This menu allows you to set up the device clock and to configure your local time zone
settings.
The following table lists available options.
SELECT
ENERGY
ENTER
ENERGY
ENTER
CHG
S
diSP
diSP
1.0
UPdt
hour
E 25.
17.43.
SELECT
ENERGY
ENTER
ENERGY
ENTER
CHG
S
rtc