2 to set the chart plotter for receiving ais, 3 ais menu – Seiwa SW701i SW701e User Manual
Page 63
65
User Manual
rily registers the boat information in the U.S. Coast Guard’s national dis-
tress database for use in emergency situations.
♦
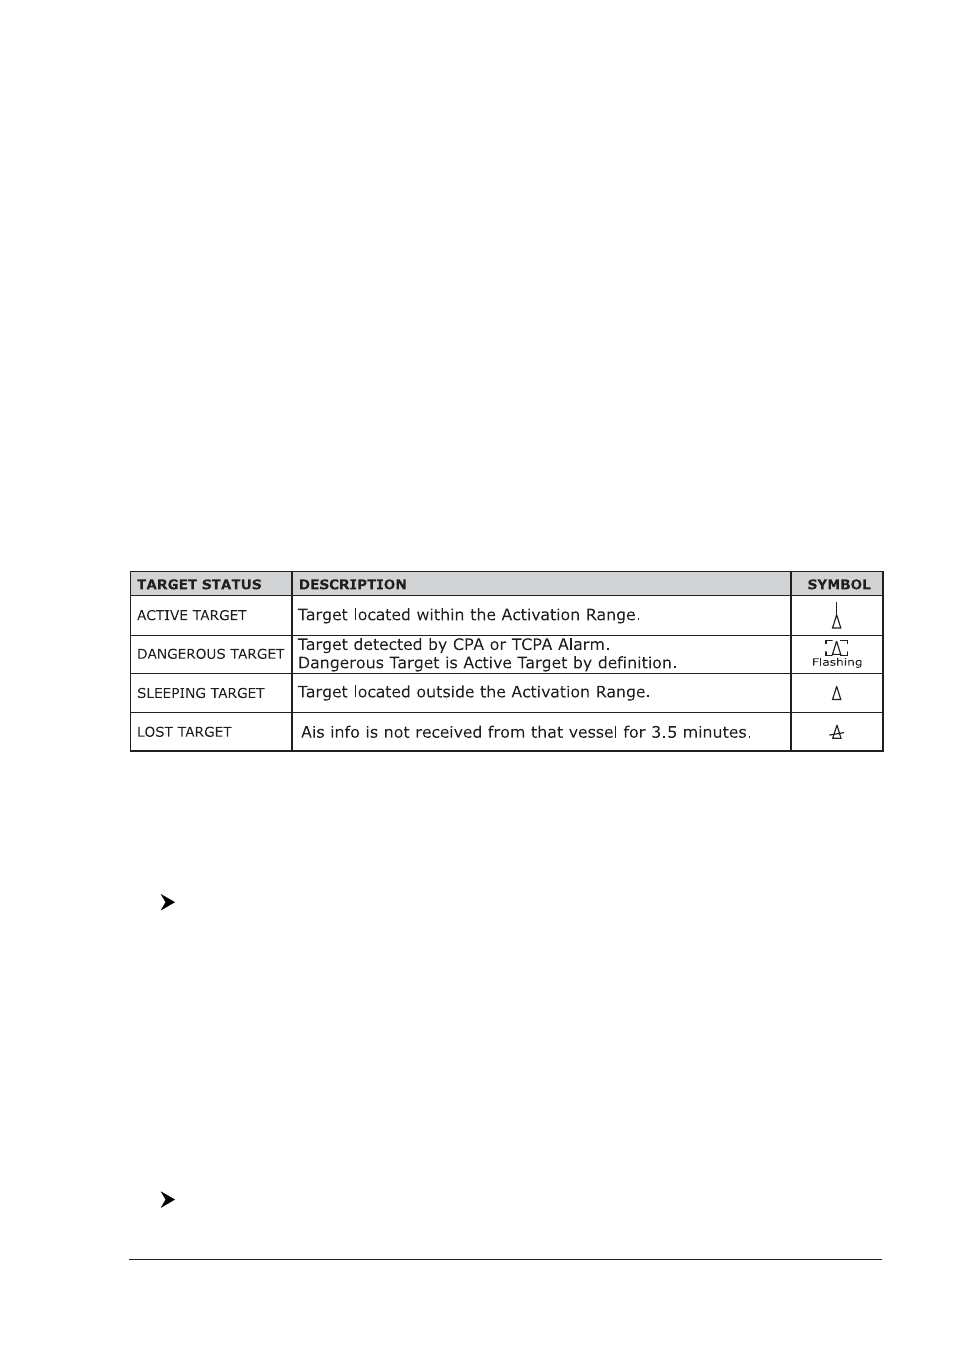
Active Target
Target located within the Activation Range. Active Target is represented by ori-
ented triangle with COG and Heading vectors. Rate of turn may also be displayed.
♦
Dangerous Target
Target detected by CPA or TCPA Alarm. Dangerous Target is Active Target
by definition. For better visibility Dangerous Target symbol is flashing.
♦
Sleeping Target
Target located outside the Activation Range. Sleeping Target is represented
by a small oriented triangle.
♦
Lost Target
When the AIS info is not received from that vessel for 3.5 minutes. The
presentation will be a flashing black triangle with a cross through.
♦
Activation Range
Range around your boat where Targets become active. AIS Target become
active within this range. Activation Range should be greater than CPA Limit
by definition.
NOTE
A Target is removed from the screen if data is not received for 10 minutes.
The maximum number of tracked Targets is 200.
Depending on the scale the presentation of the Targets change to remove
clutter on the screen.
This information is updated every 3 seconds to 6 minutes depending on speed
and rate of turn, enabling the track of the vessels in range to be plotted.
Fig. 3.7.1 - AIS Symbols
3.7.2 To set the chart plotter for receiving AIS
Make sure that the AIS receiver is properly connected to the chart plotter.
The chart plotter reads the AIS NMEA message VMD, type 1, 2, 3 and 5.
Select the used serial port and transmission speed by following the procedure:
[MENU] + "Advanced Options" + [ENTER] + "Input/Output" + [ENTER] +
"Port n Input" + [ENTER] + "AIS 38400" + [ENTER]
Where:
n = 1/2/3 for SW501e
n = 1/2 for SW501i
n = 1/3 for SW501ce
n = 1 for SW501ci
n = 1/2/3/4/5 for SW701e/SW1101SEAWAVE
3
/MARLIN/EXPLORER
3
n = 1/2/4/5 for SW701i
n = 1/3/4/5 for SW701ce
n = 1/4/5 for SW701ci
3.7.3 AIS Menu
To configure the chart plotter to receive AIS data, follow the procedure:
[MENU] + "AIS" + [ENTER]