HP Unified Extensible Firmware Interface User Manual
Page 70
HP UEFI System Utilities and Shell Release Notes on the HP website (
).
A physically present user can customize the certificates embedded in the UEFI BIOS by
adding/removing their own certificates.
Before configuring Secure Boot, select the UEFI Boot Mode. See
“Selecting a Boot Mode” (page 41)
Also enable the UEFI Optimized Boot option. See
“Setting UEFI Optimized Boot” (page 42)
for
details.
To configure Secure Boot:
1.
From the System Utilities screen, select System Configuration
→BIOS/Platform Configuration
(RBSU)
→Server Security and select Secure Boot Configuration and press Enter. The Secure
Boot Configuration screen appears. Current Secure Boot State displays the current secure boot
state (Enabled or Disabled).
2.
Select Enable Secure Boot and press Enter to enable the Secure Boot option. A message
appears indicating that a server reboot is needed the new configuration to take effect.
3.
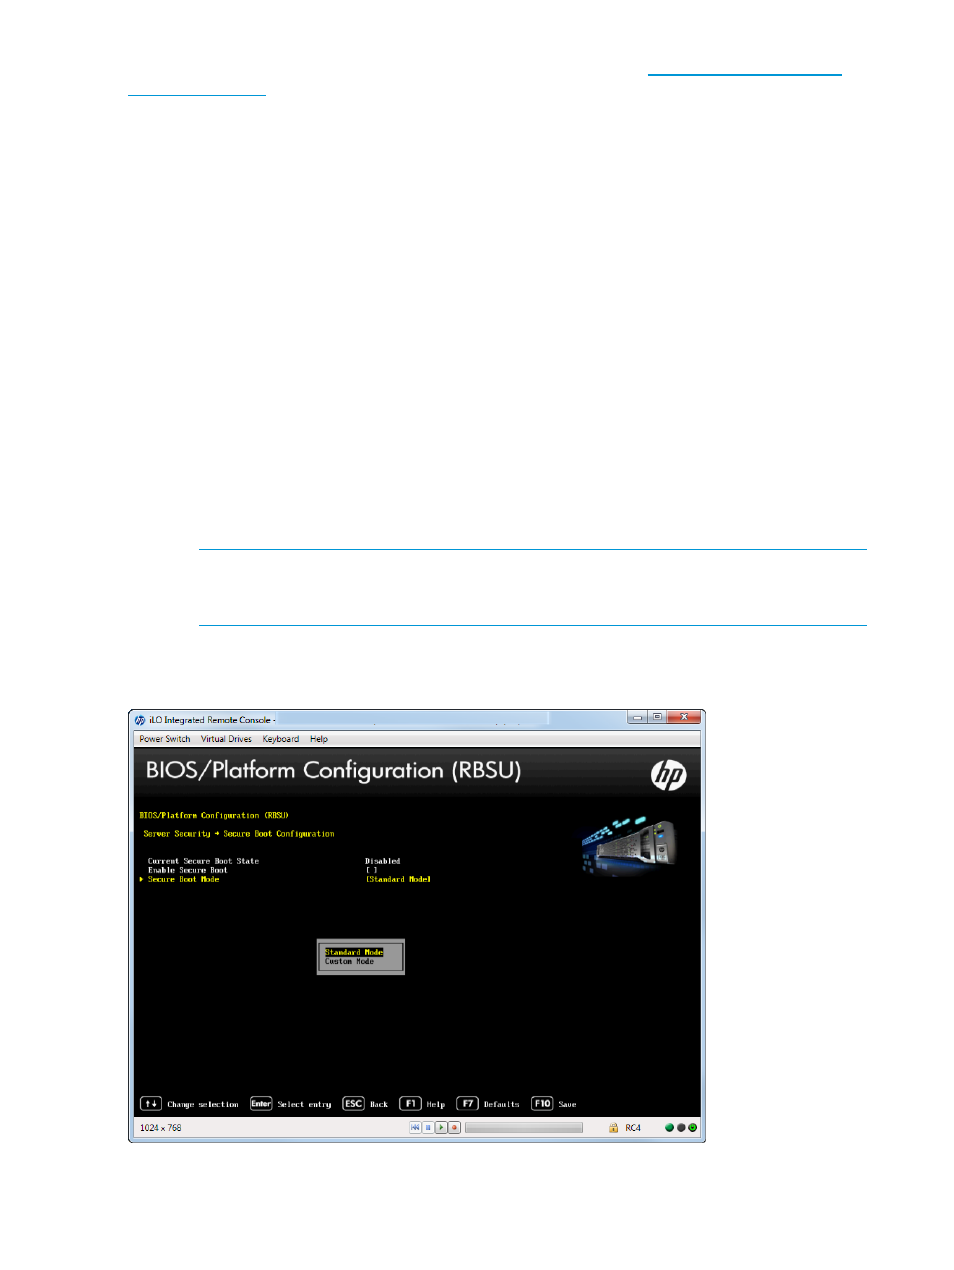
Select Secure Boot Mode and press Enter.
4.
Select one of the following options:
•
Standard Mode—Use the default security certificates that are embedded in the system
BIOS.
•
Custom Mode—Customize the secure boot certificates (must be executed by physically
present user). If you select this option, the Secure Boot Custom Mode Options menu
appears. For more information, see
“Setting the Secure Boot Custom Mode” (page 71)
NOTE:
Changing the default security certificates can cause the system to fail booting
from some devices. It can also cause the system to fail launching certain system software
such as Intelligent Provisioning.
5.
Press F10 to save your selection.
Figure 60 Server Security — Secure Boot Mode screen
70
Accessing the System Configuration Menu