2 managing user status, 3 changing user information, Managing user status -2 – Yokogawa Data Logging Software GA10 User Manual
Page 80: Changing user information -2
6-2
IM 04L65B01-01EN
6.3 Changing User Information
This section explains how to change the user full name
and password. This procedure can also be performed by a
user who is logged in.
6.3.1 How the Administrator Changes Other
User Information
The administrator performs the following procedure to
change the full name and initialize the password of a user.
1
Follow steps 1 and 2 in section 6.2 to display the
User Management Page.
2
Select the user you want to change.
The user is selected.
The frame turns blue when selected.
3
Double-click the selected user.
The Change User’s Information dialog box opens.
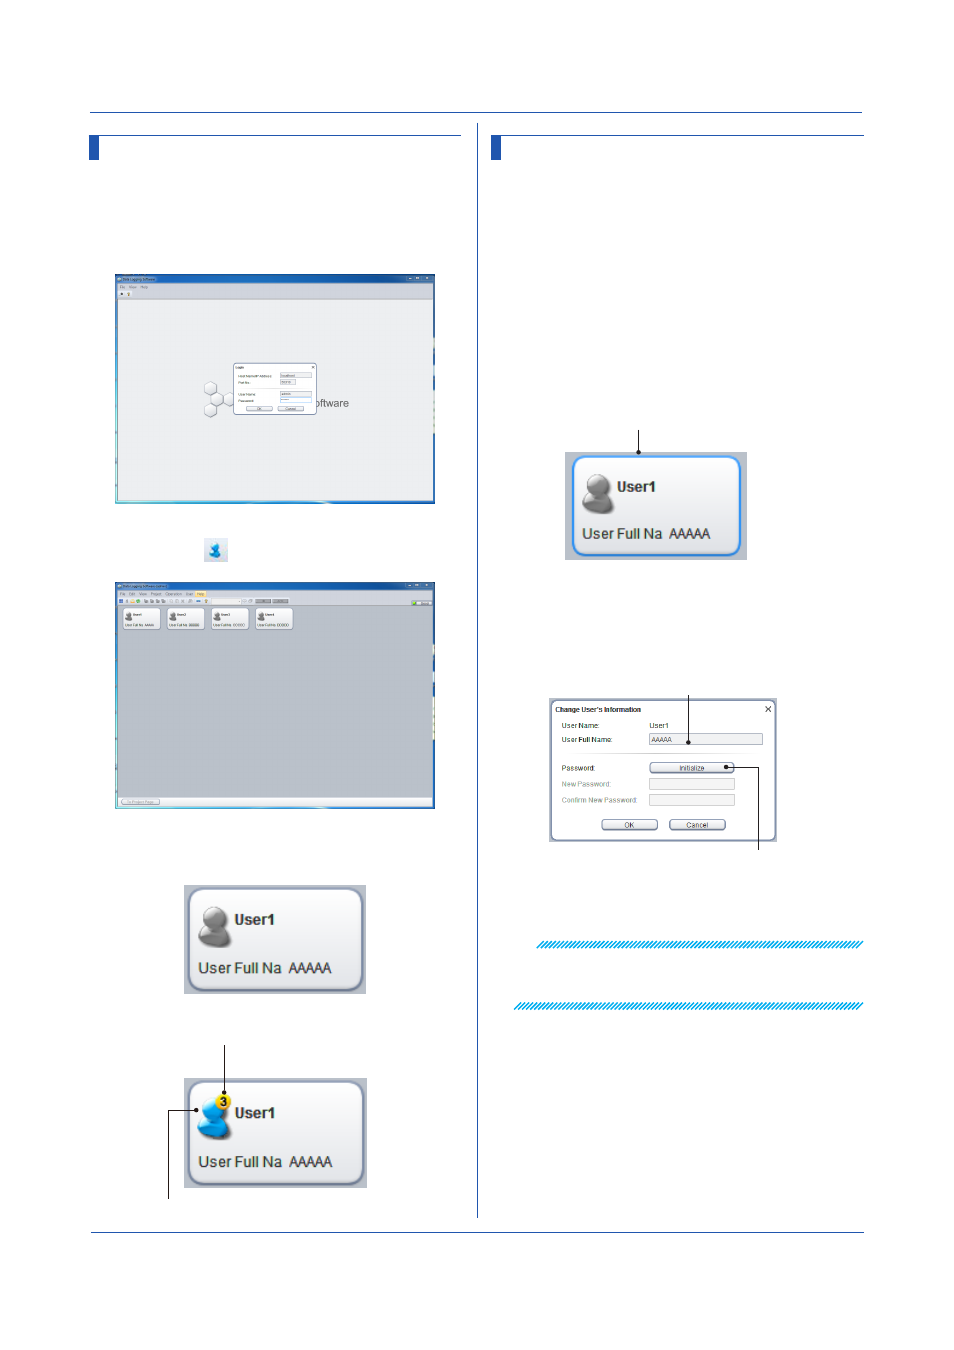
4
To change the full name, type the new name.
To initialize the password, click
Initialize.
Type in this box to change the full name.
Click here to initialize the password.
5
Check the information, and click
OK.
The full name or password will be changed.
Note
You cannot change the information if the applicable user
is logged in or if the user has been deleted from another
client.
Chapter 6 Managing Users
6.2 Managing User Status
6.2.1 Using the User Management Page
The administrator can view the status of other users on
the User Management Page.
1
Start the client, and log in to the server with GA10
administrator privileges.
2
On the
View menu, click User Management Page.
Or, click the
icon.
The User Management Page appears.
3
Check the user status by looking at the icons (see
below).
Not logged in
Logged in
Number of users logged in
Appears in blue when logged in