4 registering users, 5 creating a project, Registering users -4 – Yokogawa Data Logging Software GA10 User Manual
Page 20: Creating a project -4, Sec. 2.4, Sec. 2.5
2-4
IM 04L65B01-01EN
Chapter 2 Preparation
Note
User names are case-sensitive.
Differences between the administrator and users and
2.5 Creating a Project
After logging in to the server, create a project to manage
data collection and recording.
You can create a project in one of the following ways.
• Create a new project: You can create a new data
collection project.
• Export and import: You can export and import a
project.
• Copy and paste: You can duplicate an existing project.
This section explains how to create a new project using
Simple Settings.
1
Switch from the User Management Page to the
Project List page.
On the
View menu, click Project List Page. Or,
click the
icon.
Switch to Project List page
The Project List Page appears.
The first page that appears when you log in is
the Project List Page.
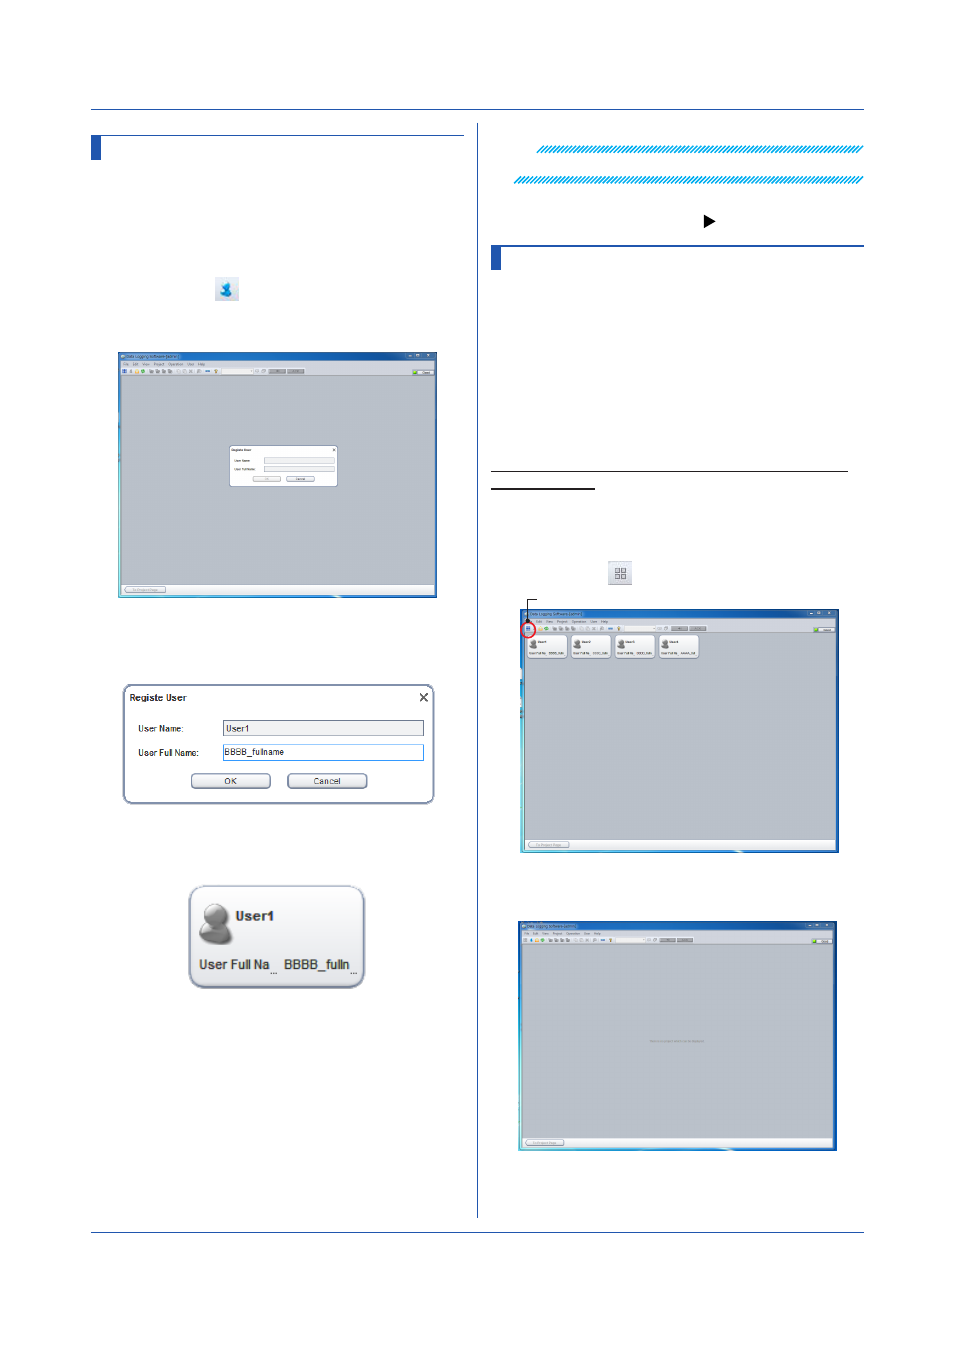
2.4 Registering Users
After registering the administrator, register users as
necessary. The administrator registers users.
1
Start the client, and enter the administrator
password that you set earlier to log in.
2
On the
View menu, click User Management Page.
Or, click the
icon.
The User Management Page appears.
3
On the
User menu, click Register New User.
The Change User’s Information dialog box appears.
4
Type the user name and user full name.
Enter up to 20 ASCII characters for the user
name.
5
Click
OK.
The user is registered, and an icon is added in the
window.
6
To add more users, repeat the procedure above.
Registered users will be able to log in, set their
passwords, and perform their assigned tasks.