4 dragging a button to the main display area – Teledyne LeCroy USBTracer_Trainer - Users Manual User Manual
Page 266
Chapter 10: Recording Options
USB Protocol Suite User Manual
252
LeCroy Corporation
10.5.4 Dragging a Button to the Main Display Area
After you create an Event button in the Available Events area, you can drag the button to
the Main Display area and drop it in the appropriate cell (a cell is a grayed-out rectangle
with a dashed line around it). You can think of each cell as a target for drag-and-drop of
an Event button.
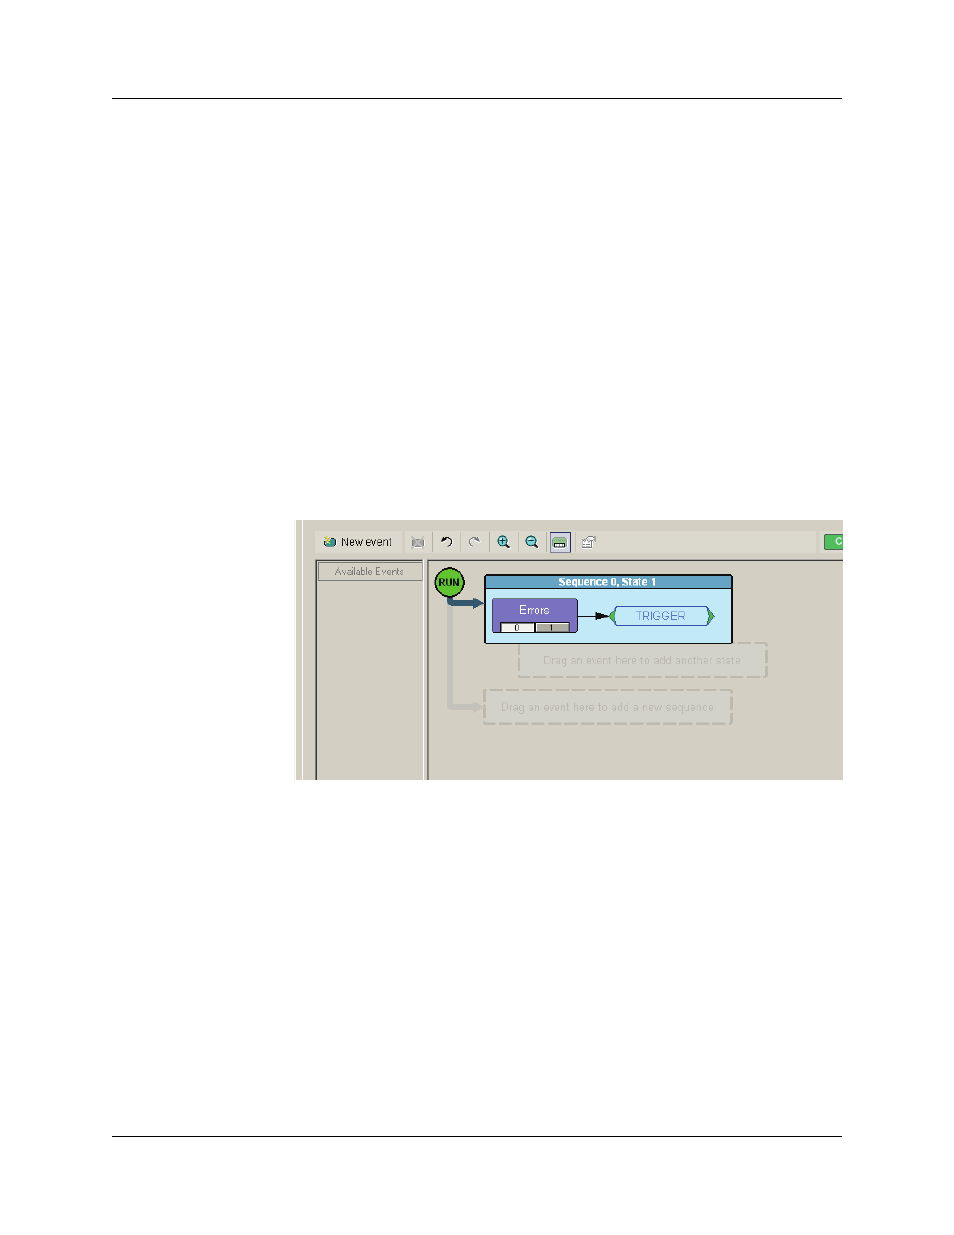
There are two types of cell that might appear: Sequence cell and State cell. In the
Main Display area, they are labelled as follows:
•
Sequence cell: Drag an event here to add a new sequence.
•
State cell: Drag an event here to add another state.
If there currently are no events in the Main Display area, a single sequence cell appears
at the top of the area.
To drag-and-drop the Event button:
Step 1 Place the mouse cursor on the Event button in the Available Events
area. Click the left mouse button.
Step 2 Drag the button to the cell. When the button is in the cell, a dashed
highlight line appears around the cell. Drop the button in the cell (release
the left mouse button). The Event button appears in the cell.
The default label for the first cell is “Sequence 0, State 1." As described later in this
section, you can change that label using the Properties pop-up for that cell.
Two new cells appear under the first cell. The first of these new cells is a state cell that
allows you to create another state in rule Sequence 0 (to make Sequence 0 a multi-state
sequence).
The second of the new cells is to create a separate sequence, which would be labelled
Sequence 1.